A box of clear plastic spoons can become a sparkling little tree for a mantel or holiday table. The trick is to fill the spoon bowls with clear hot glue, trim away the handles, and layer the finished pieces around a foam cone. The transparent centers catch the light, while a light mist of silver glitter adds a frosty finish. This guide walks through the project from setup to display.

What you will need
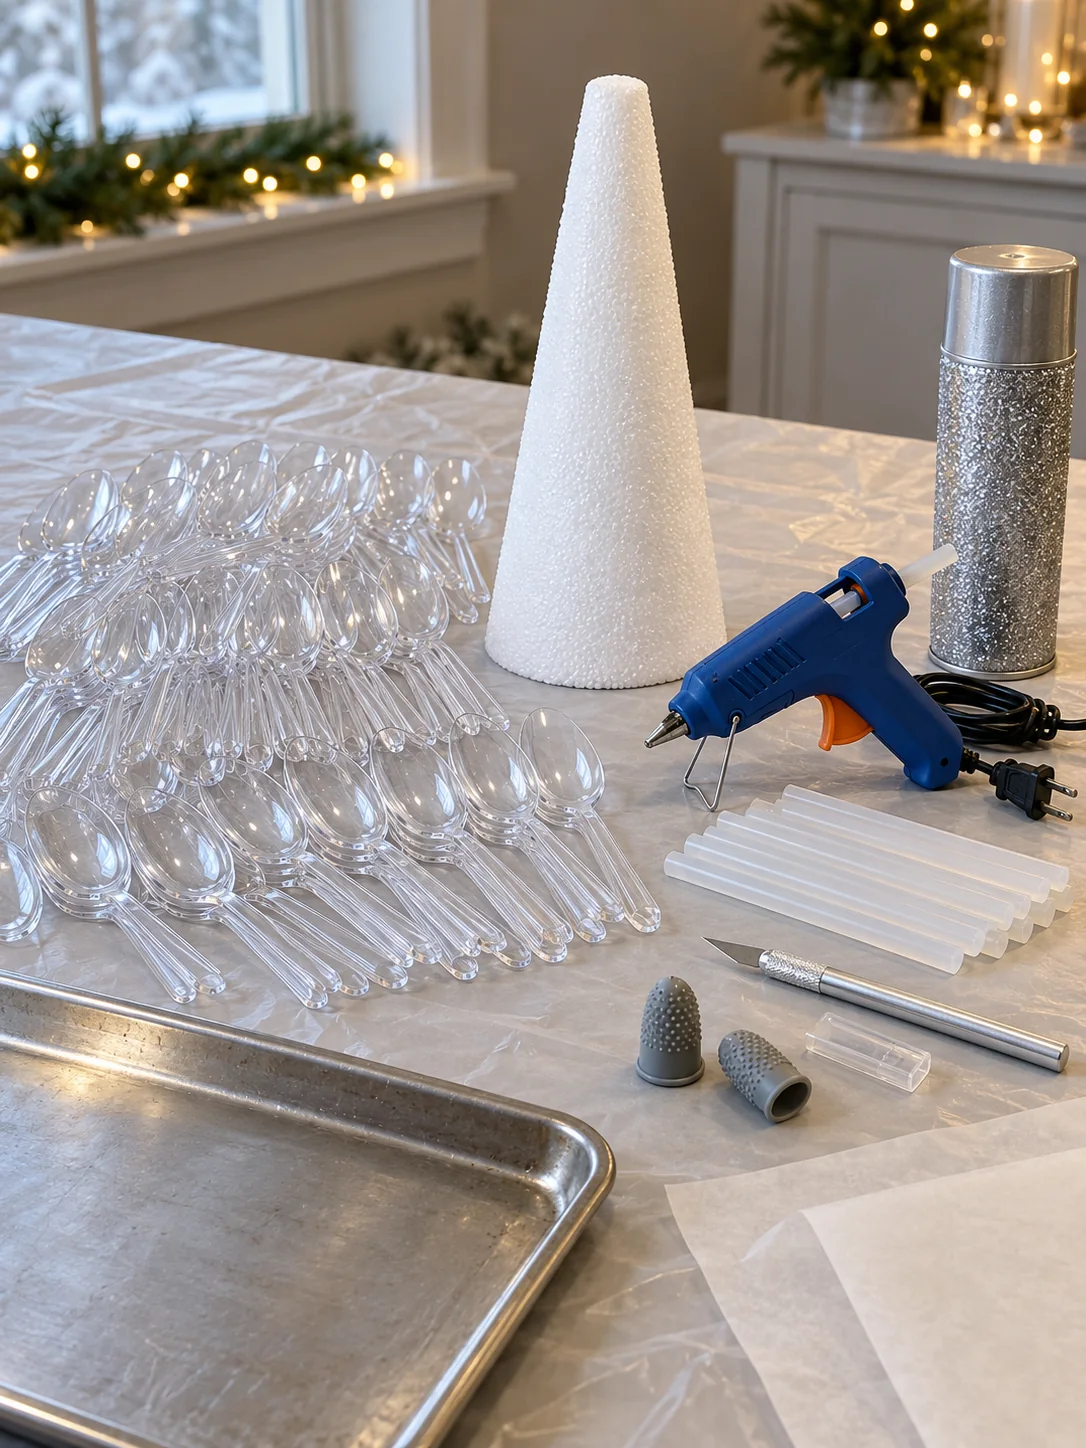
- 60 clear, smooth, standard-size plastic spoons
- One foam cone, approximately 12 inches tall and 5 inches across at the base
- A full-size hot glue gun and about 12 clear 4-inch glue sticks
- A craft knife
- One small can of silver glitter spray, about 4 to 6 ounces
- Parchment or freezer paper to protect the table
- A large metal baking sheet or flat tray
- Work gloves or silicone finger protectors, if available
Before you begin: Hot glue and its nozzle can burn skin. Keep fingers away from fresh glue, protect the work surface, and allow every filled spoon to cool completely before trimming. Use the craft knife on a stable surface and cut away from your body. Follow the spray product’s directions and apply it outdoors or in a suitably ventilated area, away from flames.
How to make the plastic spoon tree
1. Set up a stable work area
Cover the table with parchment or freezer paper. Arrange the spoons in tight rows on a metal baking sheet so the bowls stay level while you fill them. Have a clear space ready where the tray can sit undisturbed as the glue cools.
2. Fill the spoon bowls
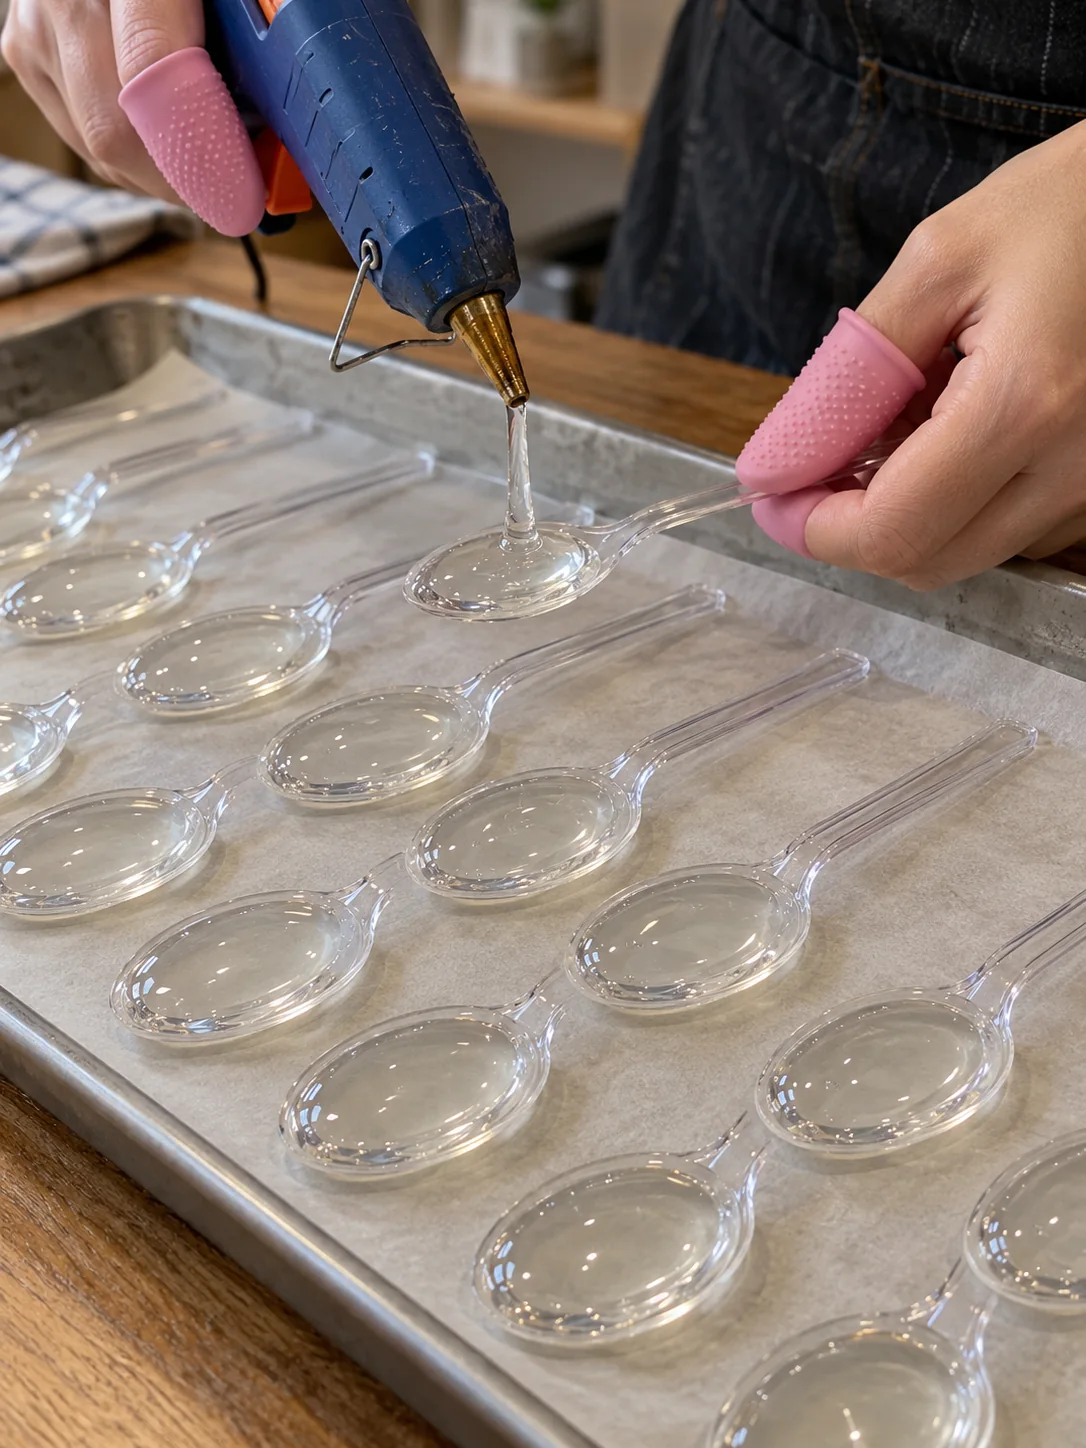
Heat the glue gun according to its instructions. Dispense clear glue into each spoon bowl, stopping just short of the rim. A smooth, slightly rounded fill gives the finished petal a glassy center. Work steadily; there is no need to touch or smooth the glue while it is hot.
3. Cool and remove the handles
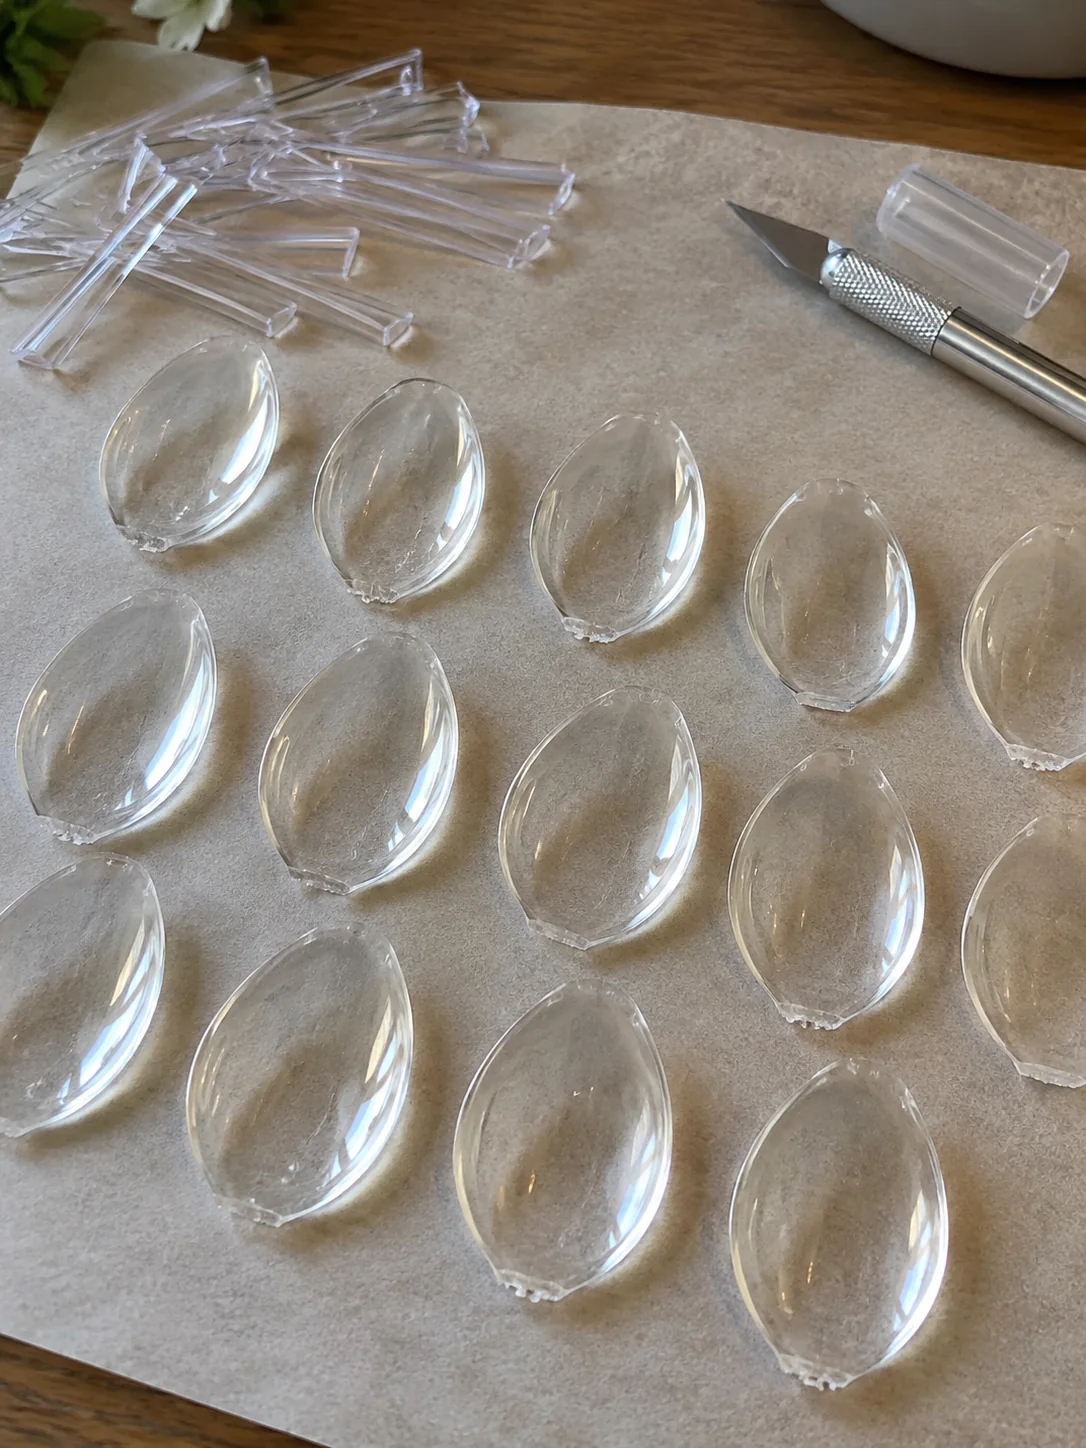
Leave the spoons flat until the glue is completely firm and cool, about 10 to 15 minutes or longer if needed. Then, on a protected, stable surface, carefully trim each handle close to the bowl with a craft knife. Set aside the 60 rounded petal pieces and remove any rough handle fragments.
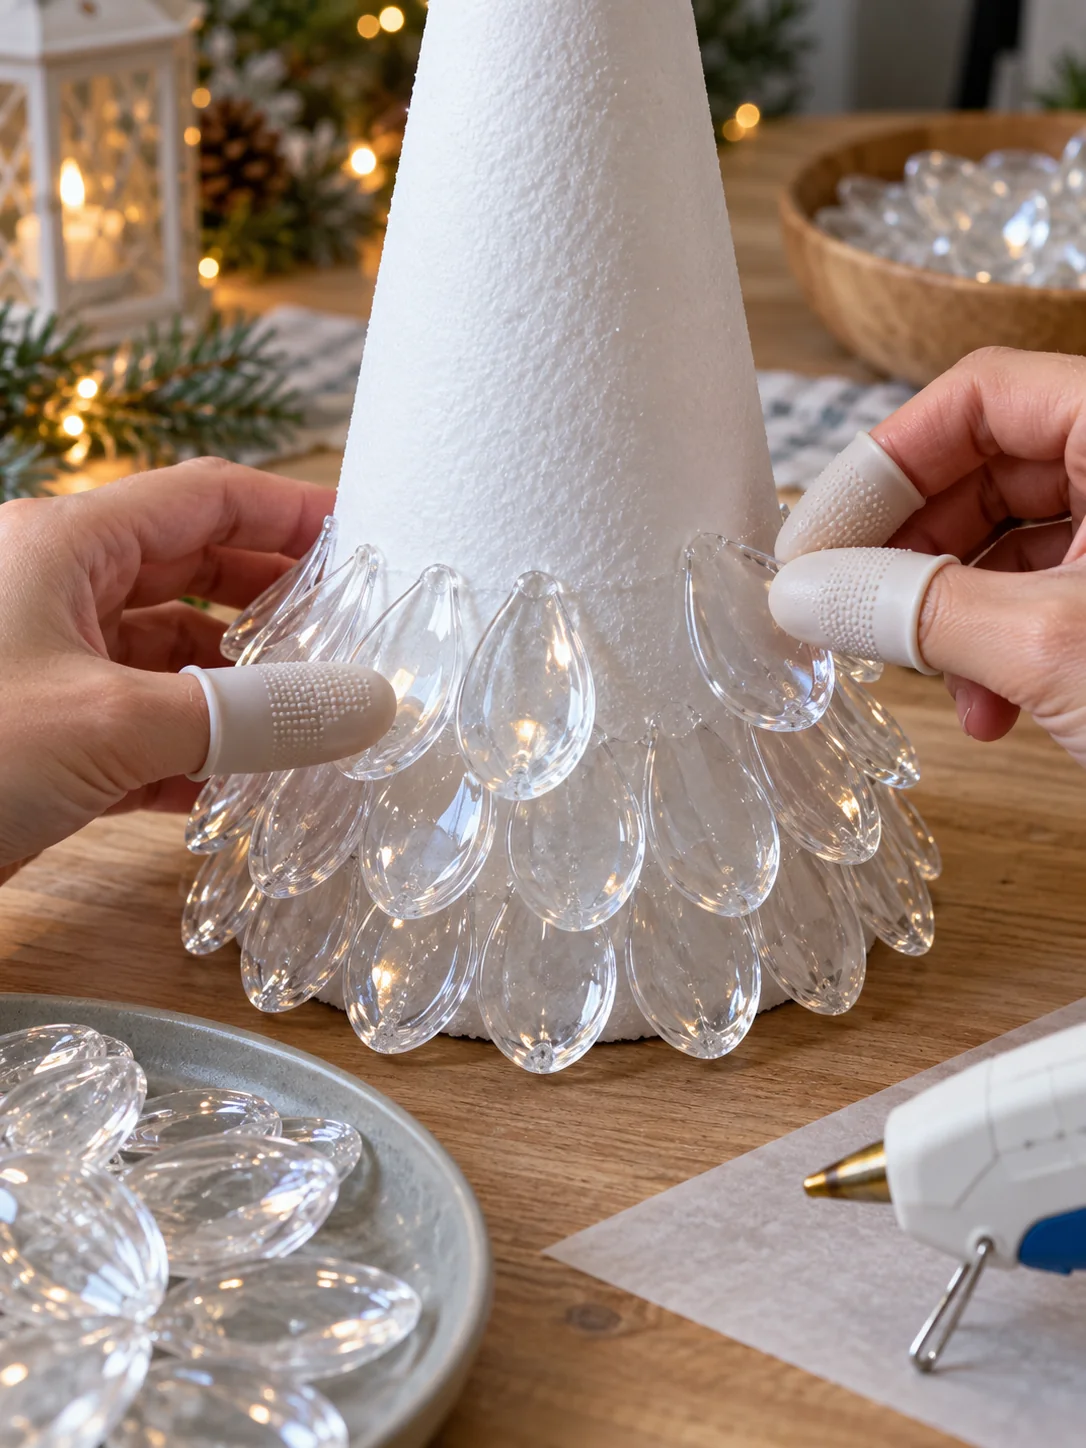
4. Build the bottom ring
Stand the foam cone upright. Starting at its base, attach spoon petals all the way around with their rounded tips pointing outward and slightly upward. Apply glue to the back of each petal where it meets the cone and hold it in place without touching the hot glue.
5. Layer toward the top
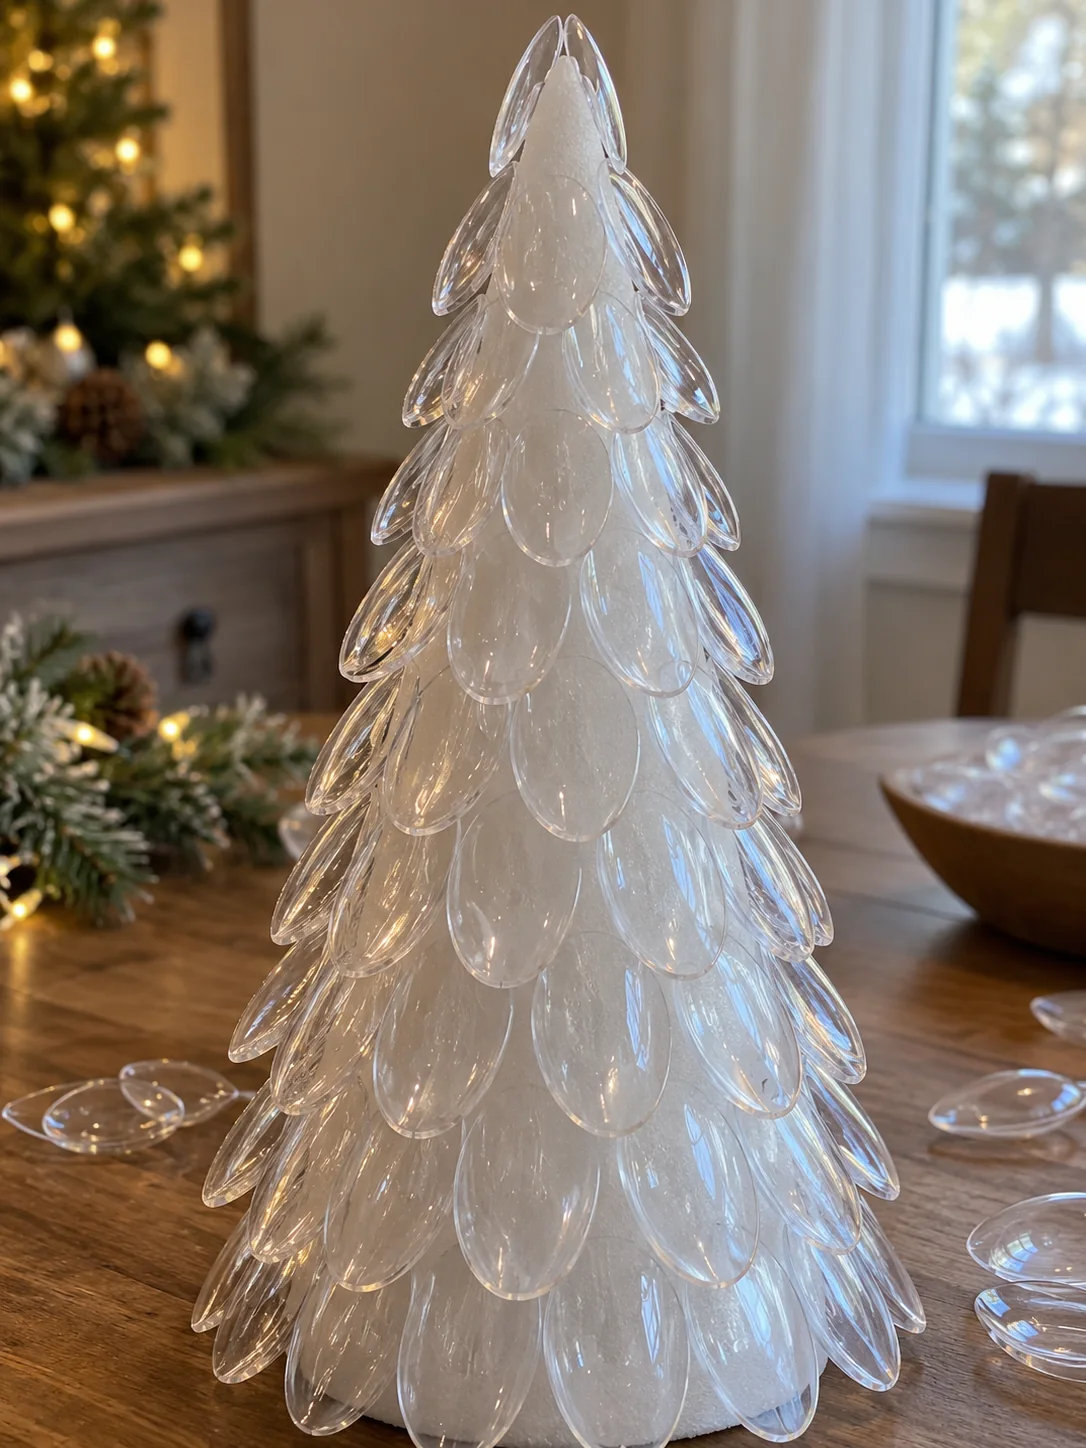
Add the next ring above the first, overlapping the lower row by roughly half an inch. Rotate the cone as you work to keep the spacing even. Continue in rings until the foam is covered, then use spare petals to fill visible gaps. Place the top petals a little closer together for a tidy point.
6. Add a subtle shimmer
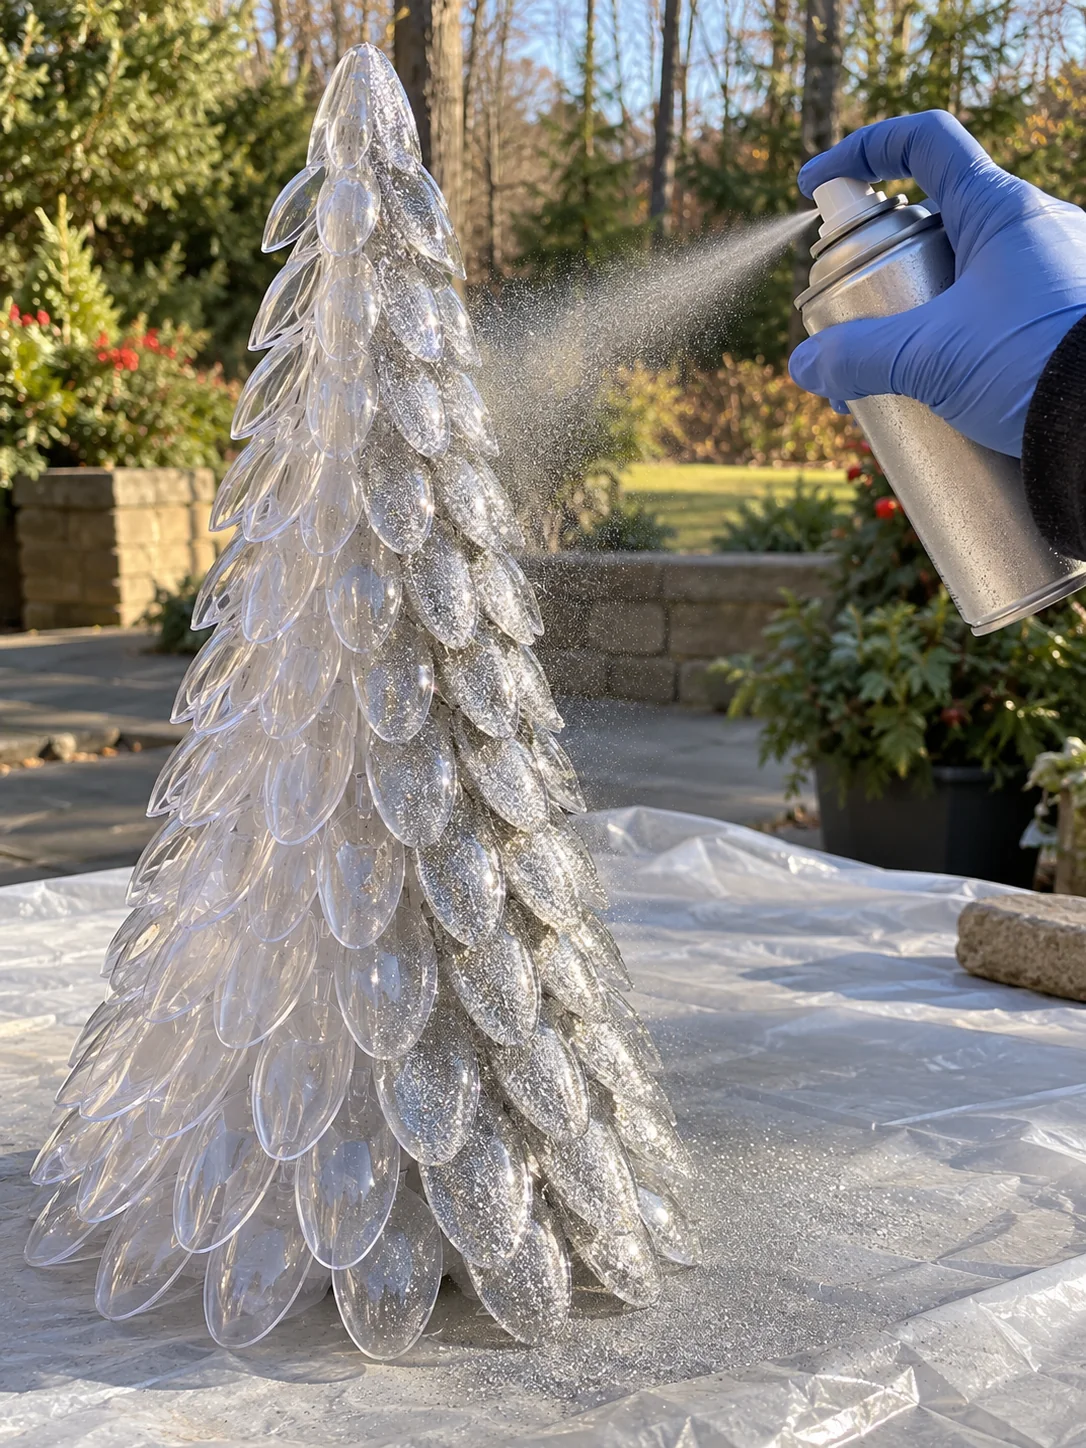
Move the tree to a protected spraying area. Apply a light coat of silver glitter spray, let it dry as directed on the can, then add a second thin coat if needed. A heavy coat can hide the transparent petal detail. Allow the finish to dry fully before bringing the tree indoors.
Variations & Tips
- Fuller silhouette: Use 70 to 75 spoons and overlap the lower rings more tightly.
- Different color: Try pearl white, champagne or icy blue glitter spray to match your holiday decor.
- Extra sparkle: A little iridescent glitter on the tacky finish creates a frosty effect.
- Quicker assembly: Fill all spoons first, let them cool, then trim every handle before starting the cone. This keeps the work organized.
- Understated look: Use only a very light mist of shimmer so the clear centers remain visible.
- Display: Place the finished tree near a lamp, window or battery-powered decorative lights to make the clear petals glow. Keep it away from heat sources and open flame.
Where to display it
This handmade tree works as a small mantel accent, a holiday table centerpiece or an entryway decoration. Set it on a firm, level surface where it will not be knocked over. Because it is made from plastic, foam and glue, it is decorative only; keep it away from candles and other heat sources.
Quick Craft Card: Sparkling Plastic Spoon Tree
Materials: 60 clear plastic spoons, one 12-inch foam cone, hot glue gun and clear glue sticks, craft knife, silver glitter spray, parchment paper and a metal tray.
- Protect the table and arrange the spoons flat on a tray.
- Fill each spoon bowl nearly to the rim with clear hot glue.
- Let the glue cool completely; carefully trim away the handles.
- Glue the petals around the foam cone in overlapping rings, starting at the base.
- Fill gaps, shape the point and apply two light coats of glitter spray in a suitable spraying area.
- Let the tree dry completely before display.
Safety: Avoid touching hot glue, cut on a stable surface, and follow the spray can’s ventilation and flammability directions.