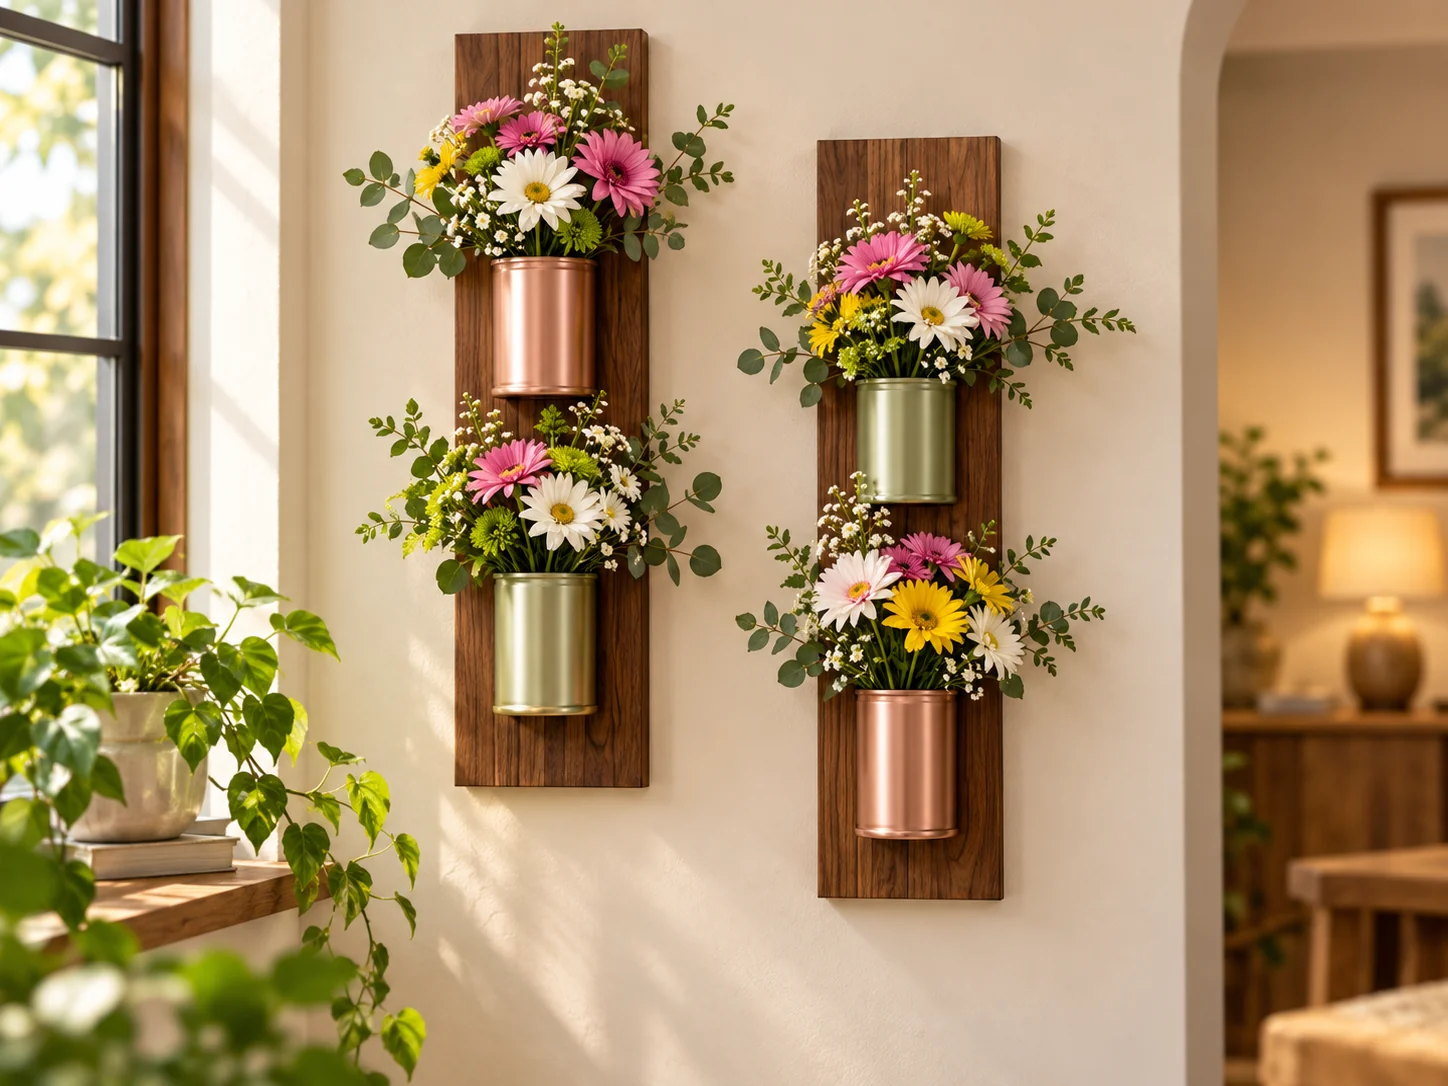
Don’t toss those empty cans! With a little paint and a narrow piece of wood, they can become a wall-mounted display for fresh flowers, dried stems, or faux greenery. This simple upcycling project turns everyday packaging into colorful, compact décor for a kitchen, hallway, or covered patio.
The design in the photo uses painted cans in warm copper, soft green, and gold. A dark wood backing keeps the colors grounded and gives each can a secure place to sit. Make one board with three cans or hang two boards side by side for a fuller display. The project is especially useful when you want a floral accent without taking up counter space.
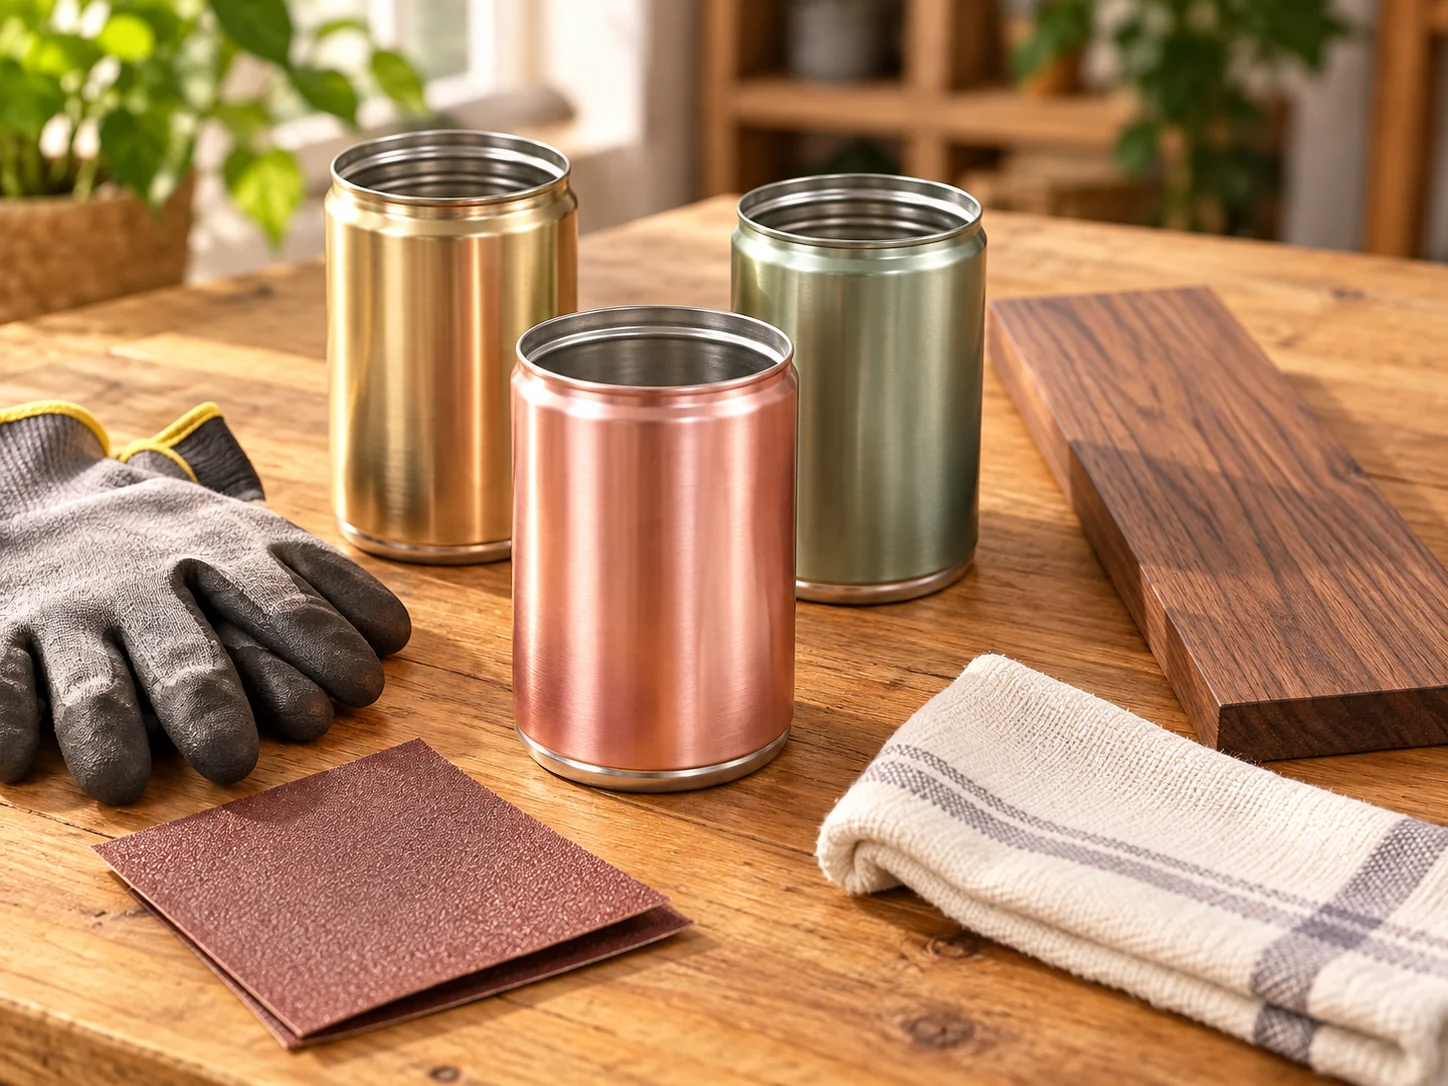
What You’ll Need
- Three clean, empty metal cans of similar size, with labels removed
- One narrow wood board, long enough to leave space between the cans
- Fine-grit sandpaper, a cloth, and protective work gloves
- Spray paint suitable for metal in your chosen colors, plus primer if the paint requires it
- Three metal pipe straps or sturdy brackets sized to fit the cans, with short screws for the board
- A drill or screwdriver, a ruler, and a pencil
- Appropriate wall screws and anchors for your wall type
- Flowers or greenery, and small removable water containers if using fresh stems
How to Turn Empty Cans into Wall Flower Holders
1. Clean and prepare the cans
Remove the labels and adhesive, wash the cans thoroughly, and let them dry completely. Check every rim before handling: freshly opened cans can have sharp edges. Wear gloves and smooth rough spots with a suitable metal file or fine sandpaper. If a rim remains sharp, choose another can. Lightly scuff the outside so the paint can grip, then wipe away dust and grease.
2. Paint in thin coats
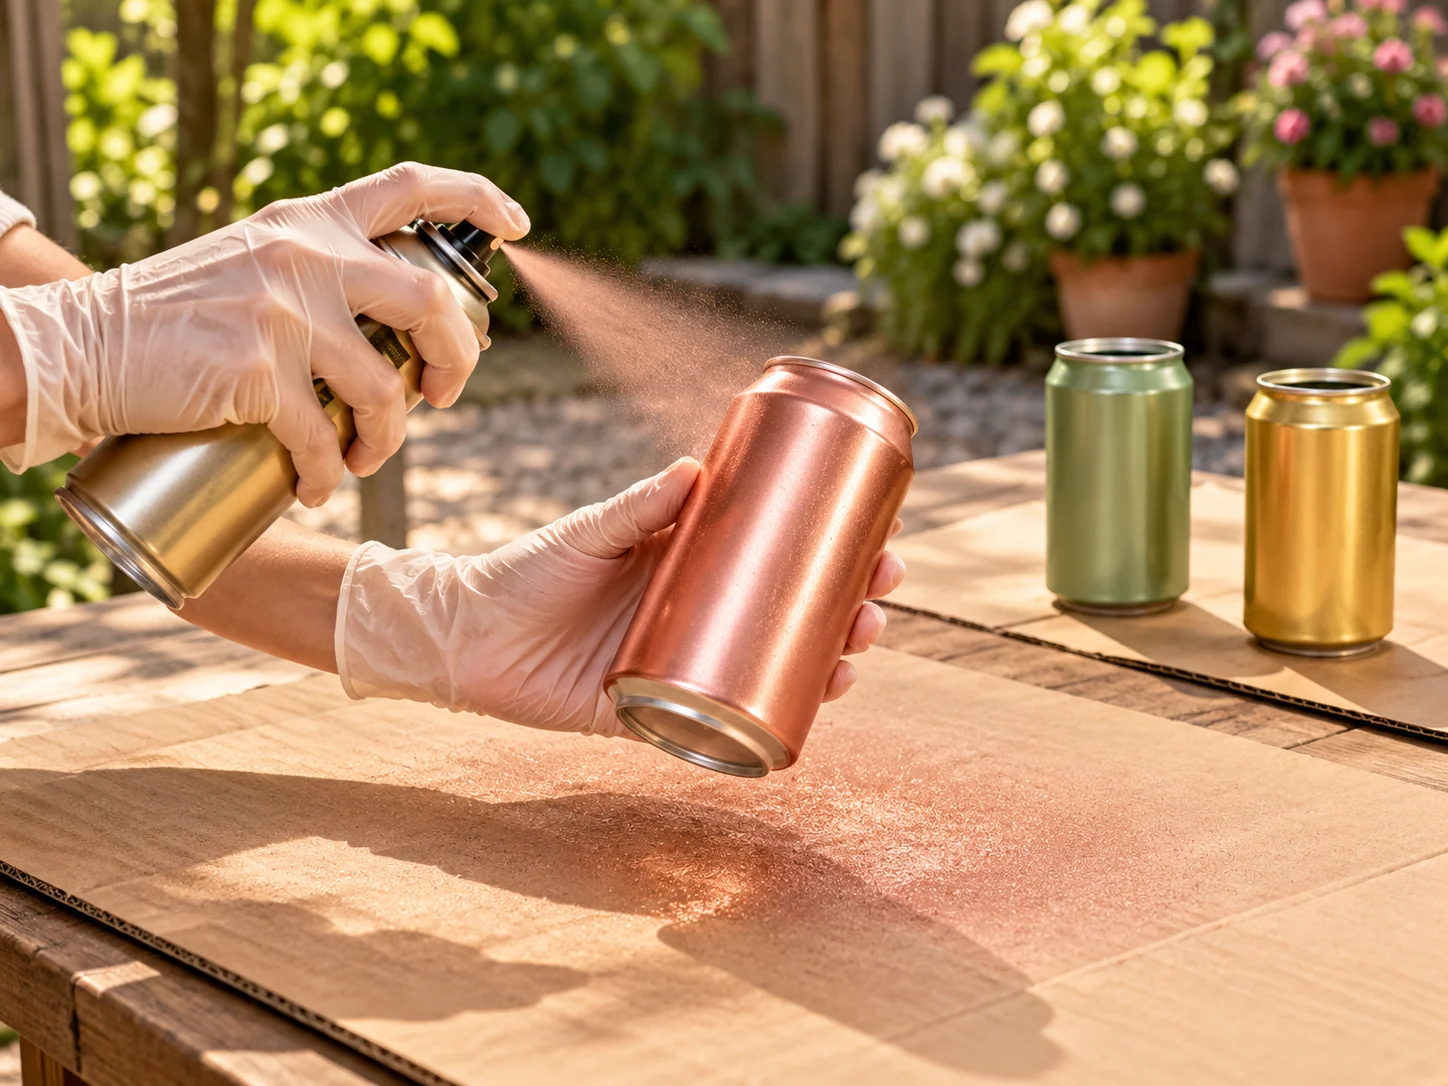
Move the cans to a well-ventilated outdoor work area and cover the surface with cardboard. Follow the paint manufacturer’s directions for priming, spraying distance, drying, and curing. Apply several light coats instead of one heavy coat, rotating each can to cover the sides evenly. A mix of copper, muted green, and gold echoes the reference look, but one color across all three cans also works beautifully.
3. Fix the cans to the board
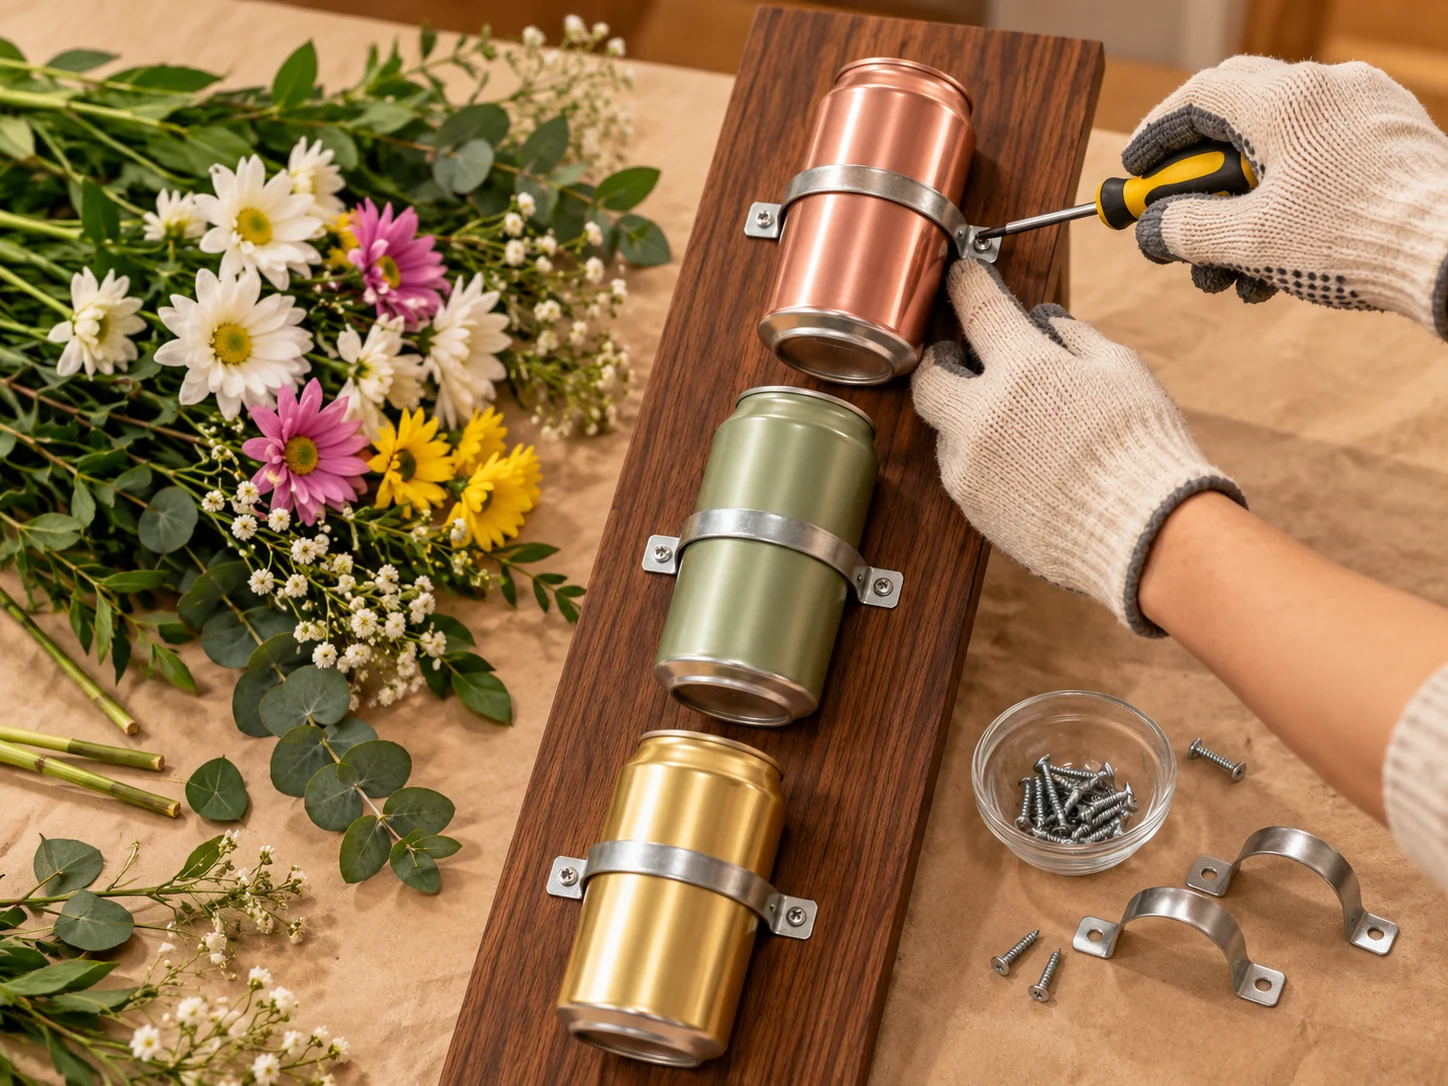
Lay the board flat and arrange the dry cans before marking any holes. Leave enough room above each can for the flowers to spread without hiding the can below it. Mark the center of each position, pre-drill if needed, and attach a metal strap or sturdy bracket with screws short enough that they will not pierce the back of the board. Tighten until each can is secure but not crushed. Test the arrangement while the board is still on the workbench.
4. Mount and fill the display
Choose a wall that can support the finished board, cans, and flowers. Fasten into a stud when possible, or use wall anchors rated for the combined weight and suitable for the wall material. Keep the display away from heat sources and places where it might be bumped. Once the board is firmly mounted, add the flowers. For fresh stems, slip a small removable, leakproof container inside each can so you can change the water without wetting the wood or encouraging rust. Dried or artificial flowers are the easiest low-maintenance choice.
Variations & Tips
Try a different finish. Matte black and white make a modern version; terracotta and sage suit a softer, garden-inspired room. Paint the board before assembly if you prefer a coordinated look.
Change the scale. Use smaller cans for herbs or short stems, or make several single-can boards instead of one long piece. Keep the weight modest and use hardware matched to the wall.
Make watering simple. Do not pour water directly into a painted can mounted above a finished wall. A removable liner or vial protects the paint, board, and wall and makes cleaning easier.
Keep the finish looking fresh. Dust the cans with a soft cloth and replace damp flower water regularly. Touch up chips only after removing the cans from the wall and following the paint directions.
Frequently Asked Questions
Can I use any kind of empty can?
Choose clean, undamaged metal cans that fit your mounting straps. Avoid cans with sharp, corroded, or badly bent rims. A smooth rim matters because you’ll reach into the can when arranging stems.
Can I grow plants directly in the cans?
It’s better to use the mounted cans as holders for small removable pots. Direct planting needs reliable drainage, and excess water can stain the wall or damage the wood.
How many cans should go on one board?
Three is a balanced starting point, but the correct number depends on the board size and the weight the wall hardware can safely carry. Space the cans evenly and test the assembly before hanging it.