In the world of baking, presentation can be just as important as flavor. A beautifully frosted cake not only looks appealing but also adds to the overall experience of enjoying a sweet treat. As home bakers constantly search for new techniques to perfect their creations, unconventional methods often emerge from the depths of the internet.
One such method that recently caught my attention involved using a hair dryer to achieve a smooth, glossy finish on a frosted cake. Intrigued by the idea and eager to see if this hack could elevate my cake decorating skills, I decided to put it to the test. With my bathroom hair dryer in hand and a freshly frosted layer cake ready for transformation, I embarked on this unique culinary experiment.
1. The Viral Hack: Using a Hair Dryer to Smooth Frosting
The concept of using a hair dryer on frosted cakes has been circulating among baking enthusiasts looking for a quick and easy way to achieve a polished finish. The idea is simple: by applying gentle heat, the surface of the frosting softens, allowing it to settle into a smooth, glassy layer. This method is said to work particularly well for buttercream frosting, which can sometimes have a rough or uneven texture.
In terms of execution, the hair dryer should be set to a low heat and low speed setting to avoid melting the frosting too quickly or blowing it away. The dryer is held approximately 6 to 12 inches away from the cake, and the heat is applied evenly across the surface. This process is supposed to take just a few minutes, during which the frosting gradually transforms into a sleek, professional-looking finish.
2. Setting the Scene: A Freshly Frosted Layer Cake on the Line
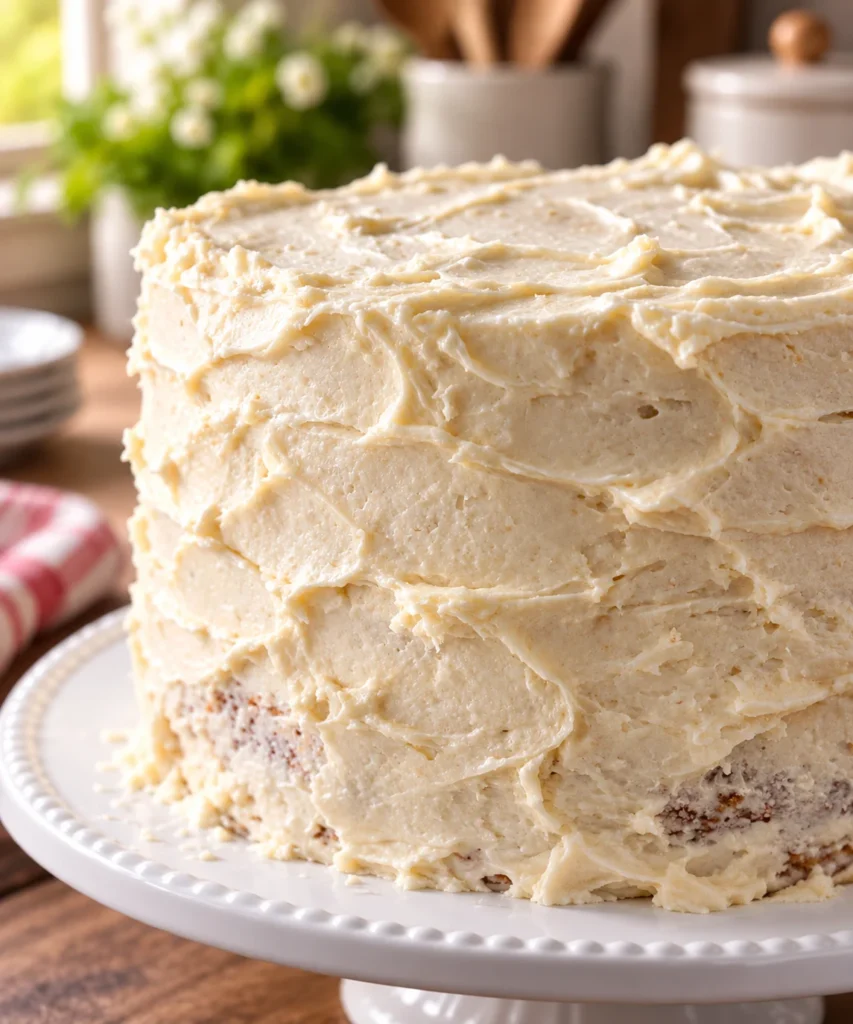
Before beginning the experiment, I prepared a classic vanilla layer cake, generously coated with a thick layer of homemade buttercream frosting. The cake stood at about 8 inches tall, with three delicate layers sandwiched between smooth, creamy filling. The initial frosting job was somewhat rustic, with visible spatula marks and a few uneven edges.
My goal was to see if the hair dryer trick could turn this homemade delight into a work of art. I set the cake on a rotating cake stand to ensure even heat distribution and placed it on a large tray to catch any potential drips or crumbs. With everything in place, I was ready to see if this viral hack could live up to its promise.
3. Warming Up: How I Prepped My Bathroom Hair Dryer for Kitchen Duty
To prepare my bathroom hair dryer for its new role as a cake decorating tool, I first ensured it was clean and free of any hair or dust that could potentially contaminate the frosting. I then set it to the lowest heat and speed settings, as recommended by various online sources.
Before pointing the dryer at the cake, I tested it on my hand to gauge the heat intensity and airflow. Satisfied with the gentle warmth, I felt confident that it would safely interact with the delicate buttercream without causing any immediate damage. With the dryer in hand, I approached the cake with a mix of curiosity and caution.
4. Minute One: The Frosting Starts to Shine and Soften
As I began to apply the warm air to the cake, I noticed an immediate change in the frosting’s appearance. The initially matte surface started to take on a slight shine, suggesting that the buttercream was beginning to soften. The effect was subtle, but it was clear that the heat was having an effect.
Encouraged by this early transformation, I continued to move the dryer slowly around the cake, ensuring that all sides received an even amount of heat. I was careful to maintain a consistent distance to prevent any areas from overheating or melting too quickly.
5. Minute Two: Subtle Melting Turns Into Noticeable Sliding
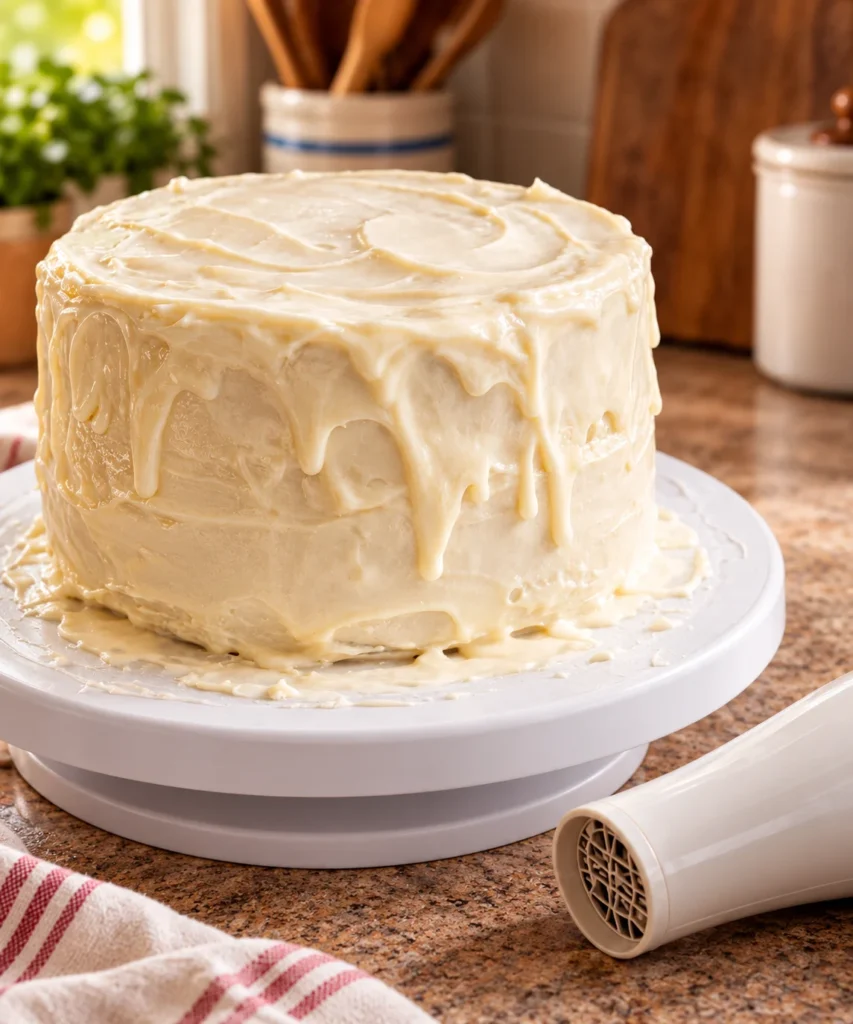
By the second minute, the frosting’s texture had noticeably changed. The glossy finish was becoming more pronounced, but with it came an unexpected development—the frosting began to slide slightly down the sides of the cake.
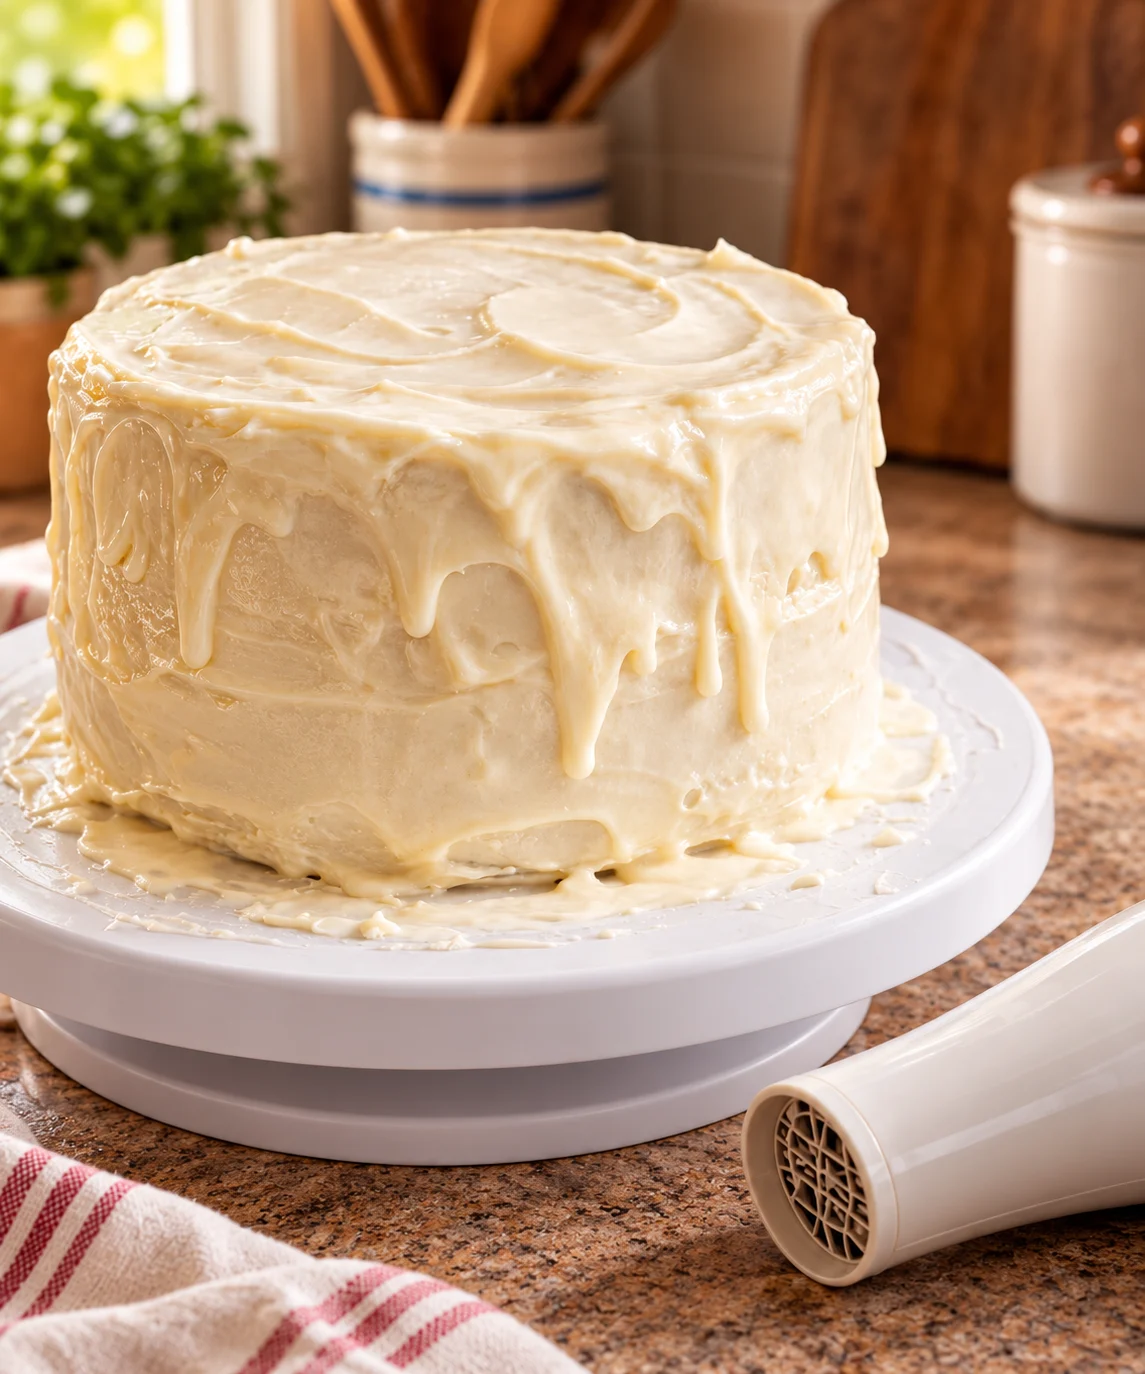
The increased softness from the heat was causing the buttercream to lose its grip, leading to small drips forming along the bottom edge. While the top of the cake looked smoother, the sides were now showing signs of unevenness, as gravity slowly pulled the frosting downward.
6. Minute Three: Crumbs, Cracks, and Unexpected Texture Changes
As I continued the process into the third minute, new challenges arose. The softened frosting started to reveal small imperfections, such as crumbs that became visible as the layers beneath shifted. Additionally, fine cracks began to form on the frosting’s surface, likely due to uneven melting.
These changes were a stark reminder that while the hair dryer technique could create a shiny finish, it also posed risks to the cake’s structural integrity. The heat was exposing underlying issues that were previously masked by the original frosting application.
7. Minute Four: Structural Trouble as the Layers Begin to Shift
At the four-minute mark, the situation became more precarious. The heat from the hair dryer was not only affecting the frosting but also the cake layers themselves. The once-stable tiers began to shift slightly, as the softened frosting struggled to hold them in place.
This movement caused further distortion of the cake’s shape, and I noticed that the layers were no longer perfectly aligned. It became clear that the prolonged exposure to heat was compromising the cake’s overall structure, raising concerns about its ability to remain intact.
8. Minute Five: The Final State of the Cake—Glossy, Messy, or Genius?
As I reached the five-minute mark, I stepped back to assess the final state of my cake. The results were mixed: the top of the cake boasted a glossy, glass-like finish that was undeniably eye-catching. However, the sides told a different story, with uneven edges, visible drips, and misaligned layers.
While the hair dryer hack had succeeded in creating a smooth shine, it also introduced new challenges that detracted from the cake’s overall appearance. The technique had potential, but it demanded careful control and perhaps a shorter exposure to heat to avoid these unwanted side effects.
9. What Actually Happened to the Buttercream (and the Cake Itself)
The buttercream, when exposed to the warm air of the hair dryer, underwent several changes. Initially, the heat caused the fats in the buttercream to soften, leading to a glossy appearance. However, as the process continued, the frosting began to lose its stability, resulting in sliding and dripping.
The cake itself was affected by the shifting frosting, as its layers began to move and misalign. This was likely due to the softened buttercream’s inability to support the weight of the layers above. Ultimately, the combination of heat and gravity proved too much for the delicate balance of cake and frosting.
10. Food Safety Red Flags: Bathroom Tools in the Kitchen
Using a bathroom hair dryer in the kitchen raises several food safety concerns. Hair dryers are not designed for food use and may contain dust, hair, or other contaminants that could transfer to the cake. Additionally, the heat settings on hair dryers are not calibrated for culinary purposes, making it challenging to control the temperature precisely.
For those considering this hack, it’s essential to thoroughly clean and sanitize the hair dryer beforehand. However, it’s worth noting that using kitchen-specific tools is always a safer and more reliable option for food preparation.
11. Better Ways to Get Silky-Smooth Frosting Without a Hair Dryer
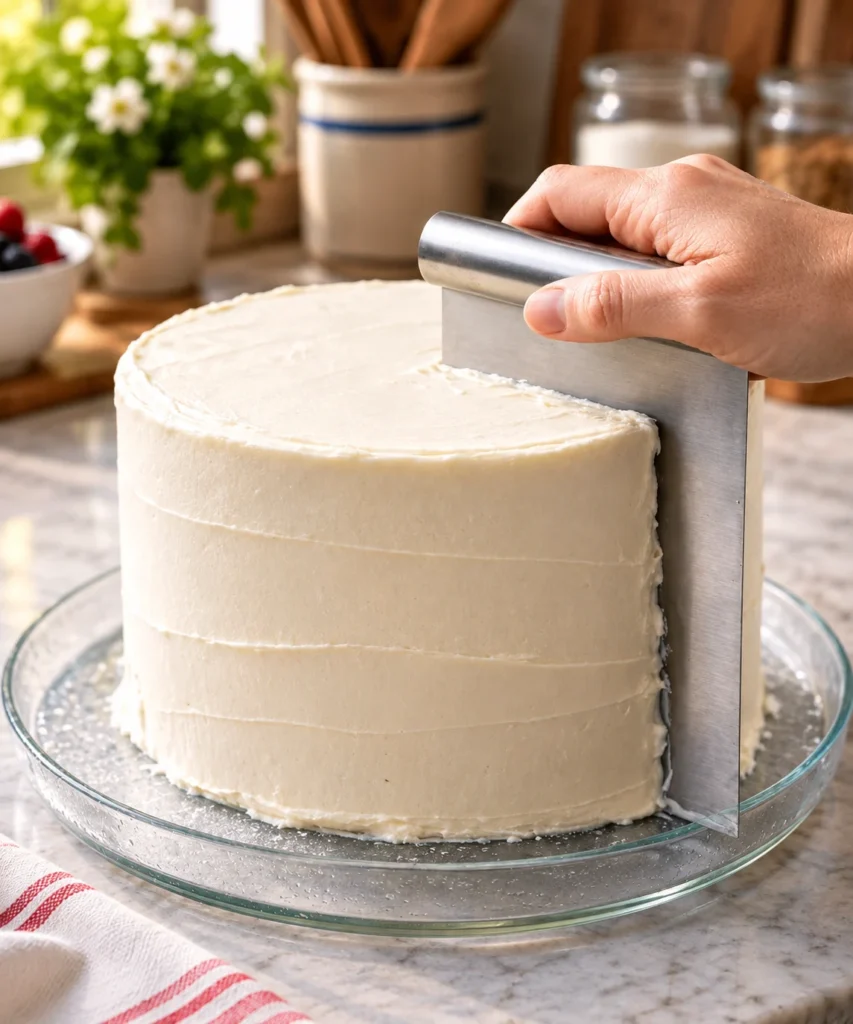
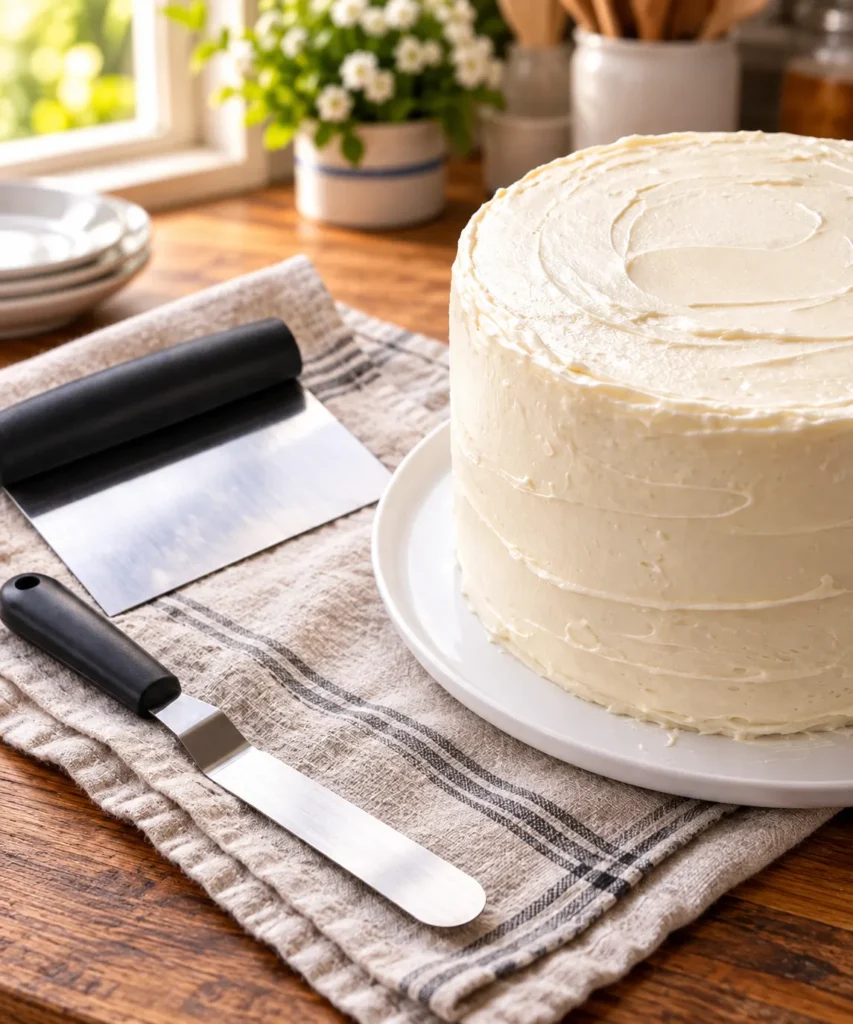
There are several alternative methods to achieve smooth frosting without resorting to a hair dryer. One popular technique involves using a heated metal spatula or bench scraper. By dipping the tool in hot water, drying it, and then running it along the frosting, bakers can achieve a smooth finish similar to the hair dryer effect, without the associated risks.
Another option is to use a cake smoother, a tool specifically designed for creating even frosting surfaces. Additionally, ensuring the cake is well-chilled before frosting can help maintain its structural integrity and prevent sliding. These methods offer more control and maintain food safety standards, making them preferable choices for home bakers.