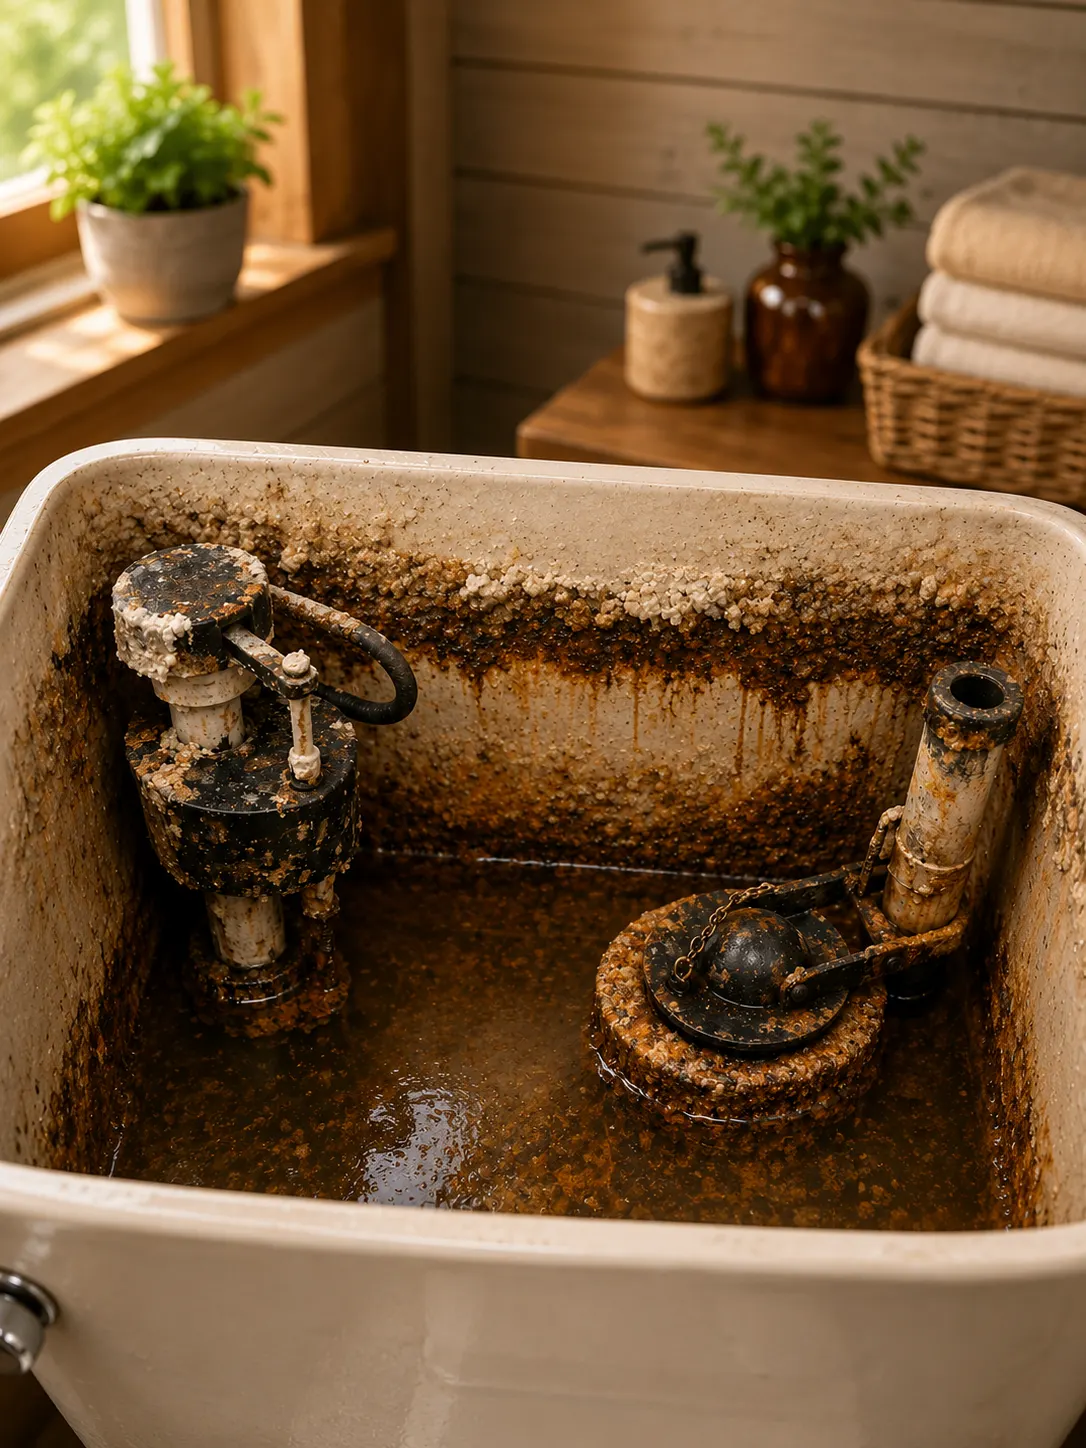
You know that moment when you lift the toilet tank lid and immediately think, “Wow… I probably should’ve looked in here sooner”?
Yeah.
Mineral deposits around the fill valve. Brownish staining near the waterline. A little scale on the metal parts. Maybe some buildup around the flapper or flush valve.
And suddenly that bottle of white vinegar under the sink starts looking very tempting.
The vinegar in toilet tank overnight trick sounds simple enough: pour white vinegar into the tank, let it sit for hours, then flush away years of mineral buildup.
White vinegar is acidic, so it can loosen certain mineral deposits. That part makes sense.
But leaving a large amount of vinegar soaking inside a toilet tank overnight is not something I’d automatically recommend for every toilet. The tank contains rubber seals, gaskets, plastic valves, metal hardware, and other parts that manufacturers may want cleaned in specific ways. Kohler, for example, tells owners to use cleaners compatible with the materials, rinse cleaners away, and not leave cleaning products sitting or soaking on surfaces. (techcomm.kohler.com)
So, could vinegar make a neglected tank look cleaner?
Possibly.
Would I pour it in and leave it there all night without checking the toilet manual first?
Nope.
Here’s the better way to think about this popular cleaning trick.
Why Toilet Tanks Get So Dirty
The water inside a toilet tank looks clean, but that doesn’t mean the tank stays spotless.
Every refill brings minerals and tiny amounts of sediment into the tank.
If you have hard water, calcium and magnesium deposits can collect on internal surfaces.
Iron in the water may leave reddish or brown staining.
Sediment can settle near the bottom.
Rubber seals age.
Plastic parts can collect scale.
And because most of us rarely remove the lid unless something is broken, the buildup can sit there for years.
Honestly, the toilet tank is basically one of the most ignored places in the house.
We clean the bowl constantly.
The tank gets a checkup every presidential administration.
What White Vinegar Actually Does
White vinegar contains acetic acid.
That mild acid can react with and loosen certain mineral deposits, especially carbonate-based scale.
That’s why vinegar is often used around faucets, showerheads, and some other hard-water areas.
Inside a toilet tank, it may help soften light mineral buildup on compatible surfaces.
But vinegar is not a universal cleaner.
It doesn’t repair a worn flapper.
It doesn’t fix a leaking fill valve.
It doesn’t correct a bad chain adjustment.
And it won’t magically restore rubber parts that are already cracked or deteriorated.
So if your toilet is running, leaking, or refilling constantly, cleaning may not be the actual answer.
What Might Happen After an Overnight Vinegar Soak
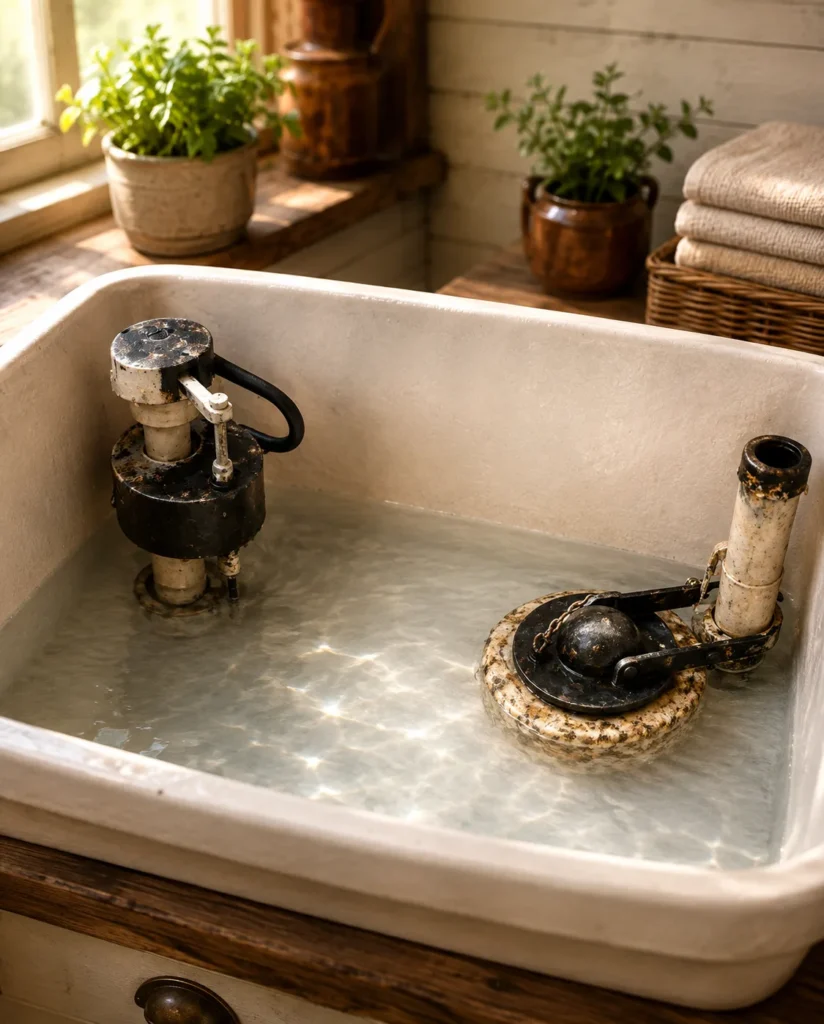
If the tank has mineral deposits, you may notice they look softer or easier to wipe away the next morning.
The water may also look cloudy or contain loosened residue.
Some staining may improve.
That can make the trick feel incredibly satisfying.
But don’t confuse loosened mineral scale with a complete toilet repair.
Kohler notes that toilets can run or leak because of issues such as dirty or worn flappers, incorrect water level, fill-valve problems, or debris in the valve. (kohler)
If the tank keeps refilling after you clean it, something mechanical may still need attention.
The Big Question: Is Vinegar Safe for Toilet Tank Parts?
That depends on the toilet, the concentration, the exposure time, and the materials inside the tank.
Toilet tanks can contain:
- Rubber flappers
- Silicone or rubber seals
- Plastic fill valves
- Plastic flush valves
- Metal bolts
- Gaskets
- Washers
- Chains
- Specialty coatings
Manufacturers may have specific cleaning instructions for these materials.
That’s why I wouldn’t make “leave vinegar overnight” a universal toilet rule.
Kohler’s care guidance specifically says to verify that a cleaner is safe for the material, rinse completely after application, and avoid allowing cleaners to sit or soak on surfaces. (techcomm.kohler.com)
That’s enough for me to treat an overnight soak cautiously.
Why the Manufacturer’s Instructions Matter
Toilets may look simple, but the internal hardware varies a lot.
One model uses a traditional flapper.
Another uses a canister seal.
One has a standard fill valve.
Another has proprietary components.
Even the rubber compounds can differ.
That means a cleaning method that appears harmless in one tank may not be ideal in another.
Before putting vinegar, bleach, tablets, acids, or any other cleaner inside the tank, find the model number and check the care instructions.
Yes, appliance and plumbing manuals are boring.
Still cheaper than replacing a leaking tank valve.
Don’t Confuse Vinegar With In-Tank Toilet Tablets
This is another important distinction.
Many toilet manufacturers warn against certain in-tank cleaning products, especially chlorine-based tablets, because prolonged chemical exposure can damage internal components.
Kohler warns that chlorine-containing in-tank cleaners can seriously damage tank fittings and lead to leaks or property damage. Fluidmaster gives a similar warning for chlorine or bleach drop-in cleaners because they can damage tank components. (techcomm.kohler.com)
Vinegar isn’t chlorine bleach.
But these warnings highlight the bigger principle:
The chemicals sitting in your toilet tank matter.
The tank isn’t just a ceramic bucket.
Never Mix Vinegar and Bleach
This deserves its own giant warning.
Do not mix white vinegar with chlorine bleach.
Acid and bleach can react to release dangerous chlorine gas.
That includes situations where you’ve recently used a bleach-based toilet cleaner and then decide to add vinegar.
If you don’t know what chemicals are already in the tank or bowl, don’t start combining products.
Flush thoroughly according to product directions and wait until you know it’s safe to proceed.
More cleaning chemicals do not equal a cleaner toilet.
Sometimes they equal a very bad afternoon.
Don’t Mix Vinegar With Other Toilet Cleaners Either
The safest approach is one cleaner at a time.
Do not casually combine vinegar with:
- Bleach
- Toilet bowl cleaner
- Acid-based descalers
- Ammonia-containing products
- In-tank tablets
- Rust removers
- Mystery cleaners left by the previous homeowner
Read labels.
Follow directions.
If the label says not to mix with other products, believe it.
Your toilet does not need a chemistry experiment.
A Safer Way to Clean a Toilet Tank
If I wanted to clean a neglected toilet tank, I’d start mechanically rather than soaking everything overnight.
First, turn off the water supply valve.
Then flush the toilet to drain most of the water from the tank.
Remove the lid carefully and place it somewhere secure.
Now you can actually see what you’re dealing with.
Is there light mineral scale?
Sediment?
Rust staining?
A damaged flapper?
A leaking valve?
This inspection tells you whether you have a cleaning problem or a repair problem.
That distinction matters.
Step 1: Turn Off the Water
Find the shutoff valve near the toilet.
Turn it gently to stop the water supply.
Don’t force a valve that feels seized.
Older shutoff valves can leak when disturbed.
If the valve won’t move or starts leaking, stop and deal with that issue rather than escalating the situation.
Once the water is off, flush the toilet.
Hold the lever if needed to drain as much water as possible from the tank.
Step 2: Remove the Tank Lid Carefully
Toilet tank lids are heavy and surprisingly easy to crack.
Lift straight up.
Use both hands.
Set it on a folded towel or another protected surface.
Don’t lean it precariously against the wall.
A replacement tank lid can be annoyingly expensive for what looks like “just a piece of porcelain.”
Treat it like the fragile little diva it is.
Step 3: Inspect the Internal Parts
Before cleaning anything, look closely.
Check the flapper or canister seal.
Look at the chain.
Inspect the fill valve.
Check the overflow tube.
Look for cracks, obvious wear, or heavy deposits.
Kohler recommends inspecting components such as the flapper, canister seal, chain, fill valve, and overflow tube when troubleshooting running toilets. (kohler)
If a rubber seal is visibly cracked or deteriorated, cleaning isn’t going to reverse age.
Replace it with the correct part.
Step 4: Remove Loose Sediment
If you see loose debris at the bottom of the tank, remove it carefully.
A sponge can help pick up remaining water and sediment.
Avoid knocking or bending internal components.
Don’t scrape porcelain aggressively.
And don’t disassemble valves unless you know what you’re doing.
Sometimes the gross-looking stuff is mostly sediment that comes out without any chemical soak at all.
That’s the kind of easy win I like.
Step 5: Clean Accessible Surfaces Gently
Use a soft cloth or sponge with a cleaner approved for your toilet’s materials.
Kohler recommends soft, nonabrasive cleaning tools and cautions against abrasive brushes or scouring pads on applicable surfaces. (techcomm.kohler.com)
For mild mineral buildup, a manufacturer-approved diluted vinegar treatment may be appropriate on certain surfaces—but check first.
I’d rather apply a small amount briefly and wipe it away than flood the entire tank and leave every component soaking overnight.
More control.
Less guessing.
Step 6: Rinse Thoroughly
Once cleaning is complete, rinse away cleaner residue.
This part gets skipped surprisingly often.
Kohler’s care guidance says cleaners should be rinsed completely from surfaces after application. (techcomm.kohler.com)
Use clean water as appropriate.
Then turn the water supply back on.
Let the tank fill.
Flush several times.
Watch the refill cycle.
Make sure everything shuts off properly.
Why the Flapper Matters So Much
A flapper creates the seal that keeps tank water from slowly leaking into the bowl.
If the flapper is dirty, misaligned, warped, or worn, water can leak past it.
Then the fill valve turns on periodically to replace that lost water.
You may hear the toilet mysteriously refill even though nobody used it.
Kohler specifically lists worn or dirty flappers and canister seals as common causes of intermittent leaking or running. (Kohler Assist)
If cleaning the sealing surface doesn’t solve the problem, replacement may be the better answer.
How to Check for a Slow Toilet Leak
A simple dye test can help.
Add a few drops of food coloring to the tank water.
Do not flush.
Wait about 10 to 15 minutes.
If colored water appears in the bowl, water is leaking from the tank into the bowl.
Kohler recommends this type of dye test when checking flapper or canister seal problems. (kohler)
If the seal is leaking, cleaning mineral deposits may help if debris is preventing a proper seal.
But worn rubber may need replacement.
Watch the Water Level
The tank water level shouldn’t rise so high that water continuously spills into the overflow tube.
If that happens, the toilet may run constantly.
Kohler lists excessive water level and fill-valve issues among common causes of running toilets. (Kohler Assist)
If the water is entering the overflow tube, adjust the fill valve according to your toilet’s instructions.
Again, vinegar isn’t fixing that.
Wrong problem.
Wrong solution.
What About Mineral Buildup on the Fill Valve?
Hard-water deposits can collect on various tank components.
But fill valves have moving internal parts.
I wouldn’t submerge or disassemble one in vinegar unless the manufacturer specifically directs that procedure.
Kohler offers model-specific methods for flushing debris from fill valves, which tells you something important: sometimes the correct maintenance procedure is mechanical rather than chemical. (Kohler Assist)
Follow the part manufacturer’s instructions.
If the valve remains unreliable after cleaning, replacement is often inexpensive compared with fighting the same problem repeatedly.
Can Vinegar Remove Hard-Water Rings in the Tank?
It may loosen some mineral deposits on compatible surfaces.
But thick scale may require repeated gentle cleaning rather than one heroic overnight soak.
Think gradual.
Apply an approved cleaner.
Let it work for the recommended contact time.
Wipe.
Rinse.
Repeat later if needed.
This gives you more control than exposing every internal component to acid for eight hours.
The goal is cleaning the tank.
Not marinating the plumbing.
What About Rust Stains?
Orange or reddish staining may come from iron in the water or corrosion.
Vinegar can sometimes affect light mineral staining, but not every rust-looking mark has the same cause.
Check metal bolts and components for actual corrosion.
If hardware is heavily rusted, replacement may be more sensible.
Don’t keep scrubbing a failing bolt until it becomes thinner.
A toilet tank full of water sitting above the bathroom floor is not where I like experimenting with weakened hardware.
Could Vinegar Damage Rubber Seals?
Acids and elastomers can interact differently depending on material and exposure.
That’s precisely why generic advice is risky.
A brief wipe with diluted vinegar on one type of seal is not the same as soaking every rubber component overnight.
Manufacturers choose specific materials for flappers, seals, and gaskets.
Without knowing the exact composition and approved care method, I wouldn’t assume prolonged acid exposure is harmless.
If the seal is already brittle or worn, replace it.
Rubber eventually ages.
No cleaning hack stops time.
Can Vinegar Damage Metal Parts?
Again, material matters.
Toilet tanks may contain stainless steel, brass, plated hardware, chains, or other metals.
Acidic solutions can interact with metals differently.
A short cleaning contact may be fine for some components.
Long exposure may not be.
If you’re dealing with heavy corrosion, identify the part and consider replacement rather than soaking it for hours.
The cheapest plumbing part is usually cheaper than water damage.
Should You Clean the Toilet Tank Every Month?
I wouldn’t automatically deep-clean a toilet tank monthly.
Most tanks don’t need that level of attention.
Instead, inspect occasionally.
If the toilet works normally and the tank has only a little harmless mineral staining, you don’t need to wage war on it every four weeks.
Cleaning frequency depends on water quality, toilet design, and buildup.
Hard-water homes may need more attention.
Soft-water homes may need much less.
Maintenance should respond to actual conditions.
Not a viral cleaning calendar.
What If the Tank Smells Bad?
A toilet tank should not usually have a strong foul odor.
If it smells musty or unusual, inspect for standing debris, contaminated components, or other issues.
If the odor resembles sewer gas, the source may not be the tank at all.
Persistent sewer odor can involve plumbing traps, venting, seals, or drainage problems.
Don’t pour fragrance products into the tank to cover it.
That’s decorating the symptom.
Find the cause.
What If There’s Black or Slimy Buildup?
Dark buildup can come from several sources, including mineral deposits, biofilm, mold-like growth, or deterioration of rubber components.
Clean accessible areas using an appropriate method and inspect the parts.
Sometimes deteriorating rubber leaves black residue.
If a flapper or gasket is literally coming apart, no amount of vinegar is going to restore it.
Replace the component.
A $10 part can solve what looks like a mysterious cleaning problem.
Don’t Scrub Rubber Parts Aggressively
This is another easy mistake.
You see buildup on a flapper and attack it with a stiff brush.
Then the sealing edge gets scratched or distorted.
Now the toilet leaks.
Clean gently.
The sealing surface needs to remain smooth enough to stop water.
If it looks damaged after cleaning, replace the part.
Some things are meant to be cleaned.
Some things are meant to be replaced.
Knowing the difference saves time.
What About Baking Soda and Vinegar?
Ah yes.
The internet’s favorite foam show.
Mixing baking soda and vinegar creates bubbling because an acid-base reaction produces carbon dioxide.
Looks dramatic.
But the fizz doesn’t automatically mean the mixture is a superior toilet-tank cleaner.
In fact, the reaction neutralizes much of the acidity that makes vinegar useful against mineral scale.
So if your goal is acid-based descaling, immediately neutralizing that acid isn’t exactly helping.
The bubbles are entertaining.
Your mineral deposits remain unimpressed.
Why I Wouldn’t Pour a Whole Gallon of Vinegar Into the Tank
More vinegar does not necessarily equal more cleaning.
You only need enough cleaner to contact the deposit you’re addressing.
Flooding the entire tank exposes every rubber, plastic, and metal component unnecessarily.
It also creates more acidic liquid to flush away afterward.
Targeted cleaning is easier to control.
And if your manufacturer doesn’t approve prolonged vinegar exposure, more vinegar simply means more of the thing you weren’t supposed to soak the parts in.
Not ideal.
What I’d Do With a 15-Year-Neglected Toilet Tank
If a tank truly hadn’t been cleaned in 15 years, I’d expect a little adventure.
First, turn off the water.
Drain the tank.
Inspect everything.
Remove loose sediment.
Clean accessible mineral deposits gently using products appropriate for the materials.
Then inspect the flapper, seals, fill valve, bolts, and gaskets.
If parts are badly worn, replace them.
Refill the tank.
Perform a dye test.
Check the fill level.
Flush several times.
Listen.
If the toilet fills, stops, stays quiet, and doesn’t leak into the bowl, great.
No overnight acid bath required.
Common Mistakes to Avoid
Don’t pour vinegar into a tank without checking the toilet manufacturer’s care instructions.
Don’t leave cleaners soaking overnight simply because “longer must work better.”
Don’t mix vinegar with bleach.
Don’t mix random toilet chemicals.
Don’t aggressively scrub rubber seals.
Don’t ignore worn flappers and gaskets.
Don’t assume every running toilet needs cleaning.
Don’t force an old shutoff valve.
Don’t use abrasive tools on delicate surfaces.
Don’t put the tank lid somewhere it can fall.
And don’t use in-tank chlorine cleaners when your toilet or valve manufacturer warns against them. Kohler and Fluidmaster both warn that certain chlorine-based in-tank cleaners can damage components and potentially lead to leakage. (techcomm.kohler.com)
Frequently Asked Questions
Can you put white vinegar in a toilet tank?
White vinegar may help loosen certain mineral deposits, but whether it is appropriate depends on the toilet materials and manufacturer instructions. I’d check the toilet manual before using it inside the tank.
Can I leave vinegar in my toilet tank overnight?
I wouldn’t automatically recommend an overnight soak. Some manufacturer care guidance says not to leave cleaners sitting or soaking on surfaces for extended periods. (techcomm.kohler.com)
Will vinegar damage the toilet flapper?
That depends on the flapper material, vinegar concentration, and exposure time. Because flappers and seals vary, check the manufacturer’s instructions rather than assuming prolonged acid exposure is safe.
Does vinegar remove hard-water buildup?
Its acetic acid can loosen certain mineral deposits, especially light scale, on compatible surfaces.
Can I mix vinegar and bleach in the toilet tank?
No. Never mix vinegar with chlorine bleach because the combination can release dangerous chlorine gas.
Can I use baking soda with vinegar in the tank?
The mixture fizzes, but the reaction neutralizes much of the vinegar’s acidity. It isn’t automatically a better descaling method.
Why does my toilet keep running after I clean the tank?
A running toilet may have a leaking flapper, worn canister seal, fill-valve problem, incorrect water level, chain issue, or debris in the valve. (kohler)
How can I tell whether my flapper leaks?
Add food coloring to the tank and wait about 10 to 15 minutes without flushing. If color appears in the bowl, water is leaking from the tank into the bowl. (kohler)
Can in-tank toilet tablets damage parts?
Some manufacturers warn strongly against chlorine-containing drop-in tank cleaners because they can damage fittings, seals, and other components and potentially cause leaks. (techcomm.kohler.com)
Should I replace a heavily scaled fill valve?
If cleaning according to the manufacturer’s procedure doesn’t restore reliable operation, replacement may be the practical choice.
How often should I clean my toilet tank?
There’s no universal schedule. Inspect it occasionally and clean when mineral buildup, sediment, or other residue actually needs attention.
Can I use vinegar if my toilet has rubber seals?
Check the manufacturer’s guidance. Rubber compounds vary, and prolonged exposure isn’t something I’d assume is universally safe.
Final Thoughts
The vinegar in toilet tank overnight trick has one thing going for it: vinegar really can loosen some mineral deposits.
That doesn’t mean an all-night soak is automatically the best way to clean every toilet.
A tank contains more than porcelain.
There are rubber seals.
Plastic valves.
Metal hardware.
Gaskets.
Moving parts.
And all of those materials have their own limits.
So I’d take the controlled approach.
Drain the tank.
Inspect it.
Clean the actual buildup.
Use products appropriate for the toilet.
Rinse thoroughly.
Replace worn parts instead of trying to clean them back to life.
And above all, don’t mix vinegar with bleach or other toilet chemicals.
Sometimes the difference between a good cleaning hack and a bad one is simply knowing when to stop soaking everything.