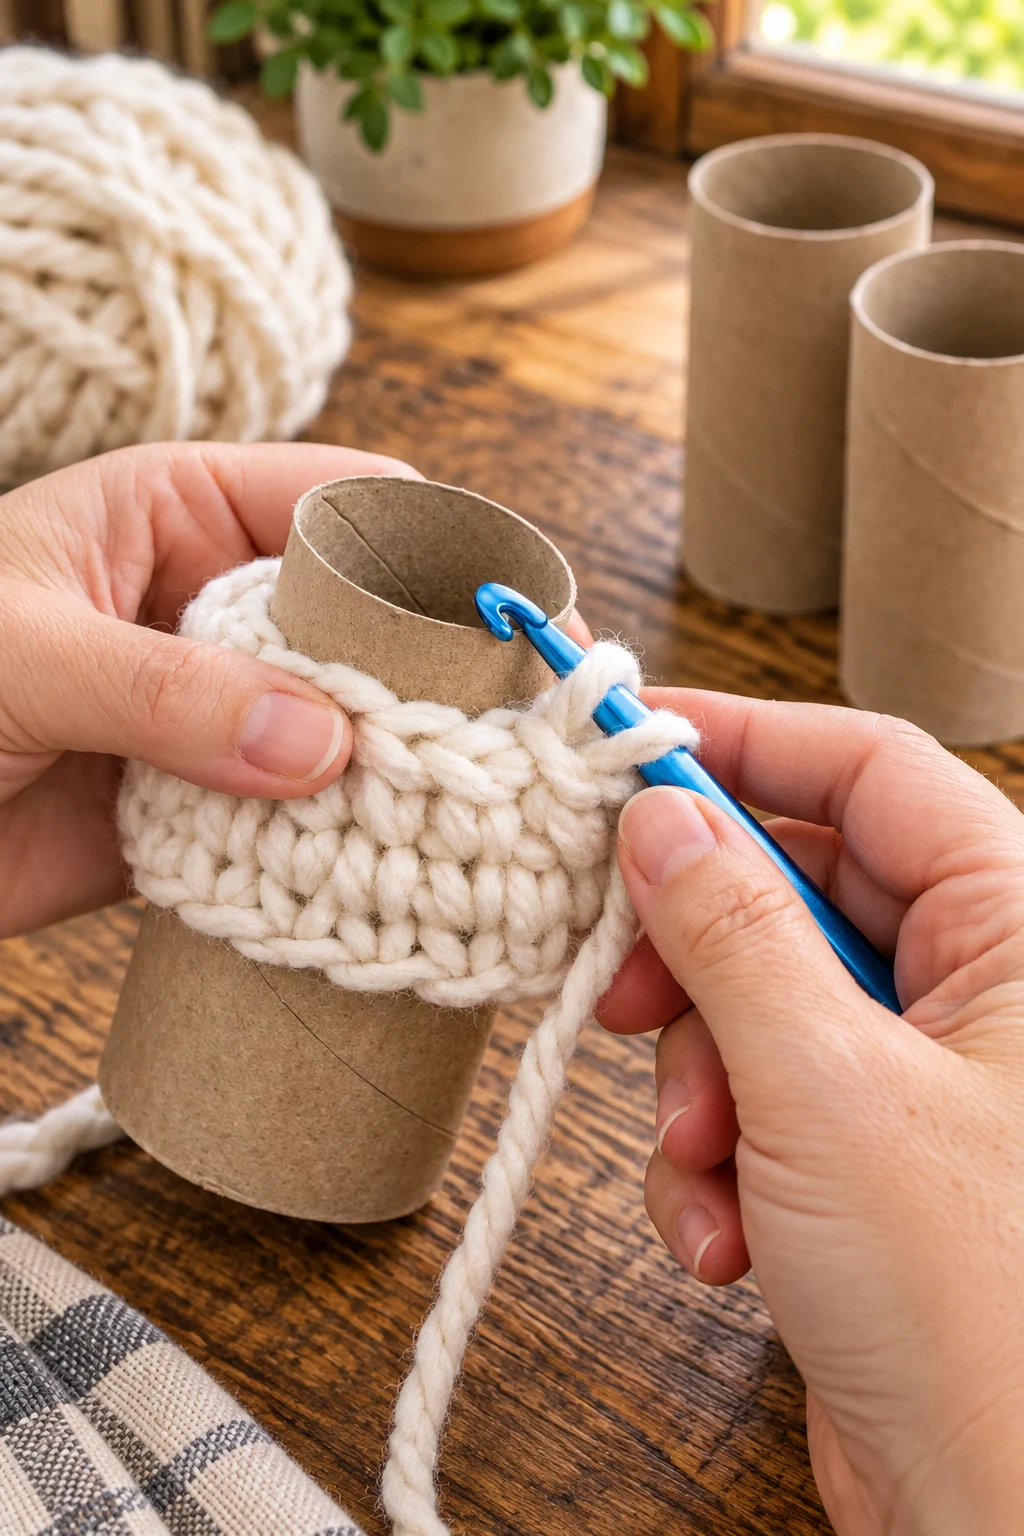
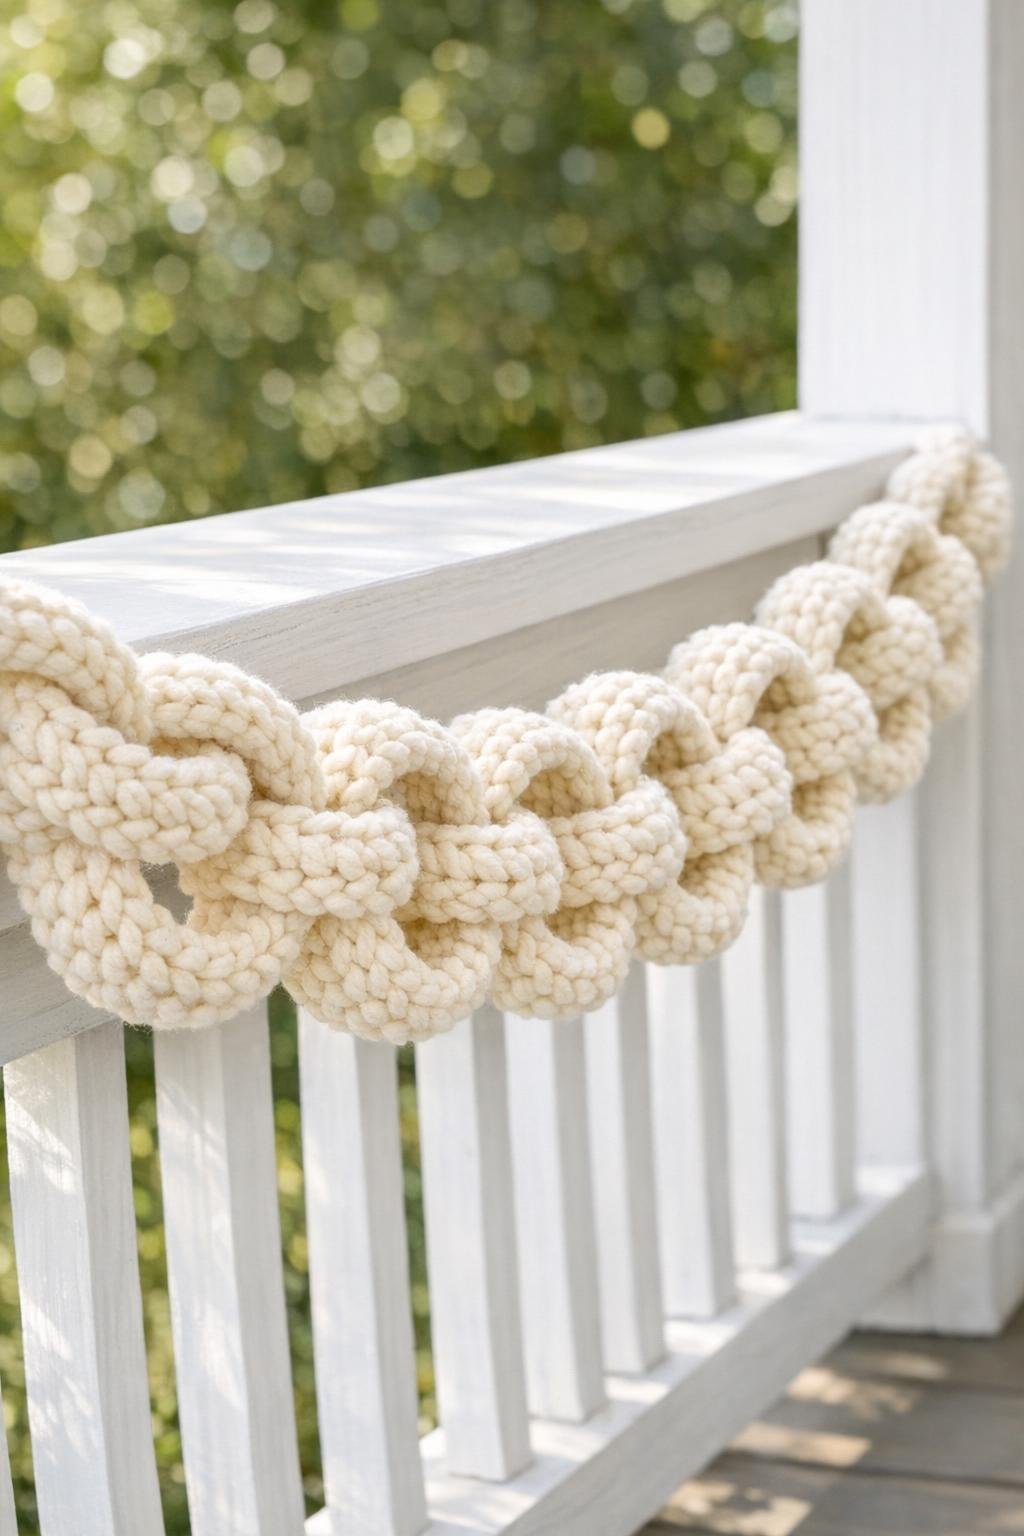
I love a project that lands right at the intersection of practical, pretty, and just a little bit clever, and this crochet porch garland does exactly that. By saving empty paper towel rolls and covering them with chunky cream yarn, you can turn plain household recyclables into a soft, sculptural garland that looks far more expensive than it is. The finished piece has that cozy, textured look I’m always drawn to, especially when I want a porch or entryway to feel warm and welcoming without buying another mass-produced decoration.
This is a wonderful project for beginner-to-intermediate crocheters because the shapes are simple, the materials are forgiving, and the result is striking even if your stitches aren’t perfect. It also appeals to the part of me that hates wasting useful materials; much like saving vegetable scraps for stock in my kitchen, saving sturdy cardboard rolls for a second life just makes sense once you start doing it.
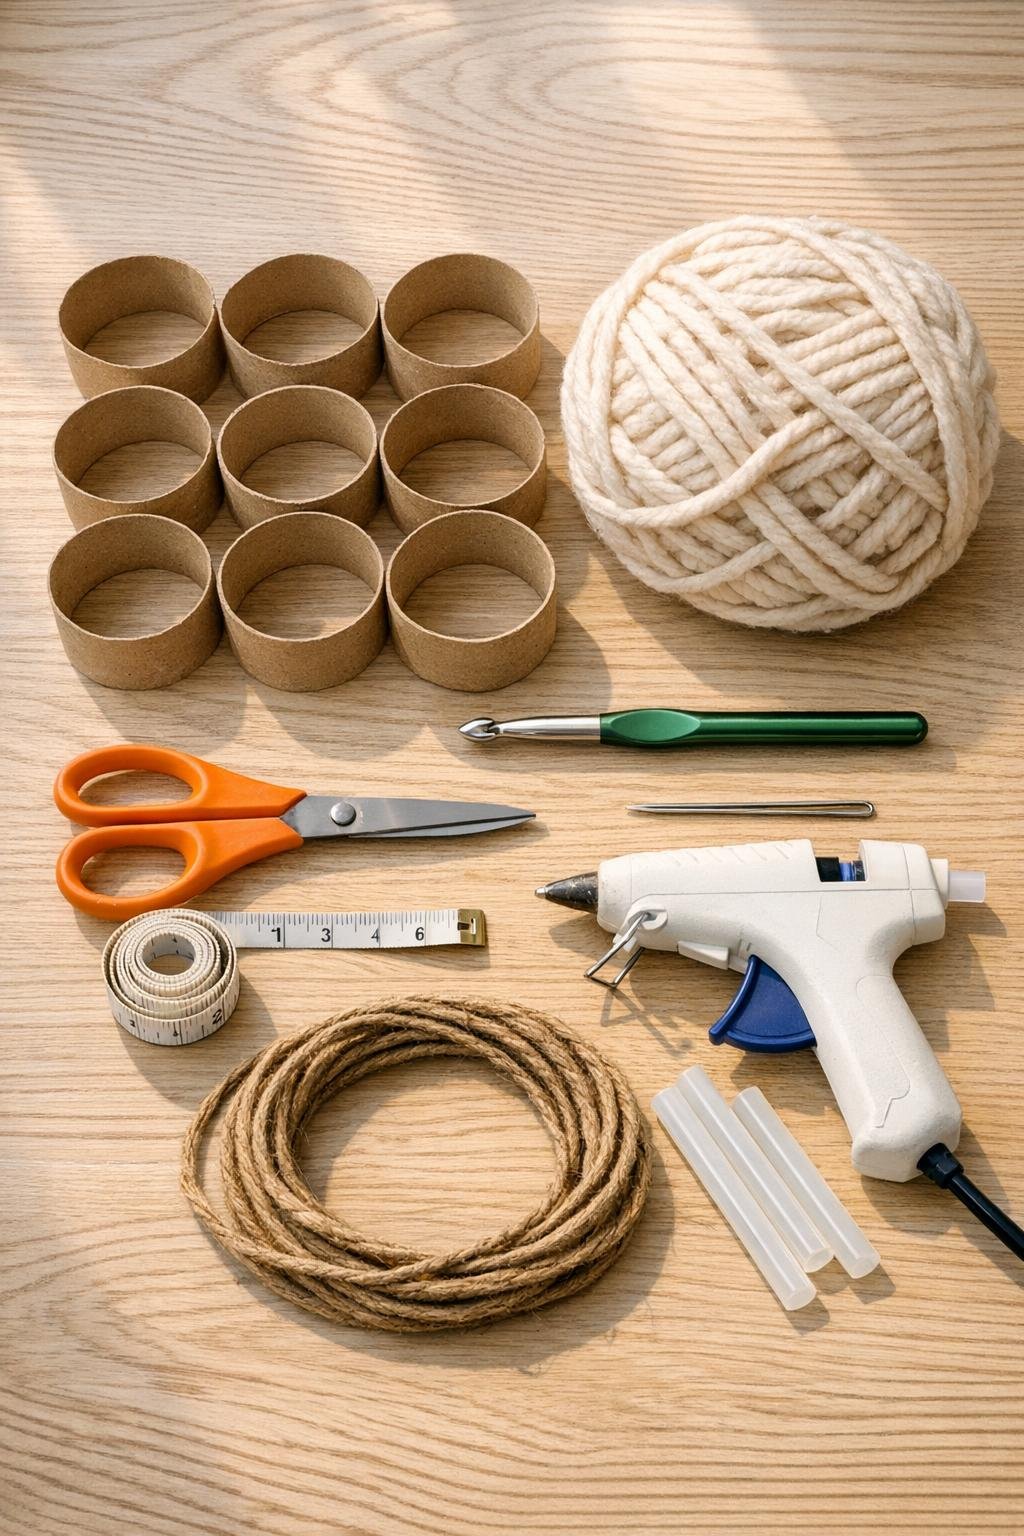
Materials
4 empty paper towel rolls, cut into 8 rings about 2 inches wide
1 skein chunky cream yarn, approximately 150 to 200 yards, weight 5 or 6
1 crochet hook, size 9 mm
1 pair sharp craft scissors
1 yarn needle, large eye
1 measuring tape or ruler
8 feet jute twine or cotton cord, 1/4 inch thick, for hanging
1 hot glue gun
2 standard hot glue sticks
Instructions
1. Flatten each empty paper towel roll slightly, then measure and cut it into two equal rings about 2 inches wide so you end up with 8 cardboard loops.
2. Gently reshape each ring back into a round form with your hands, and trim any rough or uneven cardboard edges so the yarn will sit smoothly.
3. Make a slip knot with the cream yarn, place it on your hook, and work single crochet stitches tightly around the first cardboard ring until the entire surface is covered.
4. Push the stitches together as you go so no cardboard shows through, then join the last stitch to the first with a slip stitch and fasten off, leaving a 6-inch tail.
5. Repeat the same crochet covering for the remaining 7 cardboard rings, keeping your stitch tension snug so all the covered rings look evenly padded.
6. Thread each yarn tail onto a yarn needle and weave the ends into the stitches on the back side of the rings, then trim the excess.
7. Lay the covered rings out in the order you want for the garland, overlapping each ring by about 1/2 inch so they form a connected chain.
8. Add a small bead of hot glue where two rings overlap, press them together, and hold for a few seconds until set; continue until all 8 rings are attached.
9. Cut a length of jute twine about 8 feet long, then hot glue the twine to the back of the first and last rings, leaving enough extra cord on both ends for hanging.
10. Check the garland for any visible gaps, fluff the yarn with your fingers, and hang it across a porch rail, front door, mantel, or covered entry.
Variations & Tips
Change the color palette: Cream is beautifully neutral, but soft gray, sage, oatmeal, or even a striped mix can shift the look from farmhouse to modern without changing the construction.
Use toilet paper rolls instead: If that’s what you have on hand, use more of them and cut them into slightly wider sections so the finished rings still feel substantial.
Add seasonal accents: Tuck in faux eucalyptus, dried orange slices, ribbon bows, or small bells between the rings if you want the garland to lean holiday or harvest.
Skip the glue and stitch connections: If you prefer a fully fiber-based finish, sew the overlapping rings together with matching yarn and a yarn needle instead of hot glue.
Make it porch-friendly: This holds up best in a covered outdoor area, since cardboard and yarn both dislike direct rain; I’d treat it like a wreath made of natural materials and bring it in during rough weather.
Keep the stitches tight: The biggest difference between homemade-looking and polished-looking here is coverage, so crowd the single crochet stitches together until the cardboard disappears completely.