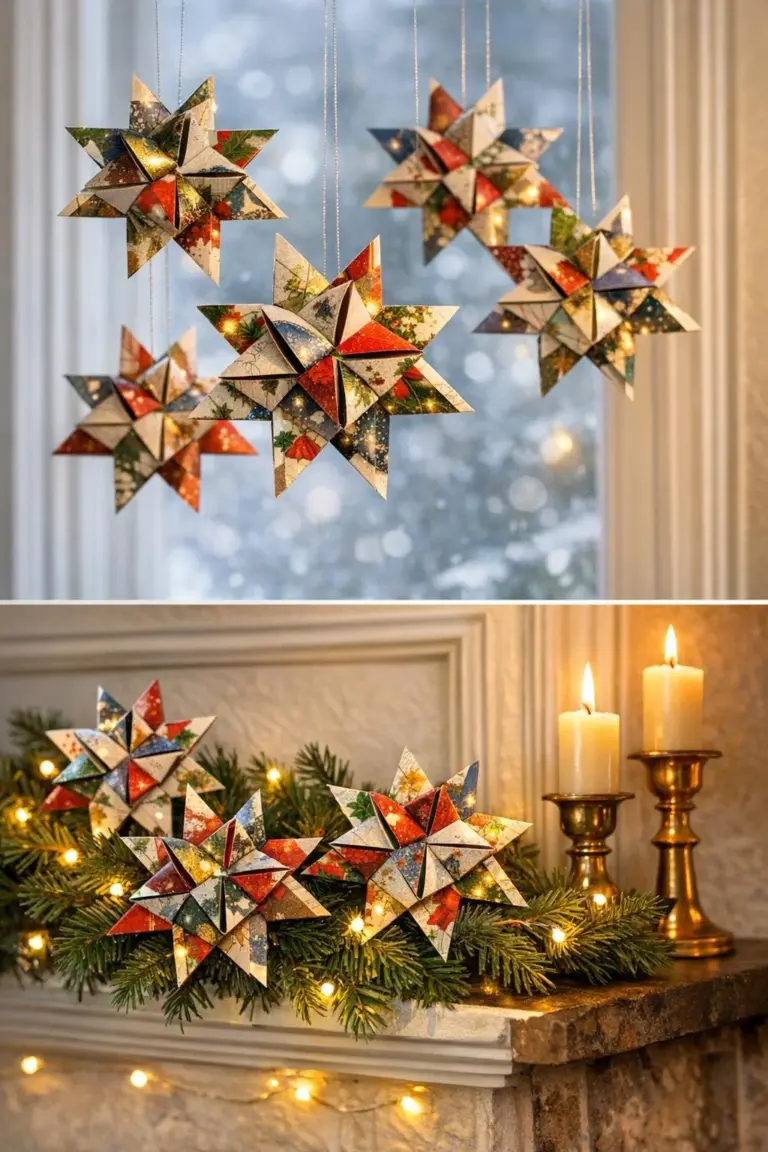
Holiday cards often have beautiful colors and illustrations, even after their messages have been read. This tabletop tree gives a stack of old cards a new purpose. Roll each card into a narrow paper tube, then attach the tubes around a cardboard cone for a richly textured Christmas decoration. The repetitive steps are simple, but allow time for rolling about 60 cards.
Materials
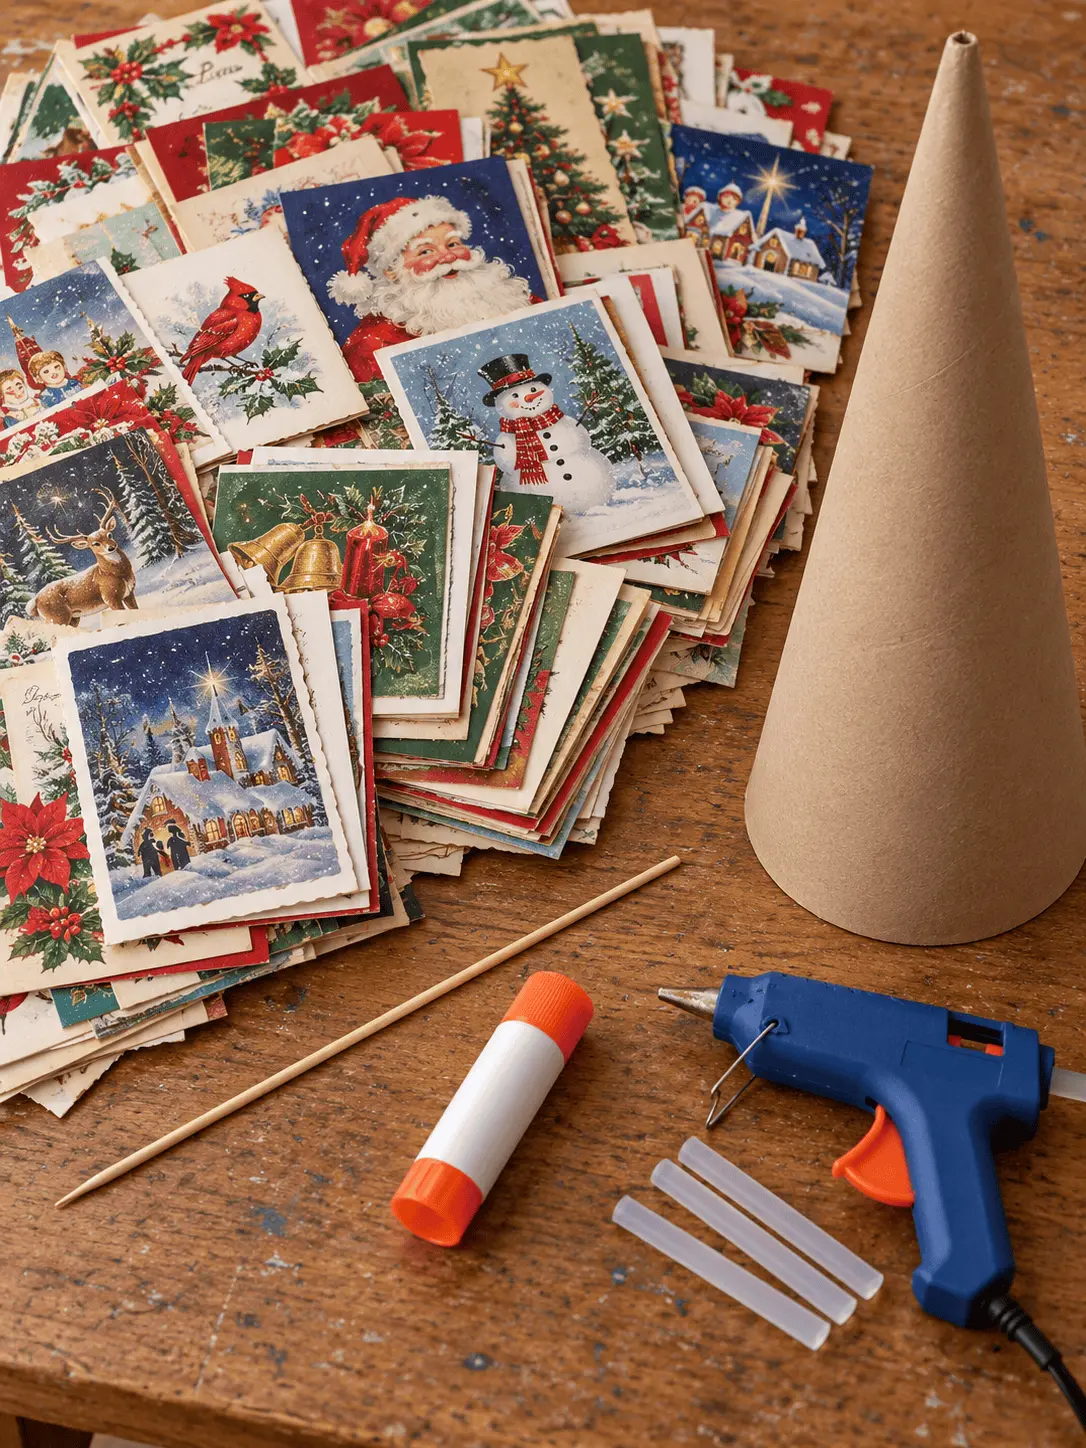
- About 60 old Christmas cards, roughly 5 × 7 inches or similar
- 1 wooden skewer, about 10–12 inches long
- 1 full-size glue stick
- 1 hot glue gun and about 3 full-size glue sticks
- 1 sturdy cardboard cone, about 10–12 inches tall and 4–5 inches wide at the base
You may also want a heat-resistant work surface and a few extra cards to fill gaps. Select a mix of red, green, white and gold designs for contrast. Keep the printed artwork facing outward as you roll.
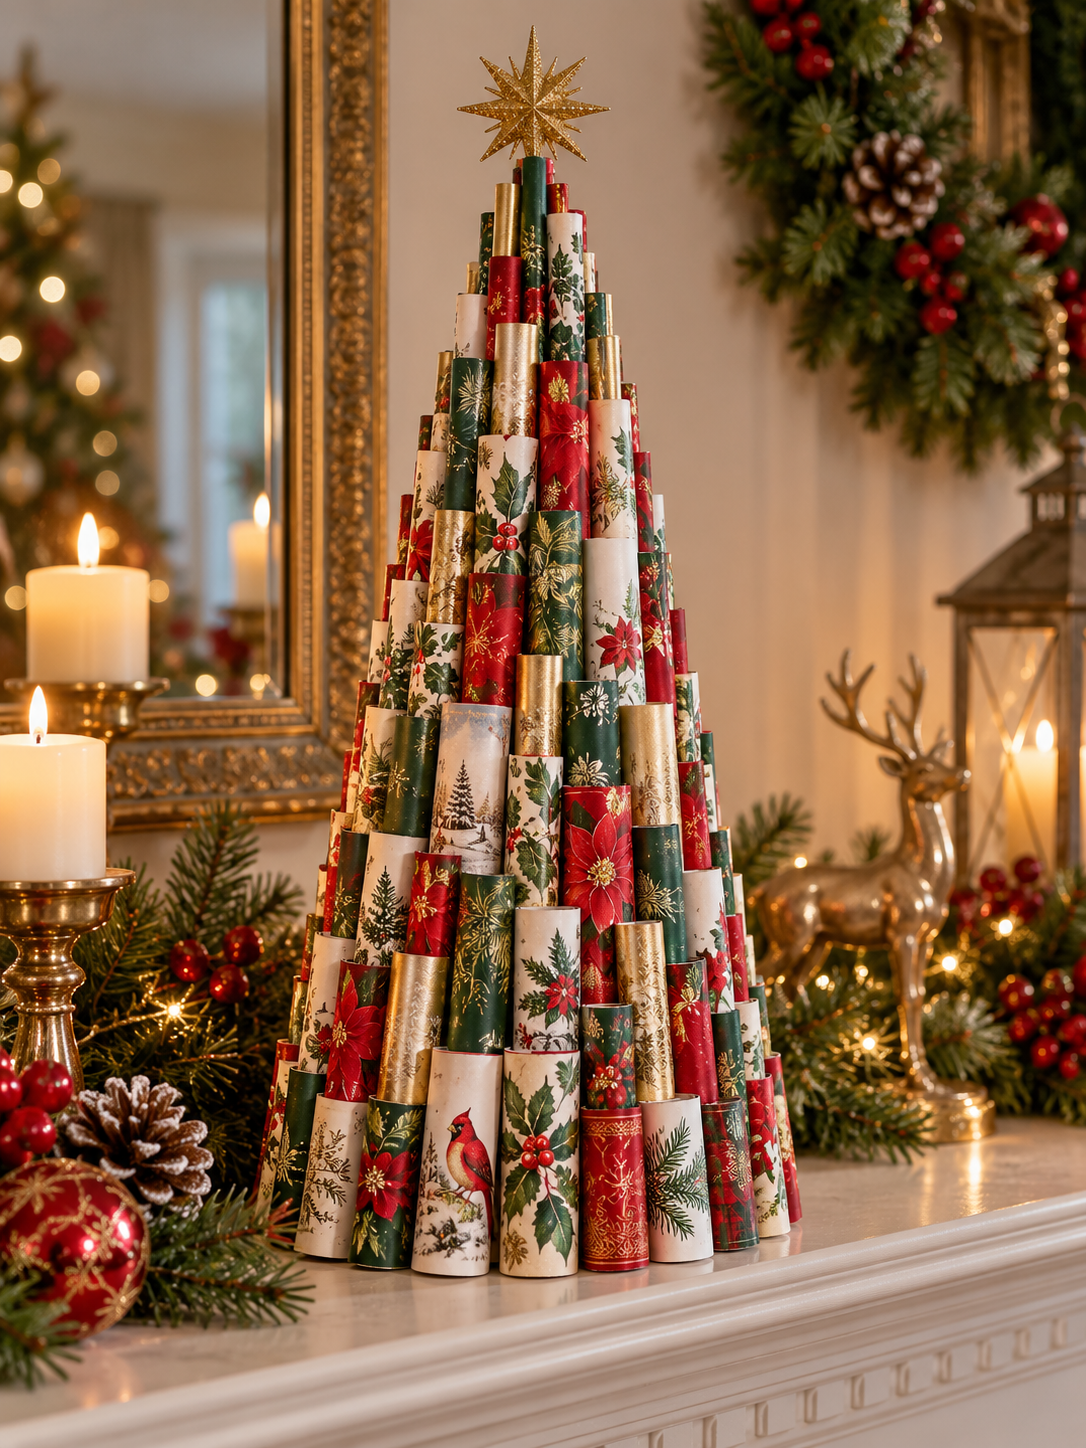
How to make a Christmas card tube tree
1. Sort and roll the cards
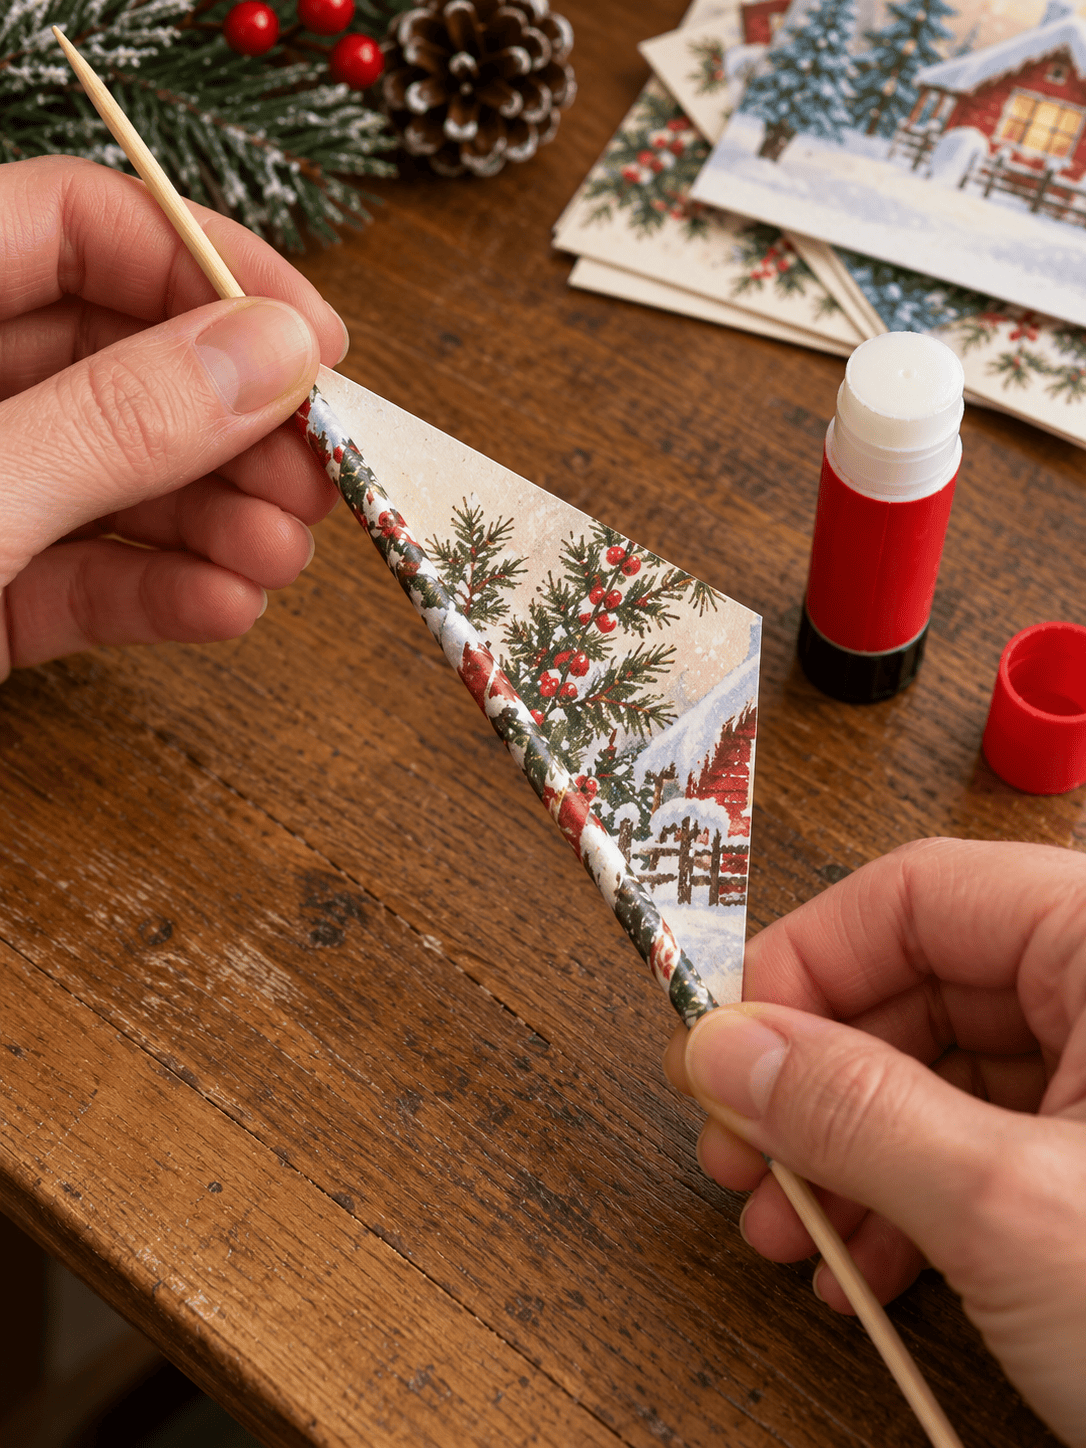
Open a card flat and set a wooden skewer diagonally across one corner of the printed side. Roll tightly around the skewer, working toward the opposite edge. A firm roll gives each tube a crisp shape and makes the finished tree look full rather than floppy.
2. Seal each tube
Apply glue stick along the last couple of inches of the card and press the flap down until it stays closed. Slide out the skewer. Repeat until you have approximately 60 tubes. Some shorter pieces are useful near the tip of the cone, so minor size differences are fine.
3. Cover the base
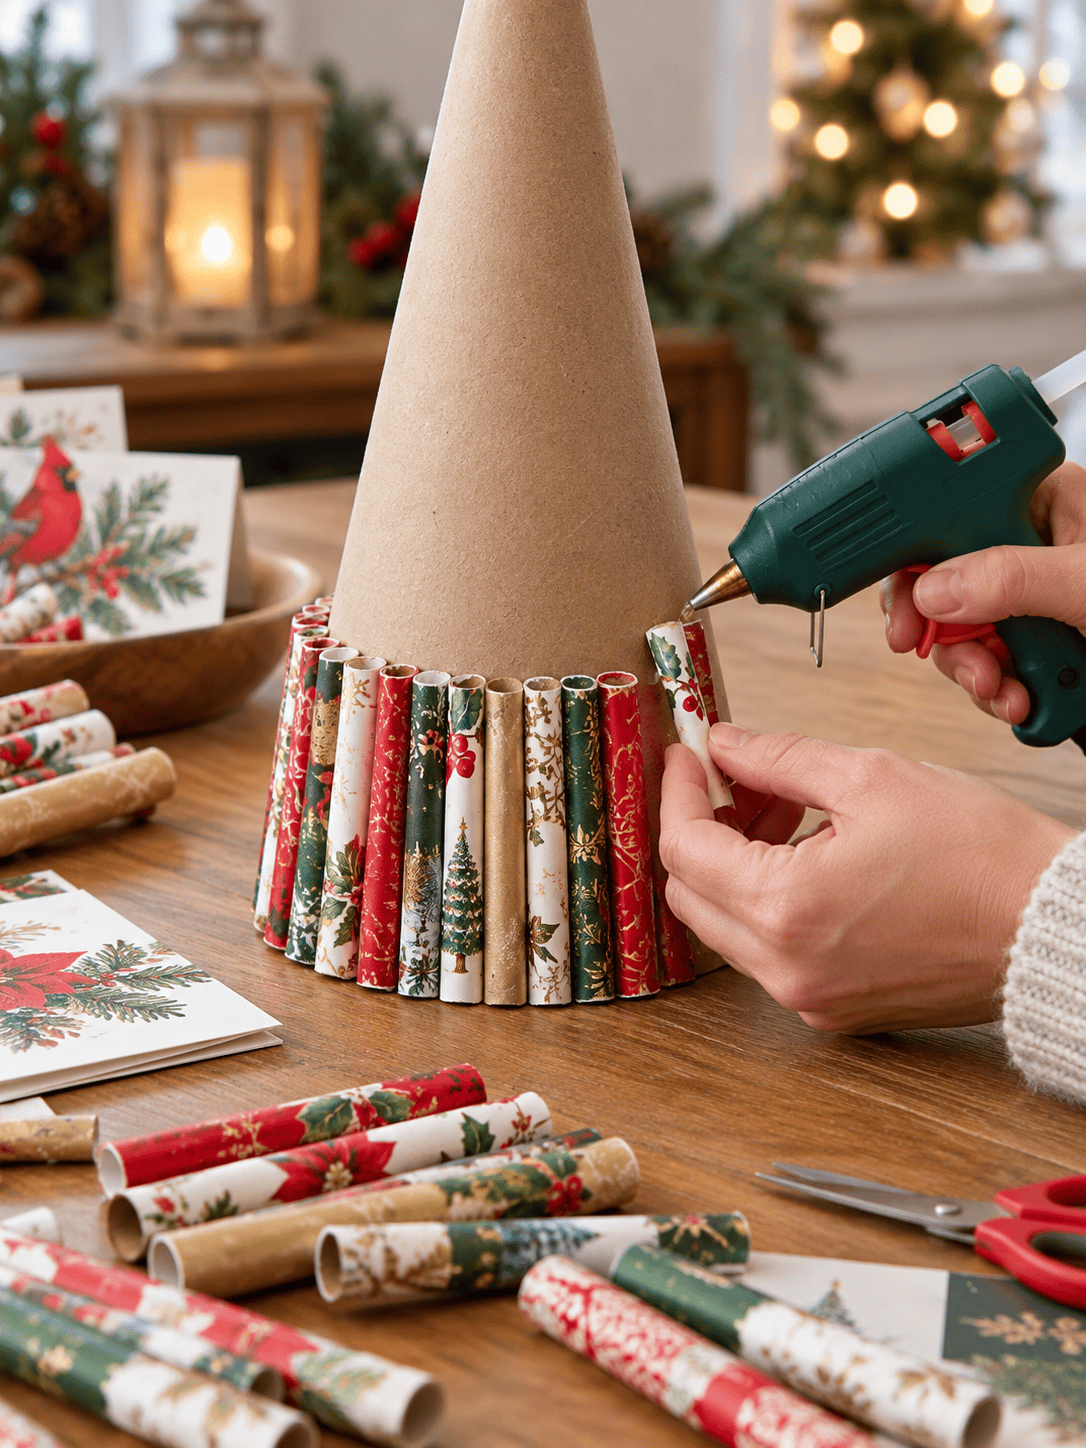
Stand the cardboard cone upright. Apply a short line of hot glue near the bottom, working in sections of about two inches so the glue remains workable. Press the first tubes vertically onto the cone with their wider ends aligned at the base. Keep them close together. Take care with the hot glue and let each section set before turning the cone.
4. Work toward the top
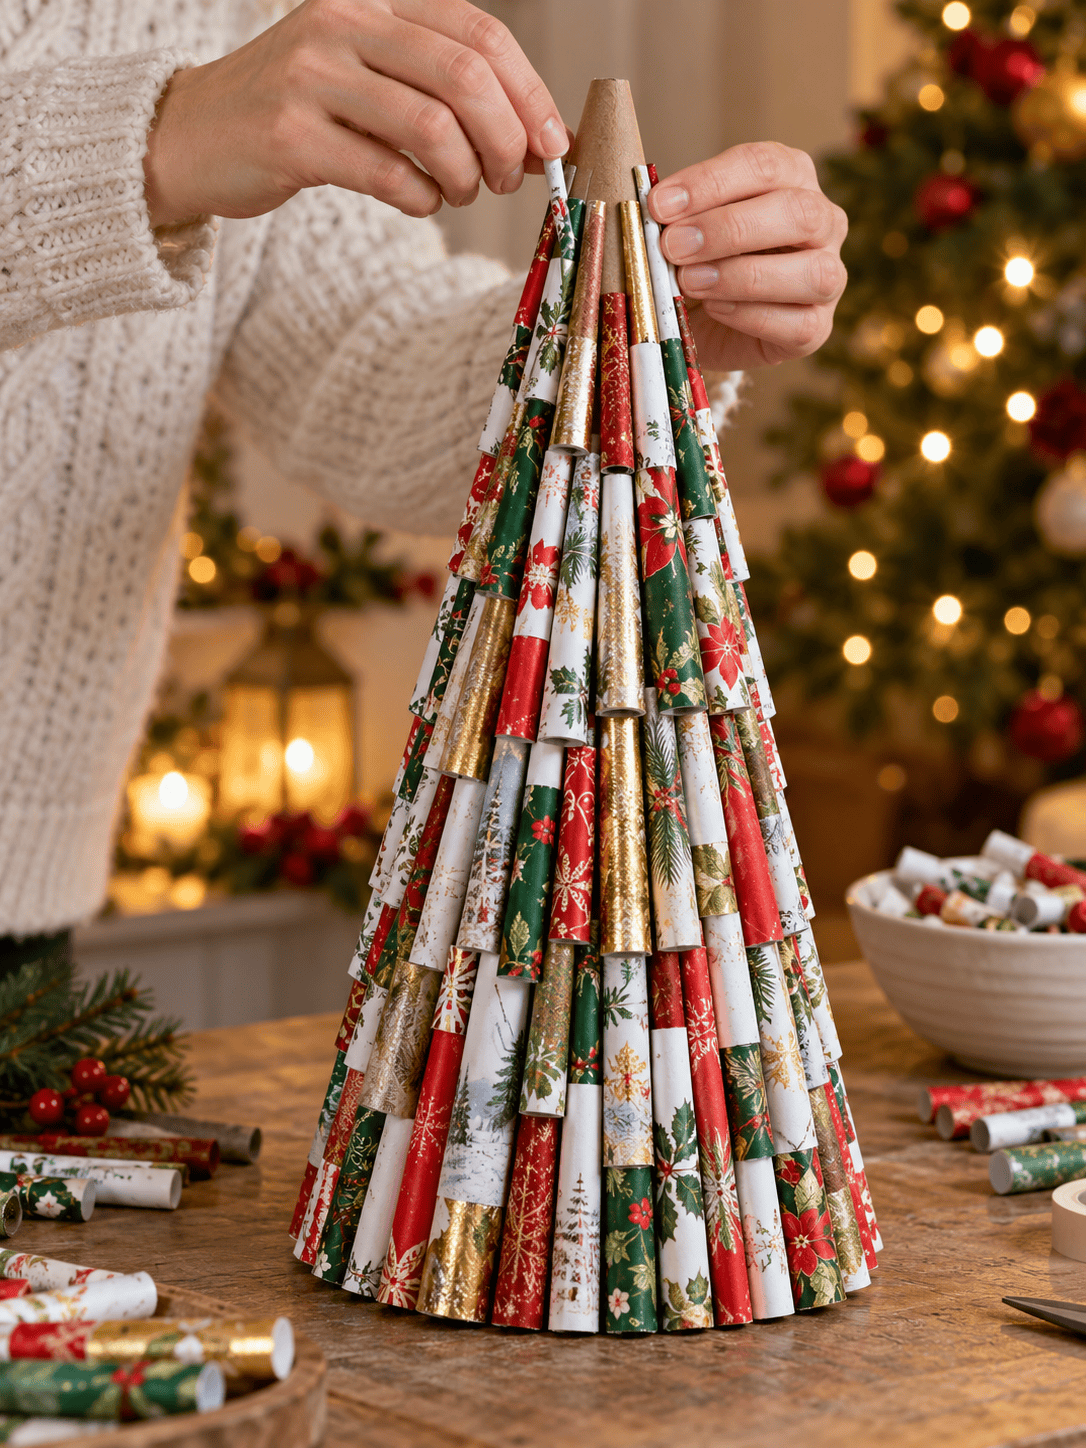
Continue upward in tight rows, alternating colors and patterns around the cone. Stagger visible seams. As the cone narrows, tuck tubes closer together and overlap them slightly rather than leaving bare cardboard. Use your narrowest or shortest tubes at the point.
5. Fill gaps and display
Rotate the tree and look for places where the cardboard shows. Glue spare tubes into those gaps, especially near the base and tip. Once the glue has cooled, gently straighten the tubes for an even silhouette. Place the finished tree on a mantel, sideboard or holiday table away from open flames.
Variations & Tips
- Plan a color story: Try a red base, green center and light or metallic-looking cards near the top.
- Make extra tubes: Eight to twelve spares make it easier to cover thin spots.
- Adjust the height: A shorter 8-inch cone makes a compact centerpiece; a 12-inch cone gives more presence.
- Help stubborn cards stay rolled: Apply a little more glue stick to the final flap and hold it closed briefly.
- Store carefully: Wrap the tree loosely in tissue and keep it upright in a roomy box so the tubes do not crush.
This craft works particularly well with cards you are ready to repurpose. Set aside any with messages or photos you would rather keep before cutting or rolling.