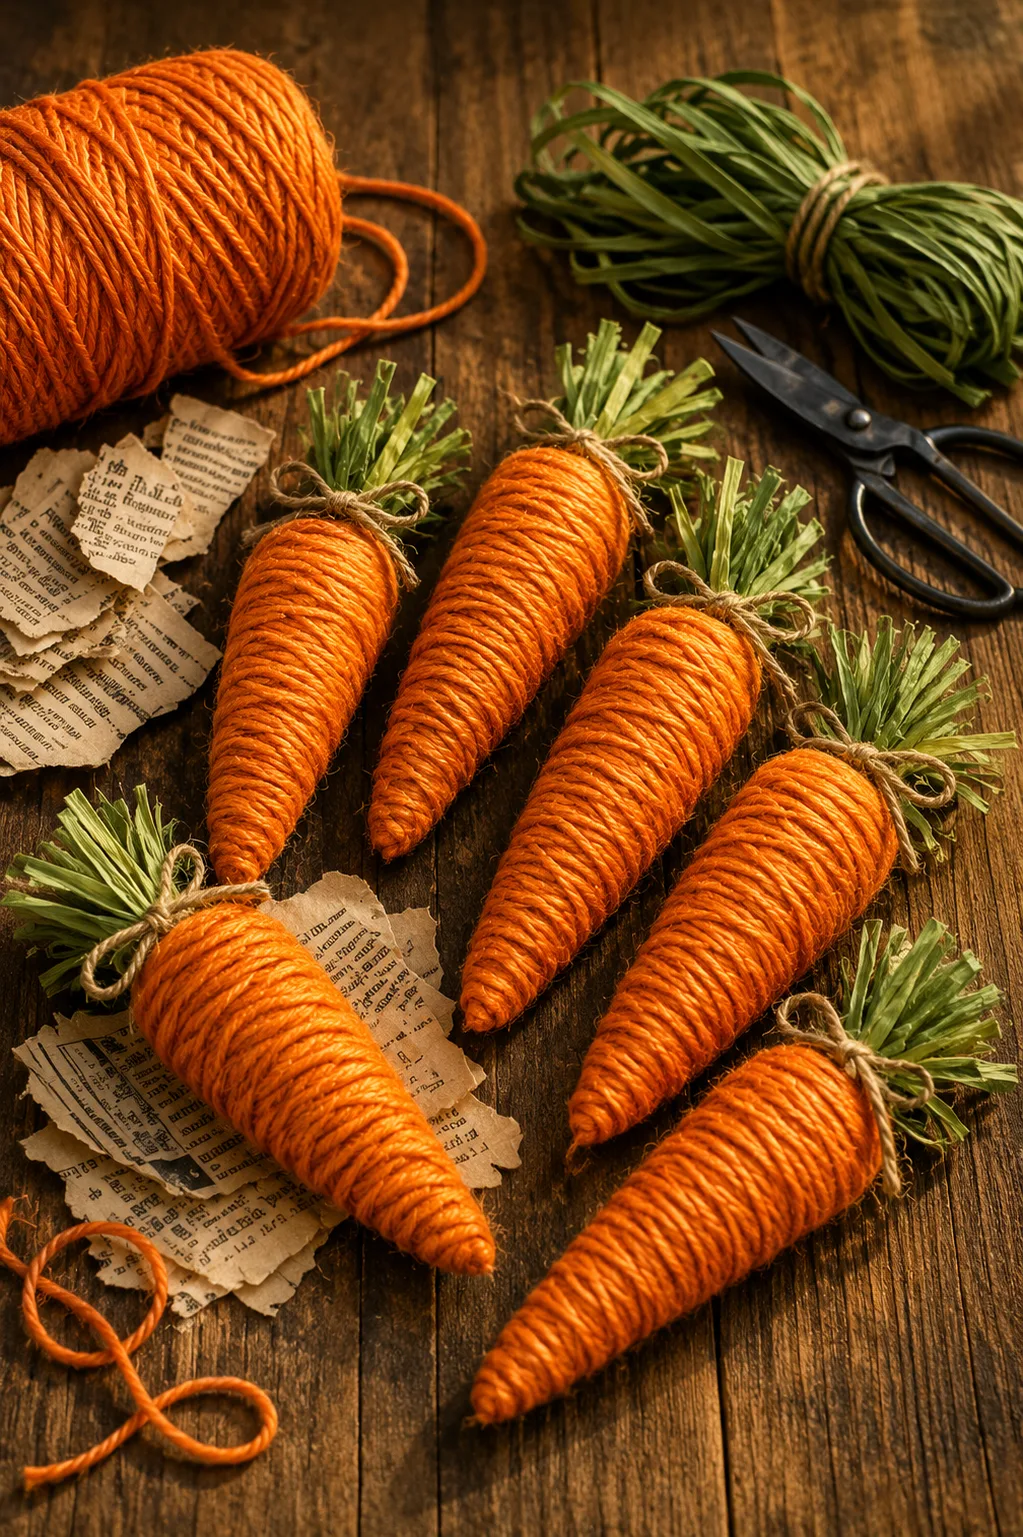
Okay, I have a confession.
Every fall, I see those adorable decorative pumpkins in home stores and somehow convince myself I need another one.
Then I look at the price tag.
For a pumpkin.
That doesn’t even become pie.
Nope.
That’s exactly why this DIY yarn pumpkin caught my attention. The basic idea is almost ridiculously simple: crumple ordinary newspaper into a pumpkin shape, wrap it with yarn, add a stem, and suddenly those scraps look like something you’d happily display on your kitchen counter.
And the best part? You don’t have to make just one.
Make a chunky orange pumpkin for the kitchen. Make a cream-colored one for the mantel. Make three smaller pumpkins for a Thanksgiving centerpiece. Use leftover yarn you already have and this project gets even cheaper.
Honestly, this is my favorite kind of seasonal craft—simple materials, very little mess, and a finished piece that doesn’t scream, “I made this out of yesterday’s newspaper!”
Here’s exactly how I’d make it.
Why This DIY Yarn Pumpkin Works So Well
The newspaper provides the shape.
The yarn provides the finished surface.
That’s pretty much the magic behind the whole project.
Crumpled newspaper is lightweight, inexpensive, and easy to reshape. You can squeeze it, add more paper, remove some, flatten the bottom, or create a taller pumpkin without buying different craft forms.
Then yarn hides the newspaper underneath.
As you wrap it around the form, the strands naturally create vertical lines that resemble pumpkin ribs.
That’s what makes the finished decoration surprisingly convincing.
Well, convincing in a cozy handmade pumpkin sort of way.
Nobody is taking it to the farmers market and weighing it.
Materials You’ll Need
You don’t need a giant craft-store haul for this one.
Gather:
- Old newspaper
- Orange yarn
- Scissors
- Hot glue gun
- Hot glue sticks
- Twine, raffia, or brown yarn for the stem
- Small stick or twig for an optional natural stem
- Felt or craft leaves, optional
- Ribbon, optional
- Cinnamon stick, optional
- Craft wire for optional curly vines
- Protective surface for your work area
You can also substitute cream, beige, rust, mustard, brown, sage, or muted green yarn if traditional orange isn’t your thing.
That’s where this craft gets fun.
One basic method can create completely different fall styles.
Choose the Right Yarn
Yarn thickness affects the finished pumpkin more than you might expect.
Thick yarn covers newspaper quickly and creates a soft, chunky appearance.
Medium-weight yarn takes more wrapping but gives you greater control over the shape.
Very thin yarn works too, but you’ll be wrapping for a while.
Like, “Why did I choose this yarn?” levels of wrapping.
For a first pumpkin, I’d choose medium or bulky yarn.
Slightly fuzzy yarn can also hide tiny gaps between strands.
Smooth yarn gives you a cleaner, more defined finish.
There isn’t one correct choice.
Use the texture that fits your fall decor.
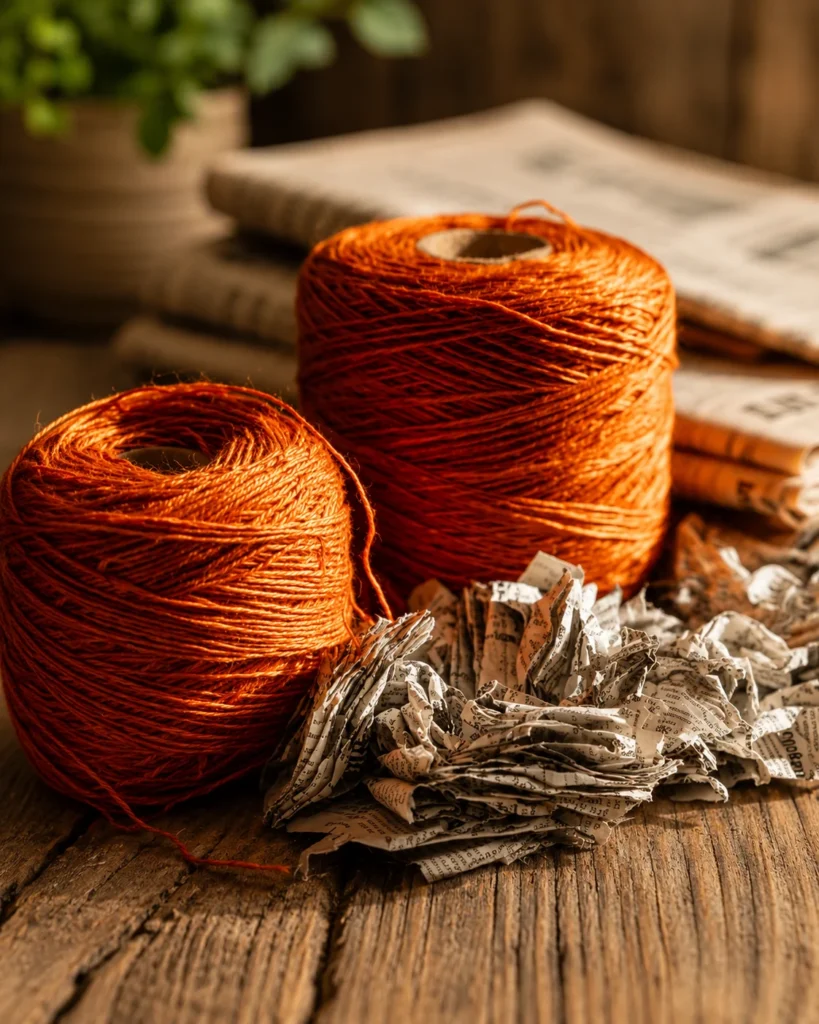
Step 1: Crumple the Newspaper
Start with several sheets of newspaper.
Crumple them loosely into a ball.
Then add more sheets around the outside.
Keep squeezing and shaping as you work.
Don’t try to create the perfect pumpkin immediately.
At first, it’ll look like a wadded-up ball of paper.
Because, well, that’s exactly what it is.
Keep adding newspaper until the form reaches roughly the size you want.
For a kitchen-counter pumpkin, something around the size of a grapefruit or small melon works nicely.
For a centerpiece, smaller versions can look especially cute grouped together.
Step 2: Create a Pumpkin Shape
Now start shaping.
A pumpkin usually looks better when it’s slightly wider than it is tall.
Press gently on the top.
Then flatten the bottom enough that the pumpkin can sit without rolling away.
You can also press a shallow indentation into the top where the stem will eventually go.
Rotate the form as you work.
Look at it from different angles.
Too round?
Squish the top and bottom slightly.
Too flat?
Add another piece of crumpled newspaper around the middle.
This is one reason newspaper works so well.
Nothing feels permanent yet.
You can keep changing the shape until it looks right.
Step 3: Secure Loose Newspaper
If your newspaper ball keeps expanding like it has personal ambitions, secure it before adding yarn.
You can use a few wraps of yarn around the form to hold everything together temporarily.
Another option is carefully securing loose areas with an appropriate craft adhesive.
The goal isn’t to completely cover the newspaper yet.
You simply want a firm enough form that it won’t fall apart while you’re wrapping.
Give it a gentle squeeze.
If the whole thing changes shape dramatically, tighten it a little more.
You want soft.
Not unstable.
Step 4: Cut a Long Length of Orange Yarn
Start with a manageable length of yarn.
Don’t pull out 40 feet and expect it to cooperate.
It won’t.
Long pieces tangle.
They wrap around chair legs.
They mysteriously knot themselves.
Then somehow you’re negotiating with yarn on a Tuesday afternoon.
Use a comfortable length and add more as needed.
If you’re working directly from the yarn skein, keep it somewhere it can feed smoothly while you rotate the pumpkin.
Step 5: Anchor the Yarn
Choose the bottom of the pumpkin.
Secure the yarn end there with a small amount of hot glue.
Use caution.
Hot glue is, shockingly enough, hot.
Keep your fingers away from fresh glue and follow the glue gun manufacturer’s safety directions.
The bottom is a good starting point because small glue spots and yarn ends are less visible there.
Let the attachment set before pulling firmly.
Once secure, bring the yarn over the top of the pumpkin and down the opposite side.
Now the fun part starts.
Step 6: Wrap the Yarn Vertically
Bring the yarn from bottom to top and back down again.
Rotate the pumpkin slightly.
Repeat.
Continue wrapping vertically around the form.
Try to keep each pass snug.
You don’t need to pull so hard that the newspaper collapses, though.
The yarn should hug the shape rather than strangle it.
As more strands cover the surface, you’ll start seeing the pumpkin appear.
This is the moment where the project goes from “ball of trash” to “wait… that’s actually adorable.”
Crafting is weird like that.
Step 7: Keep the Yarn Coverage Even
Rotate the pumpkin after every few wraps.
Look for exposed newspaper.
Cover those areas gradually.
Don’t stack every strand directly on top of the previous one.
Spread the yarn around the surface.
Near the top and bottom, strands will naturally overlap more.
That’s fine.
The middle needs more careful coverage because it’s wider.
If you see a gap, simply bring the next pass over that spot.
No complicated pattern required.
You’re basically giving the newspaper a very cozy sweater.
Step 8: Create Pumpkin Ridges
The vertical wrapping already creates some natural definition.
But you can make the pumpkin shape stronger by grouping the yarn slightly into sections.
Think of the pumpkin as having several ribs running from top to bottom.
Allow small areas of definition between those sections.
Don’t make every strand perfectly flat and uniform.
A little variation makes the pumpkin look more organic.
If you want deeper ridges, wrap a separate piece of yarn tightly around specific vertical sections after the main surface is covered.
Just don’t pull so hard that the newspaper buckles.
Step 9: Finish the Yarn at the Bottom
Once you can no longer see newspaper through the yarn, bring the final strand toward the bottom.
Cut it with a little extra length.
Secure the end discreetly with hot glue.
Hold it in position using a safe tool if needed rather than pressing your fingertip directly into hot adhesive.
Then turn the pumpkin upright.
Give it a look.
If you notice an obvious bare area, don’t panic.
Add another strand.
Handmade decorations don’t need machine-level perfection.
Actually, a little unevenness is part of what makes them charming.
Step 10: Make the Pumpkin Stem
Now your yarn ball needs a stem.
Otherwise it may look suspiciously like a giant orange yarn truffle.
You have several options.
A small natural twig is probably my favorite.
It creates an instant rustic look and costs nothing if you’ve got suitable fallen branches outside.
You can also use:
- A cinnamon stick
- Rolled cardboard
- Twisted brown paper
- Brown felt
- Thick twine
- Brown yarn
- A short wooden dowel
Choose a stem that matches the size of the pumpkin.
A tiny pumpkin needs a tiny stem.
A chunky pumpkin can handle something thicker.
How to Make a Twine Stem
Don’t have a twig?
Make one.
Cut a short piece of rolled cardboard or another lightweight craft base.
Wrap twine tightly around it.
Secure the ends with glue.
Leave the texture slightly rough.
Then attach the stem into the indentation at the top of the pumpkin.
The brown twine against orange yarn creates a warm farmhouse look.
You can even wrap the twine slightly unevenly to make the stem look more natural.
Perfectly straight pumpkin stems are overrated anyway.
Real pumpkins clearly didn’t get that memo.
Try a Cinnamon Stick Stem
This one is especially cute for fall.
Use a short cinnamon stick as the stem.
It gives the pumpkin a natural brown color and rustic texture.
Plus, cinnamon just feels right when the weather starts cooling down.
Secure it carefully at the top.
Don’t make it excessively tall.
You want “cute pumpkin.”
Not “pumpkin with an antenna.”
A short cinnamon stick usually looks more balanced.
Add a Curly Pumpkin Vine
Want another little detail?
Use thin craft wire to make a curly vine.
Wrap the wire around a pencil.
Slide it off.
You’ll have a small spiral.
Attach it near the stem.
For a softer look, wrap the wire in green floral tape or use a suitable covered craft wire.
One little curl can make the entire pumpkin feel more finished.
Don’t add ten.
We’re decorating a pumpkin, not installing cable television.
Add Felt Leaves
Cut one or two small leaves from green, olive, beige, or brown felt.
Attach them near the stem.
Keep the leaf size proportional.
Small pumpkins look better with tiny leaves.
For farmhouse decor, muted olive or beige can look beautiful.
For traditional fall colors, choose dark green.
You can also use fabric scraps instead of felt.
This is a great place to use those tiny pieces you’ve been saving because “I’ll definitely need these someday.”
Congratulations.
Someday has arrived.
Make a Classic Orange Yarn Pumpkin
For the traditional version, stick with warm orange yarn.
Add a brown stem.
Finish with a green leaf and a little twine.
This version looks great almost anywhere during fall.
Place it on a kitchen counter beside a wooden cutting board.
Set it on an entryway table.
Add it to a mantel.
Group it with pinecones.
Or place three pumpkins in different sizes inside a shallow basket.
It’s simple fall decor without covering every surface in glitter.
My vacuum cleaner appreciates that.
Make a Farmhouse Yarn Pumpkin
For farmhouse style, soften the colors.
Try cream, oatmeal, beige, or muted rust yarn.
Use a natural twig stem.
Add jute twine.
Skip bright green leaves and choose muted olive, tan, or brown instead.
Place the finished pumpkin beside a small wooden sign, ceramic pitcher, woven basket, or simple candle.
The key is restraint.
Farmhouse style can get crowded fast.
You don’t need plaid ribbon, buffalo check, galvanized metal, a miniature windmill, and a sign saying “Pumpkin Everything.”
Pick a couple of textures and call it good.
Make a Rustic Yarn Pumpkin
For a rustic version, use yarn with visible texture.
Rust, burnt orange, brown, mustard, or deep green all work beautifully.
Choose an uneven natural twig for the stem.
Add raffia instead of ribbon.
You can even tuck a tiny pinecone or dried-looking artificial leaf near the stem.
The more natural the materials feel, the better.
This version looks especially good with wooden bowls, old baskets, lanterns, and other warm fall textures.
It’s cozy without trying too hard.
Make a Neutral Yarn Pumpkin
Not everybody wants orange everywhere from September through Thanksgiving.
I get it.
Try cream yarn.
Or beige.
Or taupe.
Even soft gray can work.
Pair neutral yarn with a brown or natural stem.
Add a tiny piece of velvet ribbon if you want something a little dressier.
Neutral pumpkins fit easily into modern homes because they bring seasonal texture without introducing a strong color.
A trio of cream pumpkins on a wooden kitchen island?
Yep.
I’d leave those out all season.
Make a Sage Green Pumpkin
Sage green is a beautiful alternative to orange.
It feels seasonal without being predictable.
Use muted green yarn with a natural twig stem.
Add cream twine or a small beige ribbon.
Sage pumpkins pair especially well with cream, tan, brown, and natural wood.
Make one large green pumpkin and surround it with two smaller cream pumpkins.
That color combination feels calm, cozy, and very fall.
No giant orange explosion required.
Make Different Pumpkin Sizes
This project gets better when you make several sizes.
For a small pumpkin, start with only a few sheets of newspaper.
For a medium one, keep adding paper until the shape fills your palm.
For a larger pumpkin, build the newspaper form gradually.
Don’t make giant forms too loose.
Larger pumpkins need enough internal structure to hold their shape.
I like groups of three because odd-number arrangements tend to look natural.
Try:
One large pumpkin.
One medium pumpkin.
One tiny pumpkin.
Different heights create visual interest without requiring different crafting techniques.
Make Mini Yarn Pumpkins
Mini pumpkins might be the cutest version.
Use a small ball of crumpled newspaper and thinner yarn.
Add a tiny twig stem.
These are great for place settings, tiered trays, coffee bars, shelves, or Thanksgiving tables.
You could even attach a small paper name tag and use each pumpkin as a place card.
Guests get a seating marker and a little handmade decoration.
That’s way more fun than a folded piece of cardstock.
Though, admittedly, cardstock takes about 47 fewer minutes.
Choose your battle.
Create a Kitchen Counter Display
The kitchen counter is a perfect spot for these pumpkins because they’re lightweight and easy to move.
Place three beside a wooden cutting board.
Add a small vase with fall stems.
Use pumpkins in different sizes but similar colors.
For example:
Large burnt-orange pumpkin.
Medium cream pumpkin.
Small mustard pumpkin.
Keep the rest of the arrangement simple.
You still need to use your kitchen.
A fall display shouldn’t require moving an entire pumpkin village every time you want the toaster.
Create a Fall Centerpiece
For a dining table, start with a shallow wooden bowl, tray, or basket.
Place your largest yarn pumpkin slightly off-center.
Add two or three smaller pumpkins around it.
Fill gaps with pinecones, faux leaves, acorns, or other lightweight seasonal decorations.
Keep the centerpiece low enough that people can see across the table.
This is important.
Nobody wants to spend Thanksgiving leaning sideways around a decorative pumpkin to ask Aunt Linda to pass the rolls.
Pretty is good.
Conversation is also good.
Make a Thanksgiving Centerpiece
For Thanksgiving, I’d shift the colors slightly.
Use cream, rust, mustard, brown, and muted green.
Mix several yarn textures.
Add natural-looking stems.
Arrange the pumpkins along the center of the table with faux fall leaves and battery-operated candles suitable for your display.
Keep open flames away from yarn, newspaper, dried materials, and other flammable decorations.
Actually, I’d skip open candles entirely around these pumpkins.
Paper plus yarn plus flame?
Hard pass.
Battery-operated candles can give you the cozy look without putting your centerpiece one bad elbow away from disaster.
Add Pumpkins to a Tiered Tray
Small yarn pumpkins are perfect for tiered trays.
Mix them with mugs, small signs, artificial greenery, pinecones, or wooden beads.
Keep the colors connected.
If your tray already has lots of patterns, use solid-colored pumpkins.
If the tray is simple, you can bring in more texture through chunky yarn or ribbon.
Don’t fill every square inch.
Negative space helps individual pieces stand out.
Yes, even tiny fake pumpkins occasionally need personal space.
Use Them on a Mantel
A mantel gives you room to make several pumpkins.
Start with one larger pumpkin near each side.
Add smaller versions toward the center.
Mix the pumpkins with fall foliage, framed art, or a simple garland.
If the fireplace is used, keep all combustible decorations at a safe distance from heat, sparks, and flame according to the fireplace manufacturer’s directions and basic fire-safety guidance.
Yarn and newspaper are flammable.
So these pumpkins belong in decorative areas away from ignition sources.
Cozy fall decor should stay cozy.
Decorate an Entryway Table
An entryway is another great location.
Place one large yarn pumpkin beside a lamp.
Add a bowl for keys.
Maybe include a small fall branch arrangement.
That’s enough.
The pumpkin adds seasonal color without requiring you to completely redesign the entryway.
I love decorations that can move into an existing setup instead of demanding their own furniture.
My house does not have enough square footage for every seasonal craft to develop real estate ambitions.
Add Ribbon for a Dressier Look
A small ribbon around the stem can change the personality of the pumpkin.
Velvet ribbon feels rich.
Gingham feels country.
Burlap-style ribbon feels rustic.
Thin satin ribbon can look more polished.
Keep the bow small.
The yarn texture should remain the star.
If your bow is larger than the pumpkin, we’ve crossed from “cute detail” into “gift-wrapped vegetable.”
Back it up a little.
Use Leftover Yarn to Save Money
This is where the project can become seriously budget-friendly.
Check your craft supplies before buying anything.
You may already have enough yarn for several small pumpkins.
The colors don’t need to match.
Actually, mixed colors can make a better display.
Use newspaper you already have.
Collect fallen twigs for stems where appropriate.
Reuse ribbon scraps.
Save felt offcuts for leaves.
Suddenly the only thing you may need is glue.
A fall decoration made mostly from leftovers?
That’s my kind of shopping trip.
Check Thrift Stores for Yarn
If you don’t have yarn at home, check secondhand craft sections where available.
Partial skeins are perfect for this project.
You don’t necessarily need an untouched giant skein to make one pumpkin.
Also look for ribbon, twine, baskets, trays, and artificial leaves.
Seasonal DIY gets expensive when every tiny component comes from a separate new package.
Start with what you have.
Then buy only what the project actually needs.
Your craft drawer probably contains more possibilities than you’re giving it credit for.
Don’t Make the Newspaper Form Too Loose
One common mistake is barely crumpling the newspaper.
A loose center can shift as you wrap.
Then your round pumpkin gradually becomes something resembling a lumpy potato.
Crumple the paper firmly enough to hold its basic shape.
Add layers gradually.
Press the form from different directions.
Flatten the bottom.
Check the top.
Once the form feels stable, start wrapping.
The better your base shape is, the easier the yarn step becomes.
Don’t Pull the Yarn Too Tight
Snug is good.
Extremely tight isn’t.
If you pull hard on every strand, the yarn can compress the newspaper unevenly.
That can distort your pumpkin.
Use enough tension to hold everything together while keeping the original shape.
If one section starts sinking inward, loosen your wrapping slightly.
This isn’t a tug-of-war.
The newspaper will lose.
Don’t Leave Large Gaps
Small spaces may disappear as you add more layers.
Large gaps won’t.
Rotate the pumpkin constantly while wrapping.
Look at the sides.
Look at the top.
Look underneath.
If newspaper is visible, cover it before finishing.
Orange yarn with random newspaper headlines showing through isn’t quite the rustic aesthetic we’re going for.
Unless “LOCAL WEATHER” is somehow part of your fall decor theme.
Don’t Use Too Much Hot Glue
You don’t need to coat the entire pumpkin in glue.
A few carefully placed attachment points can hold yarn ends and decorative pieces.
Too much hot glue can create hard bumps under the yarn.
It can also make the project messier than necessary.
Use small amounts.
And always protect your fingers and work surface.
Hot glue has an impressive ability to land exactly where you don’t want it.
Don’t Forget the Bottom
It’s tempting to focus completely on the visible sides.
But an unfinished bottom can cause loose strands later.
Finish the underside neatly.
Secure the yarn end.
Flatten any bulky knots that prevent the pumpkin from sitting properly.
Then check that it stands without wobbling.
If it rocks back and forth, gently reshape the base.
Your pumpkin doesn’t need perfect posture.
It just shouldn’t roll across the Thanksgiving table.
Keep These Pumpkins Away From Moisture
Remember what’s inside.
Newspaper.
That means these pumpkins belong indoors in dry locations.
Don’t place them on an uncovered porch.
Don’t put them where rain can reach them.
Don’t set them beside a sink where they’ll regularly get splashed.
Moisture can damage the paper form and affect the yarn.
If you want outdoor yarn pumpkins, use a base material specifically suited to outdoor conditions instead.
These newspaper versions are indoor decorations.
Cute, yes.
Waterproof?
Absolutely not.
Keep Them Away From Flames and High Heat
This part matters.
Newspaper and yarn can burn.
Keep the finished pumpkins away from open candles, fireplaces, stovetops, space heaters, and other heat sources.
Don’t place one on top of an appliance that becomes hot.
If you want candlelight nearby, choose an appropriate battery-operated decorative light and keep even that arranged sensibly.
Also remember the kitchen-counter part of “kitchen counter decoration.”
Counter?
Great.
Beside an active gas burner?
Nope.
How to Store DIY Yarn Pumpkins
When fall is over, don’t crush them into a giant storage bin.
The newspaper centers can become misshapen under heavy objects.
Place the pumpkins in a sturdy box.
Keep larger pumpkins on the bottom.
Put smaller ones above them without heavy pressure.
Store the box somewhere dry.
Avoid damp basements or other areas with moisture problems.
You can loosely wrap delicate stems or leaves with tissue paper if necessary.
Then label the box.
Seriously.
Label it.
Otherwise next September you’ll open seven containers looking for the pumpkins while somehow finding Christmas lights, Easter eggs, and a wreath you forgot you owned.
How to Refresh Them Next Fall
After storage, your pumpkins may need a tiny bit of attention.
Fluff fuzzy yarn gently.
Reattach loose leaves.
Replace damaged stems.
Trim stray fibers if necessary.
If the pumpkin got slightly compressed, gently reshape it with your hands.
That’s another nice thing about the newspaper base.
It has a little flexibility.
A five-minute refresh can make the pumpkins ready for another season.
No need to remake the whole collection every year.
Common Mistakes to Avoid
Don’t make the newspaper center too loose.
Don’t pull yarn so tightly that the pumpkin loses its shape.
Don’t leave visible newspaper gaps.
Don’t use excessive hot glue.
Don’t forget to flatten the bottom.
Don’t make the stem wildly oversized.
Don’t add so many ribbons and leaves that you can barely see the yarn.
Don’t place newspaper pumpkins outdoors in wet weather.
Don’t put them near open flames or high heat.
And don’t throw them under heavy decorations when fall ends.
A little care can keep them looking cute for several seasons.
Why I Love This DIY Yarn Pumpkin
This craft checks a lot of boxes for me.
It’s inexpensive.
It’s easy to change.
It doesn’t require fancy equipment.
It gives leftover yarn a purpose.
And you can make it match almost any fall decorating style.
Want classic?
Use orange.
Want farmhouse?
Use cream and twine.
Want rustic?
Try burnt orange and a real twig.
Want something quieter?
Go with sage, beige, or taupe.
Best of all, nobody looking at the finished pumpkin needs to know there’s crumpled newspaper hiding underneath.
That’s between you and the recycling bin.
Frequently Asked Questions
How do you make a DIY yarn pumpkin?
Crumple newspaper into a firm pumpkin-shaped form, flatten the bottom, secure orange or decorative yarn around the form, wrap vertically until the newspaper is covered, and finish the top with a small handmade or natural-looking stem.
What is the best yarn for DIY pumpkins?
Medium or bulky yarn is particularly easy to work with because it covers the newspaper quickly. Smooth yarn creates a cleaner appearance, while textured yarn gives the pumpkin a softer handmade look.
Can I make yarn pumpkins without orange yarn?
Absolutely. Cream, beige, rust, mustard, brown, sage green, and gray can all create beautiful fall pumpkins.
How do I make the newspaper look like a pumpkin?
Crumple several sheets into a firm ball, make the center slightly wider, flatten the top and bottom, and create a small indentation where the stem will sit.
How do I keep the newspaper from falling apart?
Crumple the paper firmly and use temporary yarn wraps or small amounts of suitable adhesive to stabilize loose sections before covering the form.
How do you make pumpkin ridges with yarn?
Wrap the yarn vertically from bottom to top while rotating the pumpkin. Slightly defined groups of vertical strands can create the appearance of natural pumpkin sections.
What can I use for a pumpkin stem?
Try a small twig, cinnamon stick, rolled cardboard wrapped in twine, brown felt, thick yarn, or a short wooden craft piece.
Can I put yarn pumpkins outside?
Newspaper-filled yarn pumpkins are best kept indoors because moisture can damage the paper and yarn. Use weather-suitable materials for outdoor decorations.
Are yarn pumpkins safe around candles?
Yarn and newspaper are combustible, so keep these decorations away from open flames and high heat. Battery-operated decorative lights are a safer choice for nearby ambiance.
Can I make mini yarn pumpkins?
Yes. Start with smaller newspaper balls and use thinner yarn if desired. Mini pumpkins work well on tiered trays, shelves, coffee bars, and Thanksgiving place settings.
How can I make farmhouse yarn pumpkins?
Use cream, oatmeal, beige, or muted orange yarn. Add natural twig stems, jute twine, and understated felt leaves.
How should I store yarn pumpkins?
Keep them in a dry, sturdy container where heavy decorations won’t crush them. Protect delicate stems and leaves and avoid damp storage areas.
Can I reuse them next fall?
Yes. When stored carefully, yarn pumpkins can be used again. Gently reshape compressed areas and repair loose decorative pieces before displaying them.
Final Thoughts
Sometimes the best seasonal decorations start with materials that don’t look promising at all.
Crumpled newspaper?
Not exactly glamorous.
Orange yarn?
Cute, but nothing extraordinary.
Put them together, though, and you’ve got a DIY yarn pumpkin that can look surprisingly charming on a kitchen counter, mantel, shelf, or Thanksgiving table.
Start by shaping the newspaper.
Wrap it carefully with yarn.
Add a stem.
Then decide what personality your pumpkin gets.
Classic orange?
Rustic burnt orange?
Creamy farmhouse?
Soft sage green?
Make one or make an entire little pumpkin patch.
Just keep them indoors, away from moisture and heat, and store them carefully once fall is over.
And maybe save today’s newspaper.
Apparently it has plans for October.