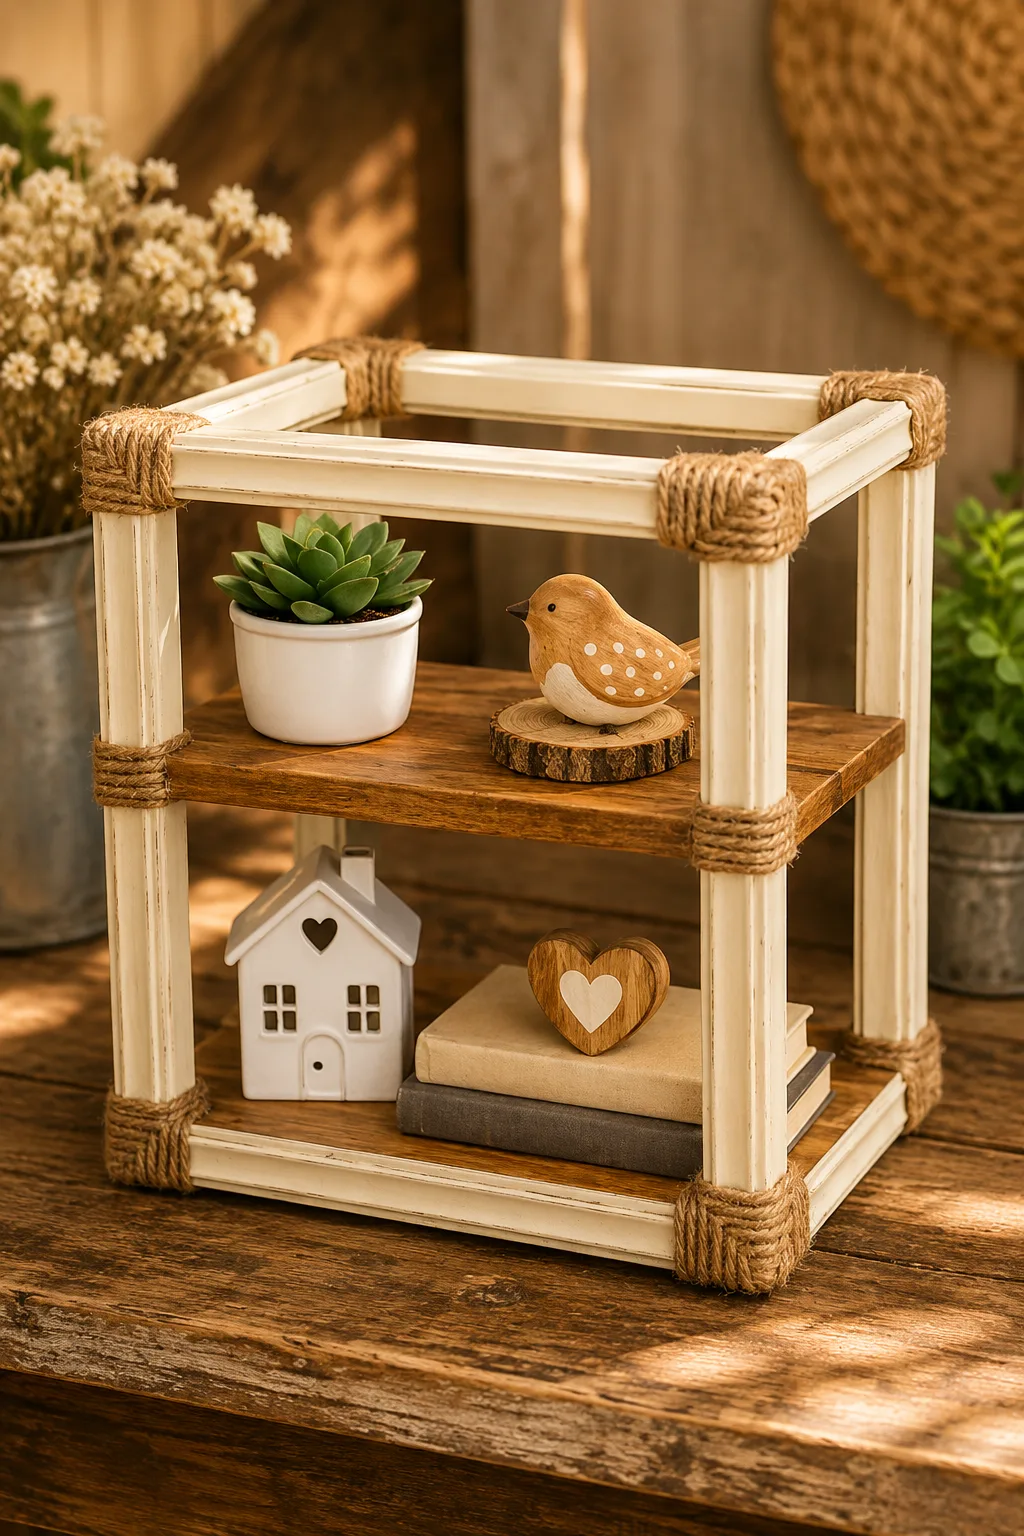
Most people look at an old wooden picture frame and see clutter. I look at one and think, “Okay, what can I make with this?”
And if you have four old wooden picture frames sitting in a closet, garage, basement, or thrift-store pile, you’ve already got the main pieces for one seriously cute DIY home decor project.
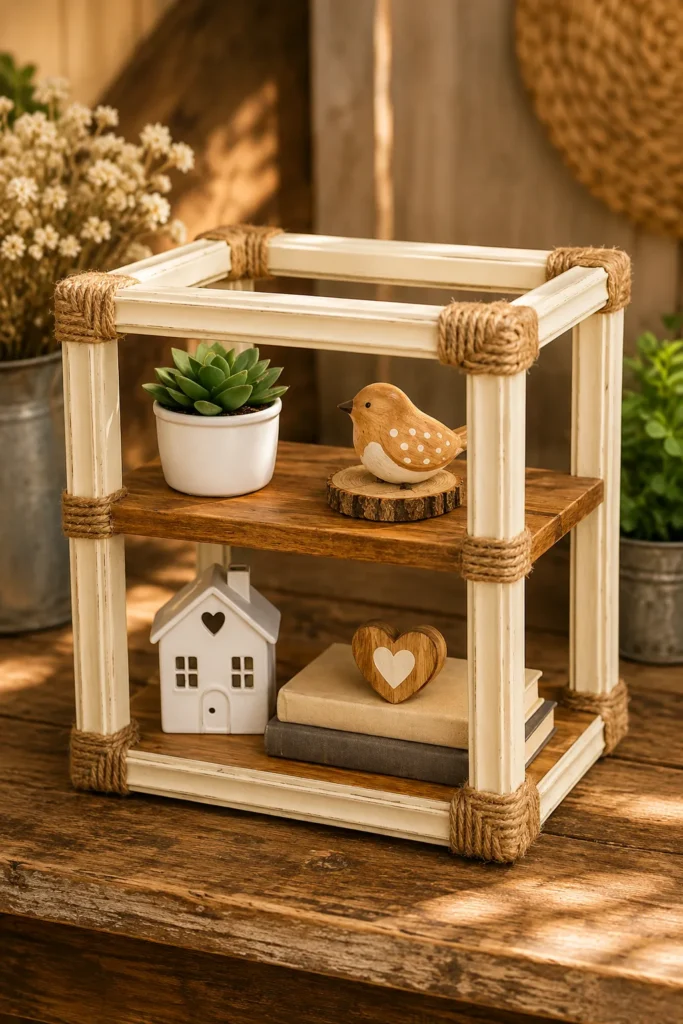
Instead of tossing those frames in the trash, you can join four of them at the corners and turn them into a decorative framed corner box. The finished piece has an open, airy look that works beautifully on a dining table, coffee table, console, mantel, or shelf.
image
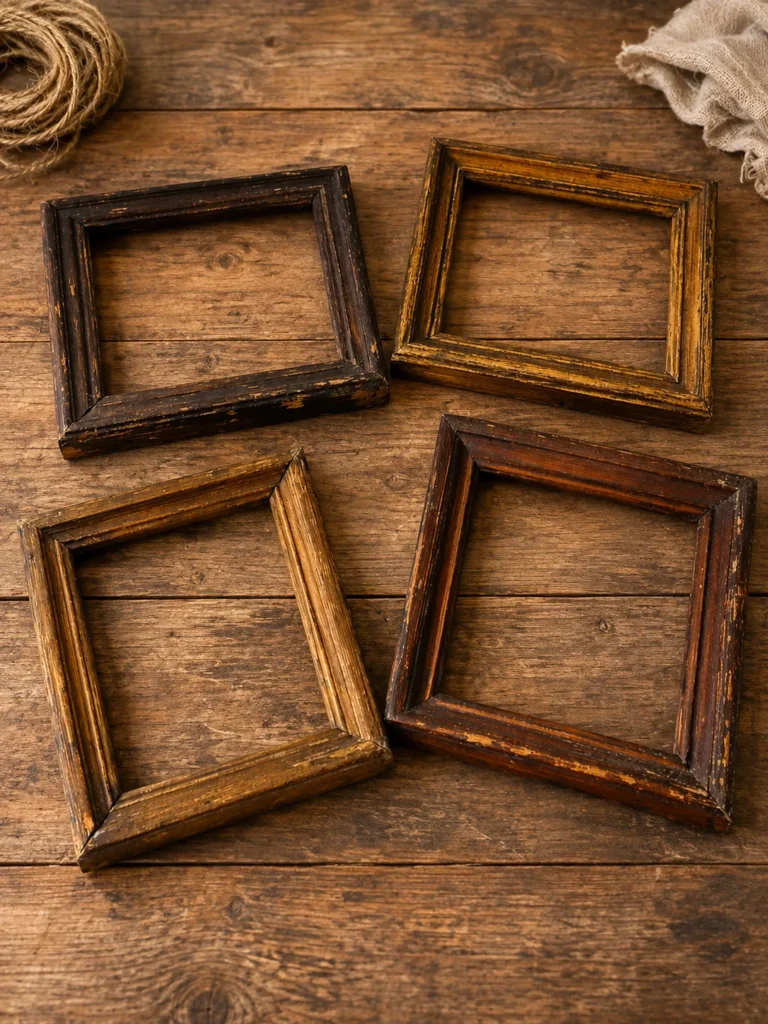
The project is simple, inexpensive, and surprisingly flexible. Keep the old wood for a rustic farmhouse look, stain it for a richer finish, or paint the frames to match your room.
Honestly, this is exactly the kind of project that makes me hesitate before throwing old decor away. Four forgotten frames can look completely different once they’re standing together.
Why Old Wooden Picture Frames Are Perfect for This DIY
Old wooden frames are great craft materials because most of the hard work has already been done. The wood has been cut, shaped, joined, and often finished. You just need to give those pieces a new job.
For this project, four matching frames form the sides of an open decorative box. When the corners are joined, the individual frames suddenly look like one intentional home accessory.
The open sides also keep the finished piece from feeling bulky. Place a candle arrangement inside, add a small plant, surround it with seasonal decorations, or simply leave the structure empty.
And those little scratches on an older wooden frame? I wouldn’t automatically cover them. A few marks can give the finished piece the lived-in character that makes rustic and farmhouse decor feel warm rather than factory-perfect.
Materials You’ll Need
You don’t need a huge craft haul for this one. In fact, you may already have most of the supplies around the house.
- 4 old wooden picture frames, preferably the same size
- Jute twine or strong decorative string
- Wood glue
- Sandpaper
- Scissors
- Clean cloth
- Paint or wood stain, optional
- Small paintbrush, optional
Before starting, remove the glass, backing boards, photos, tabs, and loose hardware from each frame. You’re working with the wooden outer frames only.
Try to choose frames with solid corners. A frame that’s slightly scratched is fine. A frame that’s splitting apart probably needs repair before you turn it into part of the structure.
Step 1: Clean and Sand the Old Frames
First, give each wooden picture frame a good cleaning. Old frames can collect an impressive amount of dust in those little grooves—ask me how I know.
Wipe the wood with a dry or slightly damp cloth and let it dry.
Next, lightly sand rough areas, peeling finishes, sharp edges, and splinters. You don’t have to sand away every sign of age. If you like the vintage appearance, keep some of that character.
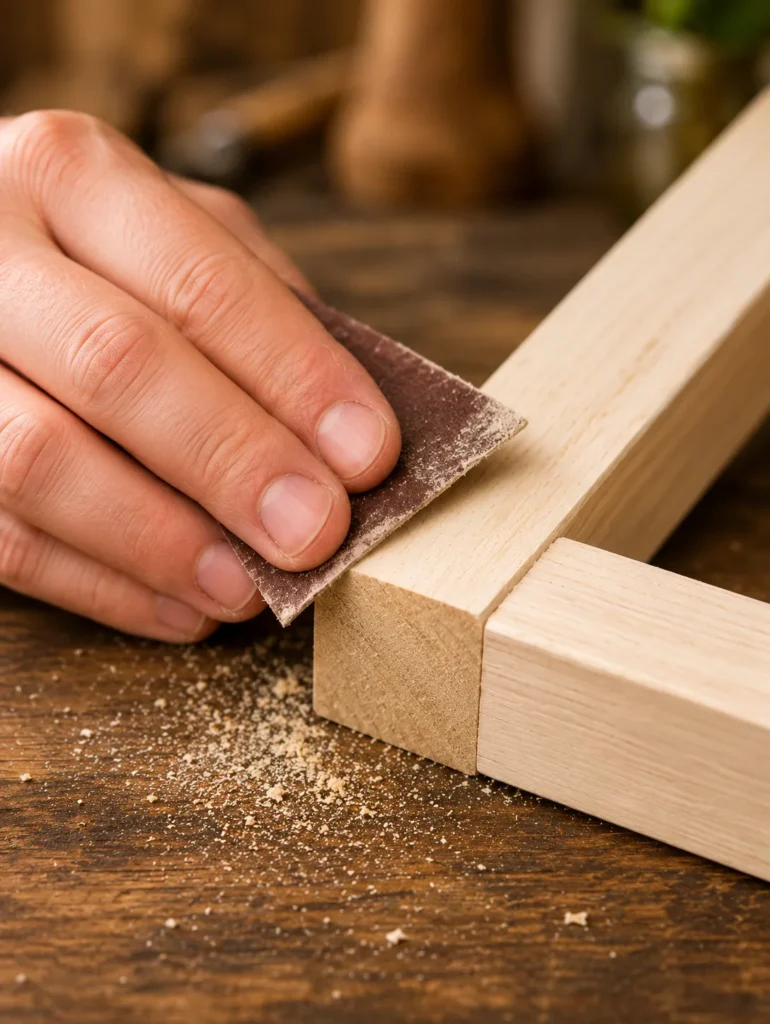
Pay extra attention to the edges that will meet at the corners. Cleaner contact points make it easier to glue the frames together.
After sanding, wipe away all the dust before moving on.
Step 2: Paint, Stain, or Keep the Natural Wood
Here’s where you can make this project fit your home.
For a farmhouse-style framed box, white, cream, soft gray, distressed black, and natural brown all work well. If you’re going for a warm rustic look, a wood stain can bring out the grain without hiding it.
You can also leave the frames exactly as they are. Sometimes mismatched wear and faded wood look better than a brand-new finish.
If you decide to paint or stain the wood, finish all four frames before assembly and let them dry according to the product directions.
Doing this now is much easier than trying to squeeze a paintbrush into the inside corners later. Been there. Not fun.
Step 3: Arrange Four Picture Frames Into a Box
Stand the four frames upright and arrange them so they create the four sides of a square or rectangular structure.
This is the moment when the project starts making sense.
Each frame should meet the next frame along its vertical edge. Take a minute to test the arrangement before reaching for the glue. You want the structure to sit evenly without one frame sticking out awkwardly.
Frames of the same size give you the cleanest shape and are usually easiest for beginners.
Don’t panic if your old frames aren’t perfectly straight. Vintage wood sometimes has its own ideas. Minor imperfections can disappear once everything is joined and styled.
Step 4: Glue the Picture Frames Together
Apply wood glue along the edges where two frames meet.
Press the first two frames together to create a 90-degree corner. Continue joining the remaining frames until you’ve formed the open box shape.
Follow the drying and curing directions printed on your wood glue. Different products need different amounts of time, so don’t rush this part.
A little patience now saves you from having a corner pop apart later while you’re proudly carrying your new centerpiece across the room. Yeah, nobody needs that.
Also, wipe away visible excess glue before it fully hardens.
Step 5: Tie the Corners With Jute Twine
Once the glued joints have set, bring out the jute twine.
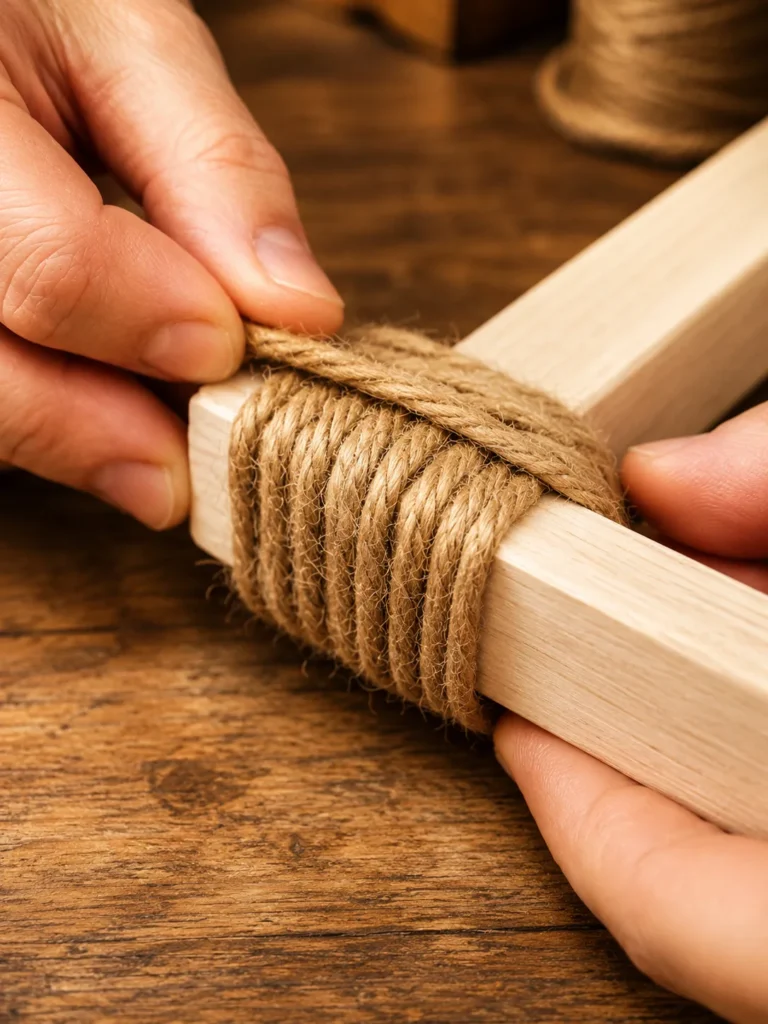
Wrap the twine around each corner several times. Keep the wraps snug and reasonably even, then finish with a secure knot.
The twine gives the corners extra support while adding a handmade rustic detail. That’s what makes this little trick so neat—the practical part becomes part of the decoration.
For a cleaner look, place your final knot toward the back or inside of the structure.
Then trim the extra twine.
And that’s pretty much it. Four unwanted picture frames now look like a piece you might’ve picked up at a home decor shop.
How to Decorate Your Framed Corner Box
Now comes my favorite part: figuring out what to put inside.
A small potted plant can give the wooden structure a fresh, casual feel. Faux greenery works too, especially if the piece is going somewhere without much natural light.
For a dining table centerpiece, place a battery-operated candle or LED candle inside and surround it with greenery. The open frames let you see the arrangement from every side.
Seasonal decorating is another easy option. Add small pumpkins and faux leaves for fall, pinecones and greenery for winter, flowers for spring, or shells and coastal accents for summer.
You could even place a small vase in the center and swap the flowers whenever you feel like changing things up.
One important note: if you use candles, battery-operated LED candles are the safer choice around wood, twine, dried greenery, and other decorative materials.
Fun Variations to Try With Old Picture Frames
You don’t have to copy the original version exactly. That’s half the fun of working with old stuff.
For a more modern appearance, paint all four frames matte black. Want something brighter? Try sage green, navy, dusty blue, or warm white.
Leather strips can replace jute twine for a slightly more polished finish. Decorative cord can add color, while thin ribbon can work for a lightweight display piece.
You can also attach tiny clips or hooks inside the structure and hang lightweight photos, notes, postcards, or small keepsakes.
Another idea is to add a wooden base underneath the four frames. That turns the open structure into more of a tray-style display box for lightweight decorative objects.
If you’re using frames in different sizes, test your arrangement on a flat surface first. Mismatched frames can create a cool eclectic look, but they’re a little trickier to join neatly.
Quick Tips That Make This DIY Easier
The biggest shortcut is starting with four frames that are already close to the same size. You won’t have to fight with uneven corners, and assembly goes much faster.
Remove every piece of old hardware you don’t need. Little metal tabs and hanging hooks can get in the way when you’re trying to join the frames.
Also, don’t skip the dry fit. Stand everything together before gluing anything. Five minutes of checking can save a whole lot of “well…that wasn’t supposed to happen.”
If you’re short on time, skip painting altogether. Clean the frames, lightly sand rough spots, glue them together, add the twine, and call it done. Natural and slightly worn wood looks great with jute anyway.
Don’t Toss Those Old Wooden Picture Frames Yet
Old picture frames are one of those household items that are easy to throw away without a second thought. But four wooden frames, a little glue, and some twine can become a charming piece of DIY home decor with surprisingly little work.
I especially like this project because you don’t need fancy woodworking skills or a pile of expensive supplies. You’re simply taking something that’s already there and giving it a useful new purpose.
So, next time you’re cleaning out a closet and find a stack of old wooden frames, maybe don’t head straight for the trash can.
Set four aside.
Tie those corners together, add your favorite decor in the middle, and suddenly that old pile of frames looks pretty darn clever.