Alright, let me just say it—these Kansas City ribs right here? Yeah… they’re the kind of meal that makes people go quiet at the table. You know, that “mmm… wow” silence. Sweet, smoky, sticky, messy in the best way possible. Honestly, the first time I made these, I didn’t even sit down—I just hovered by the tray sneaking bites.
So if you want ribs that hit that perfect balance of sweet BBQ glaze + tender meat, I got you.
What Makes Kansas City Ribs So Dang Good?
Kansas City-style ribs are all about that thick, rich BBQ sauce. It’s sweet, a little tangy, and it clings to every inch of the meat.
Unlike dry rub styles, these ribs:
- Get coated in sauce (and yeah, plenty of it)
- Cook low and slow
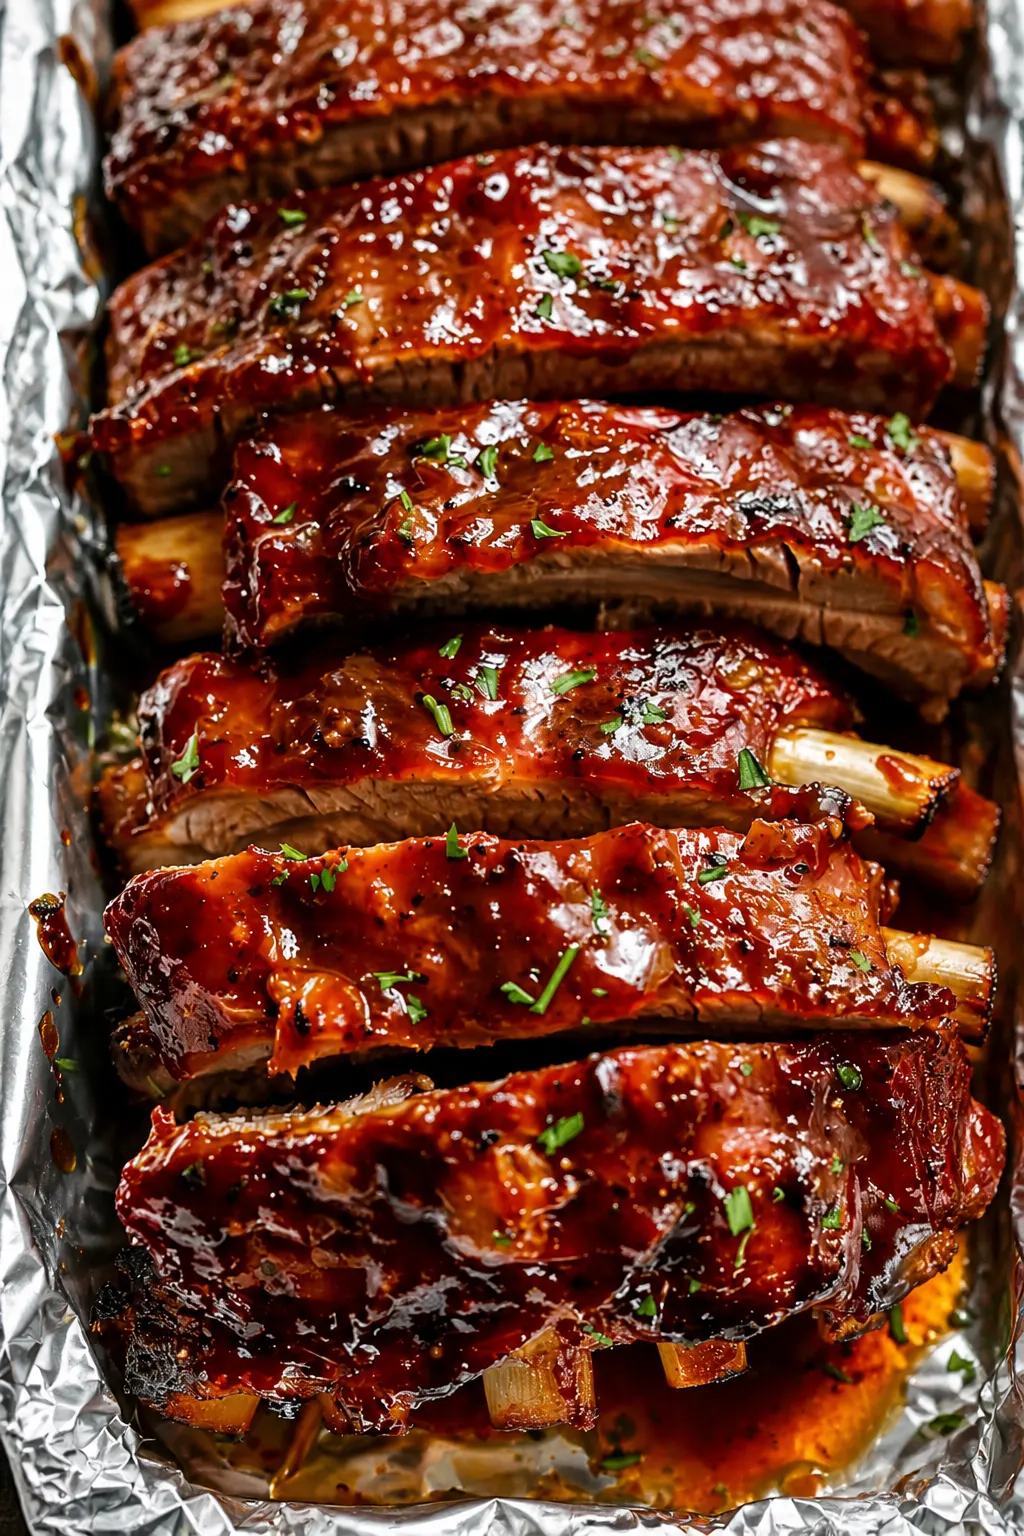
- Finish with a sticky glaze that caramelizes beautifully
And let’s be real—this is the kind of BBQ that makes your fingers messy. No forks needed.
Ingredients You’ll Need
Here’s the lineup. Nothing fancy, just solid flavor builders:
For the ribs:
- Pork ribs (baby back or spare ribs)
- Salt
- Black pepper
- Garlic powder
- Paprika (smoked if you got it)
For the Kansas City BBQ sauce:
- Ketchup
- Brown sugar
- Apple cider vinegar
- Worcestershire sauce
- Honey
- Mustard
- Chili powder
(Yeah, it smells amazing even before cooking—wait till it hits heat 🔥)
How I Make Kansas City Ribs at Home
Step 1: Prep the ribs
First, I remove that thin membrane on the back. It makes a huge difference in texture—trust me.
Then I rub them down with the spices. Nothing complicated, just a good even coat.
Step 2: Wrap and slow cook
I wrap the ribs in foil and bake them low and slow (around 275°F).
This part? It’s where the magic starts. The meat gets super tender and juicy.
Pro tip:
Add a splash of apple juice inside the foil. It keeps things moist and adds a subtle sweetness.
Step 3: Sauce it up
After a few hours, I take them out, unwrap, and brush on that thick BBQ sauce.
At this point, they already smell insane.
Step 4: Finish uncovered
I pop them back in the oven uncovered so the sauce gets sticky and caramelized.
This is the moment. The glaze turns glossy, slightly charred in spots… yeah, it’s hard to wait.
Quick Tips (Because We’re Hungry, Right?)
- Use foil for easy cleanup (seriously, saves your sanity)
- Don’t rush the cook time—low heat = tender ribs
- Add extra sauce at the end if you love it messy (I always do)
- Let them rest a few minutes before cutting
What to Serve with Kansas City Ribs
Let’s make this a full plate:
- Creamy coleslaw
- Cornbread (slightly sweet, obviously)
- Baked beans
- Mac and cheese (no regrets here)
Honestly, it’s a backyard BBQ vibe—even if you’re just in your kitchen on a random Tuesday.
Final Thoughts (Real Talk)
Kansas City ribs are one of those meals that just feel right. They’re bold, comforting, and yeah… a little messy.
And honestly? That’s part of the fun.
If you try this, don’t expect leftovers. I mean, maybe—but probably not 😄
Kansas City Ribs
Ingredients
Method
- Prep the ribs
- First, remove the membrane from the back of the ribs (yeah, it’s a small step but makes a big difference).
- Then season both sides with salt, pepper, garlic powder, and paprika.
- Wrap and bake
- Preheat oven to 275°F.
- Wrap ribs tightly in foil and place on a baking tray.
- Bake for 2.5 to 3 hours until the meat gets tender.
- (I usually peek at the 2.5-hour mark… can’t help it 😅)
- Make the sauce
- In a bowl, mix ketchup, brown sugar, vinegar, Worcestershire sauce, honey, mustard, and chili powder.
- Give it a quick taste—sweet, tangy, a little kick… yeah, that’s it.
- Add the sauce
- Remove ribs from foil and place back on the tray.
- Brush a thick layer of BBQ sauce all over.
- Don’t be shy here—this is Kansas City style.
- Finish uncovered
- Return ribs to oven uncovered for 20–30 minutes at 400°F.
- The sauce thickens and turns sticky with slight char edges.
- That glossy finish? That’s the moment.