A strand of Christmas lights may stop working long before its colorful bulbs lose their charm. If the covers are intact and made of plastic, you can turn them into a cheerful tabletop tree. The project uses a cardboard cone as its base, with the salvaged bulbs arranged in overlapping rows. Metallic paint gives the cone a finished look wherever it peeks through.
This is a decorative craft only: the bulbs are not wired, illuminated, or connected to electricity. Set aside an afternoon for cutting, painting, drying, and assembly.

What you need
- About 60 intact plastic Christmas light bulb covers from nonworking strands, in mixed colors
- One sturdy cardboard craft cone, approximately 14–16 inches tall with a 5–6-inch-wide base
- Wire cutters or sturdy snips
- A hot glue gun and roughly 8–10 full-size glue sticks
- Metallic green spray paint, approximately one 10–12-ounce can
- Optional metallic gold spray paint for accent bulbs
- Scrap cardboard or a drop cloth, plus protective gloves
- Optional ribbon for the top or base
The bulb count is a guide. A wider cone or larger gaps may change how many you need. Before buying supplies, loosely arrange some bulbs against the cone to check their size and coverage.
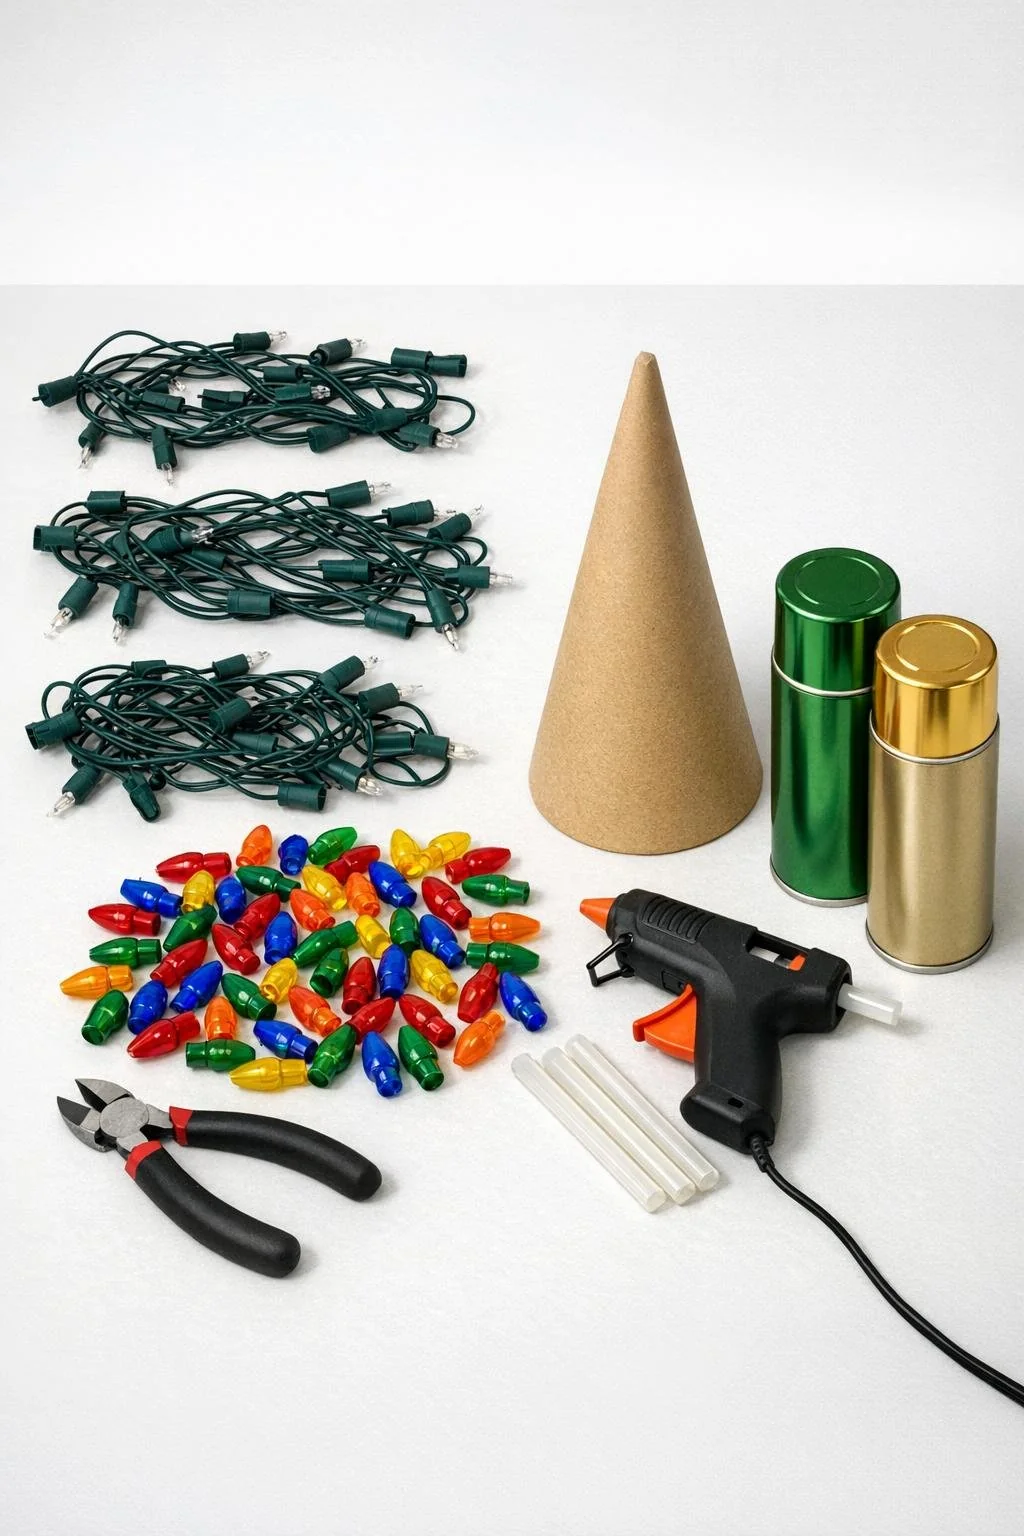
How to make the bulb-cover Christmas tree
1. Disconnect and inspect the old lights
Unplug the light strand and keep it disconnected throughout the project. Work only with plastic bulb covers that are cool, clean, and unbroken. Skip cracked pieces, exposed metal, and glass bulbs. If a cover does not come away cleanly, do not force it.
2. Remove and sort the covers
Use wire cutters to separate the decorative bulb pieces from the old strand, leaving as little socket or wire attached as possible. Sort the usable covers by color and size. This makes it easier to distribute red, green, yellow, blue, and white evenly as you build the tree. Set the cut electrical cord aside for disposal or recycling according to local guidance; it must never be plugged in again.
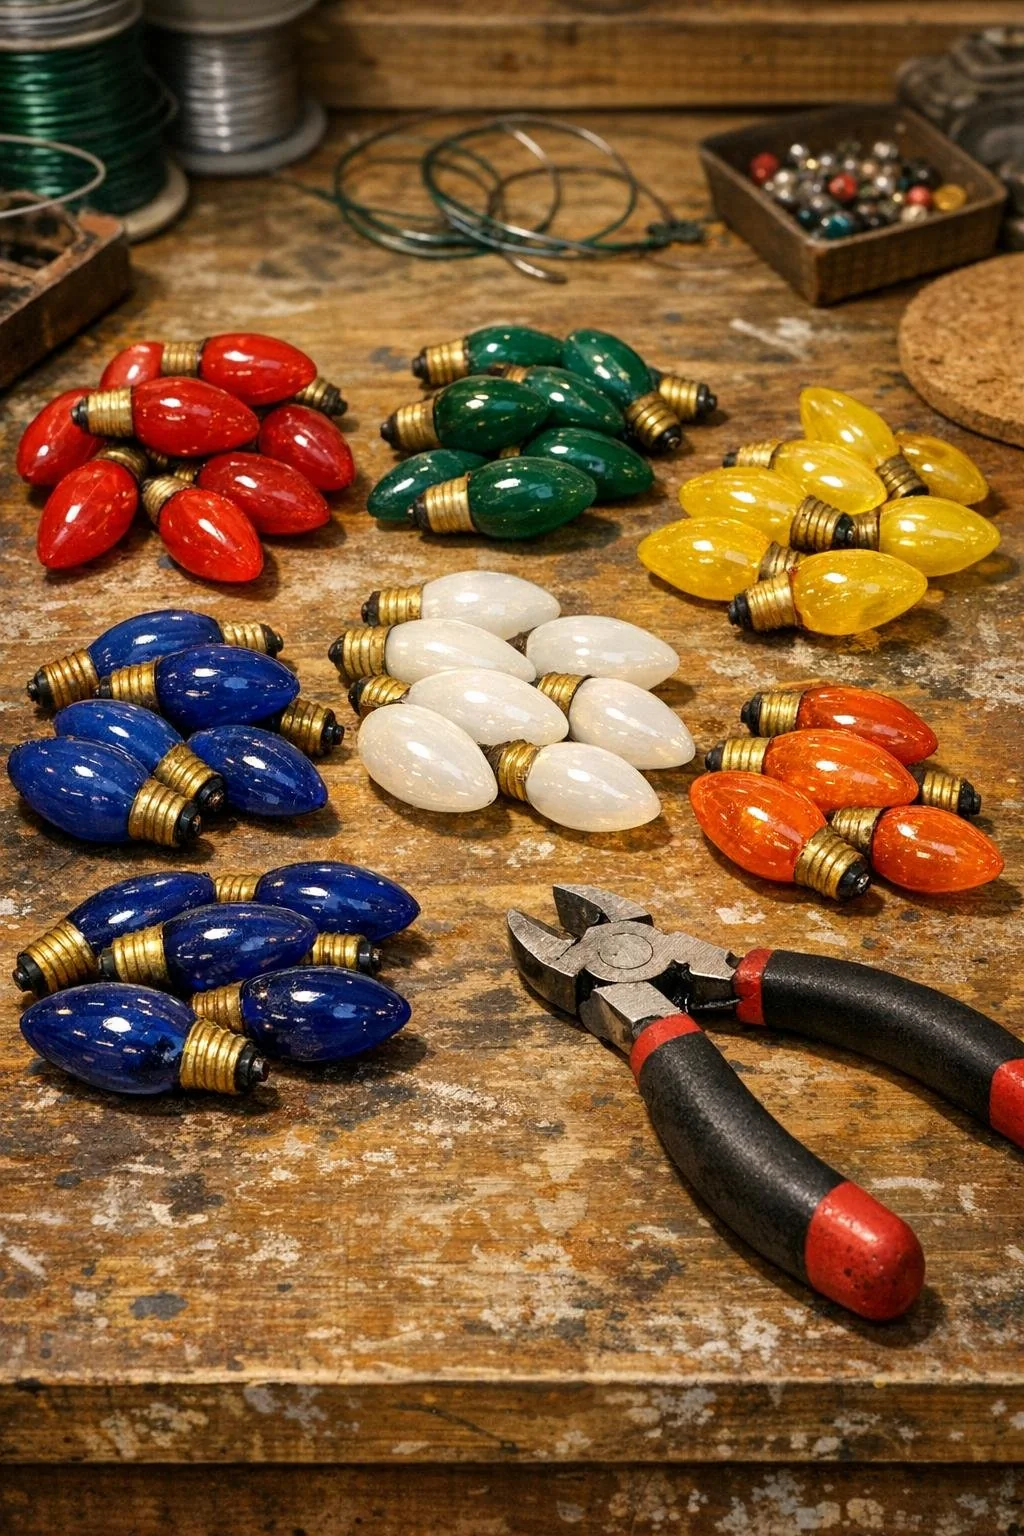
3. Paint the cone
Protect your work surface. Following the paint label, spray the cardboard cone with thin coats of metallic green until the surface is covered. Let each coat dry as directed, then allow the cone to dry completely before gluing. Paint a few selected bulb covers gold if you want extra highlights; let those dry completely too. Painting outdoors or in a well-ventilated area is essential.
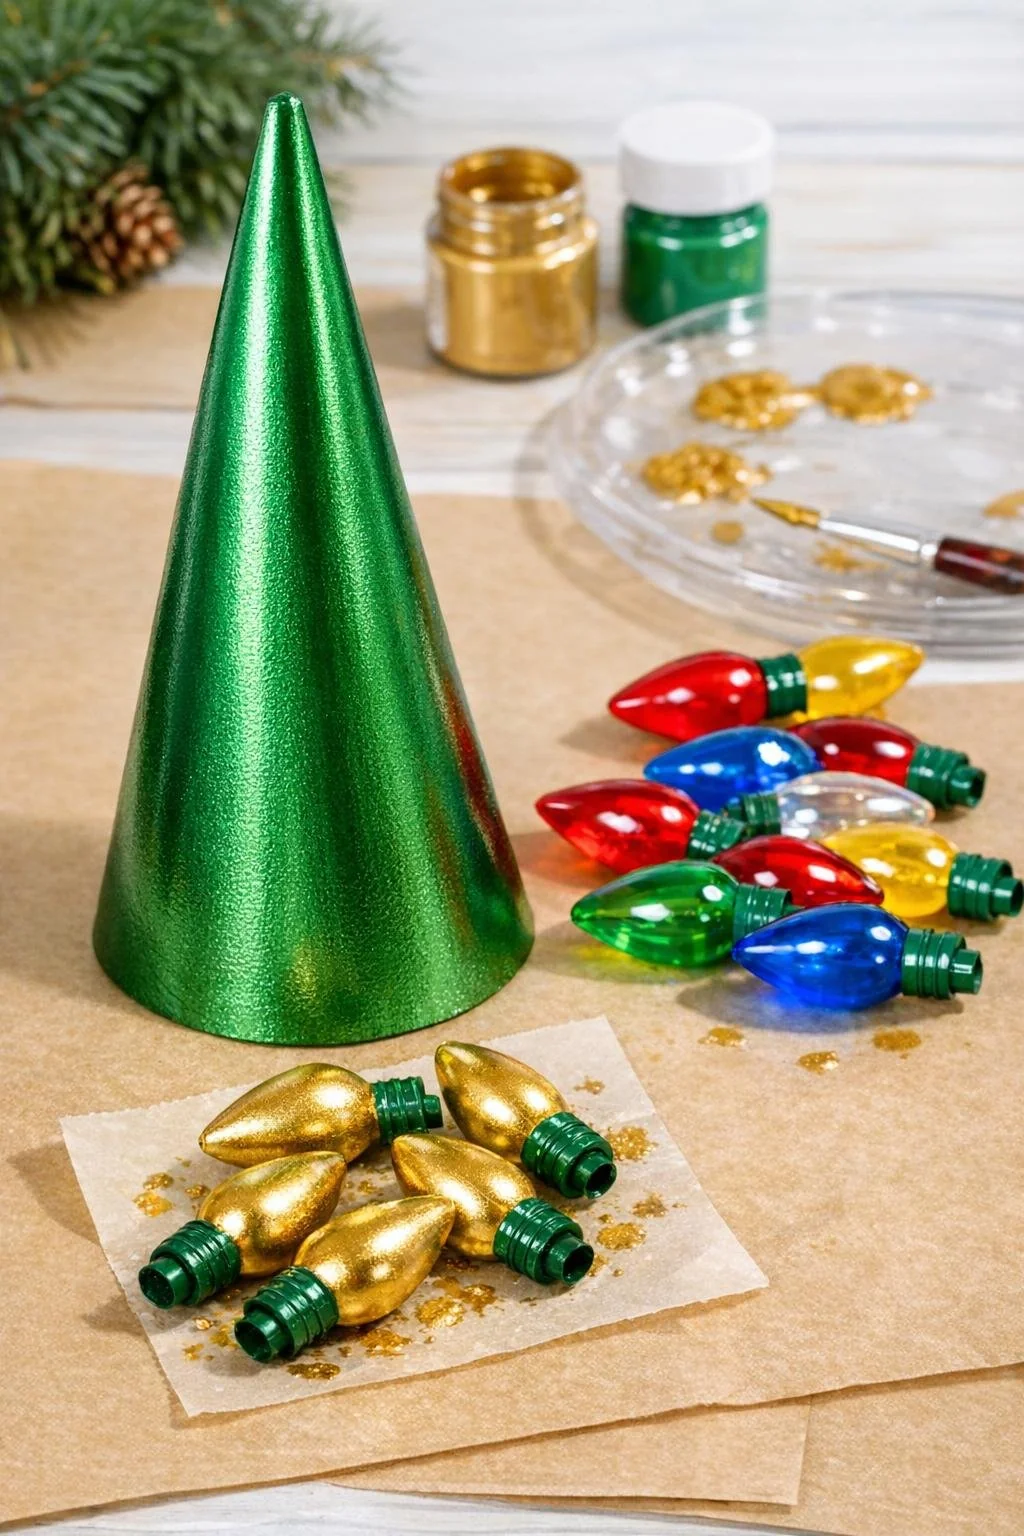
4. Build the first row at the base
Place the cone upright. Apply a small amount of hot glue to the back or socket end of a bulb cover, then press it onto the cone near the bottom edge. Hold it briefly until it stays in place. Continue around the base, keeping the bulbs close together and angled downward or slightly outward. Check that the cone still sits flat on the table.
5. Add overlapping rows
Start the next row just above the first. Position each bulb between two bulbs below it, like overlapping roof tiles. Rotate colors as you go so no single shade gathers in one patch. Work all the way around the cone before moving upward. A tight, staggered arrangement gives the tree a full appearance and covers most of the cardboard.
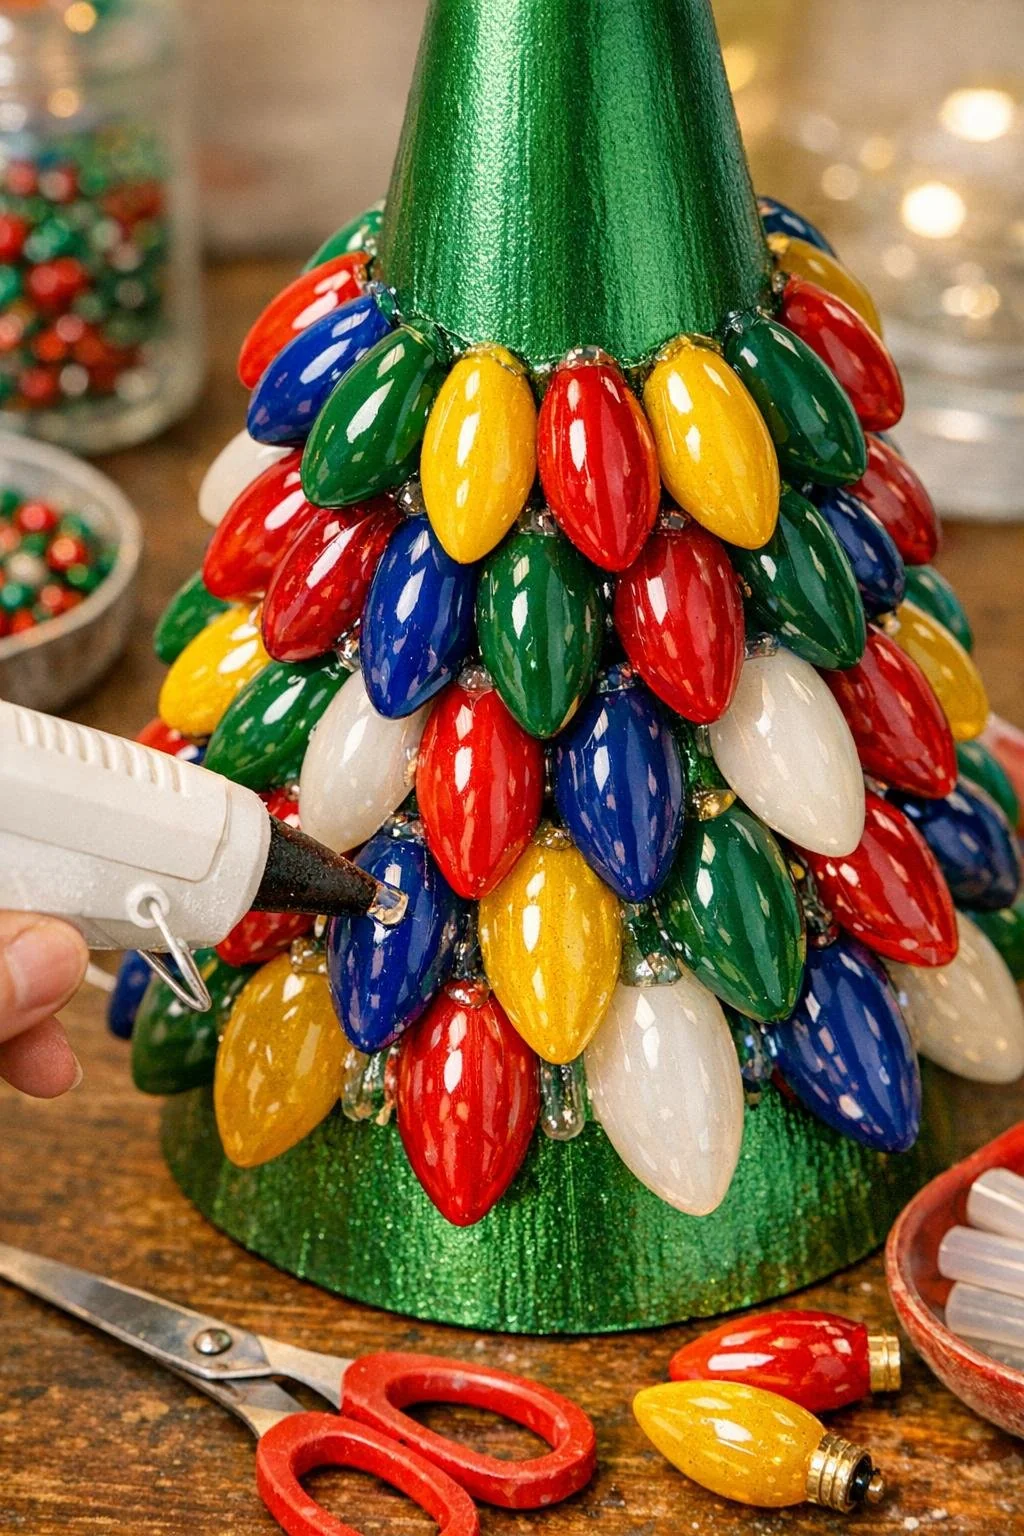
6. Finish the narrow top
As the cone tapers, choose the smaller covers and angle them slightly upward so they fit without crowding. A single bulb, small cluster, or ribbon bow can finish the tip. Step back occasionally to spot gaps, then add a cover where needed. Let all the glue cool fully before moving the tree.
Ways to make it your own
For a classic look, alternate red and green with a few gold accents. A mix of every color gives the tree a playful vintage feel. You can also group colors in loose diagonal bands, or leave the bulb covers unpainted and use gold only for the topper. A narrow ribbon around the base can hide any exposed cardboard edge.
Display the finished tree on a stable shelf, mantel, or dining table. Keep it away from candles, fireplaces, heaters, and other heat sources: the plastic covers and cardboard are flammable. Battery-operated LED lights placed nearby can create a glow without reconnecting the cut strand. Store the tree upright in a box with light padding so the glued covers do not snag or crack between seasons.