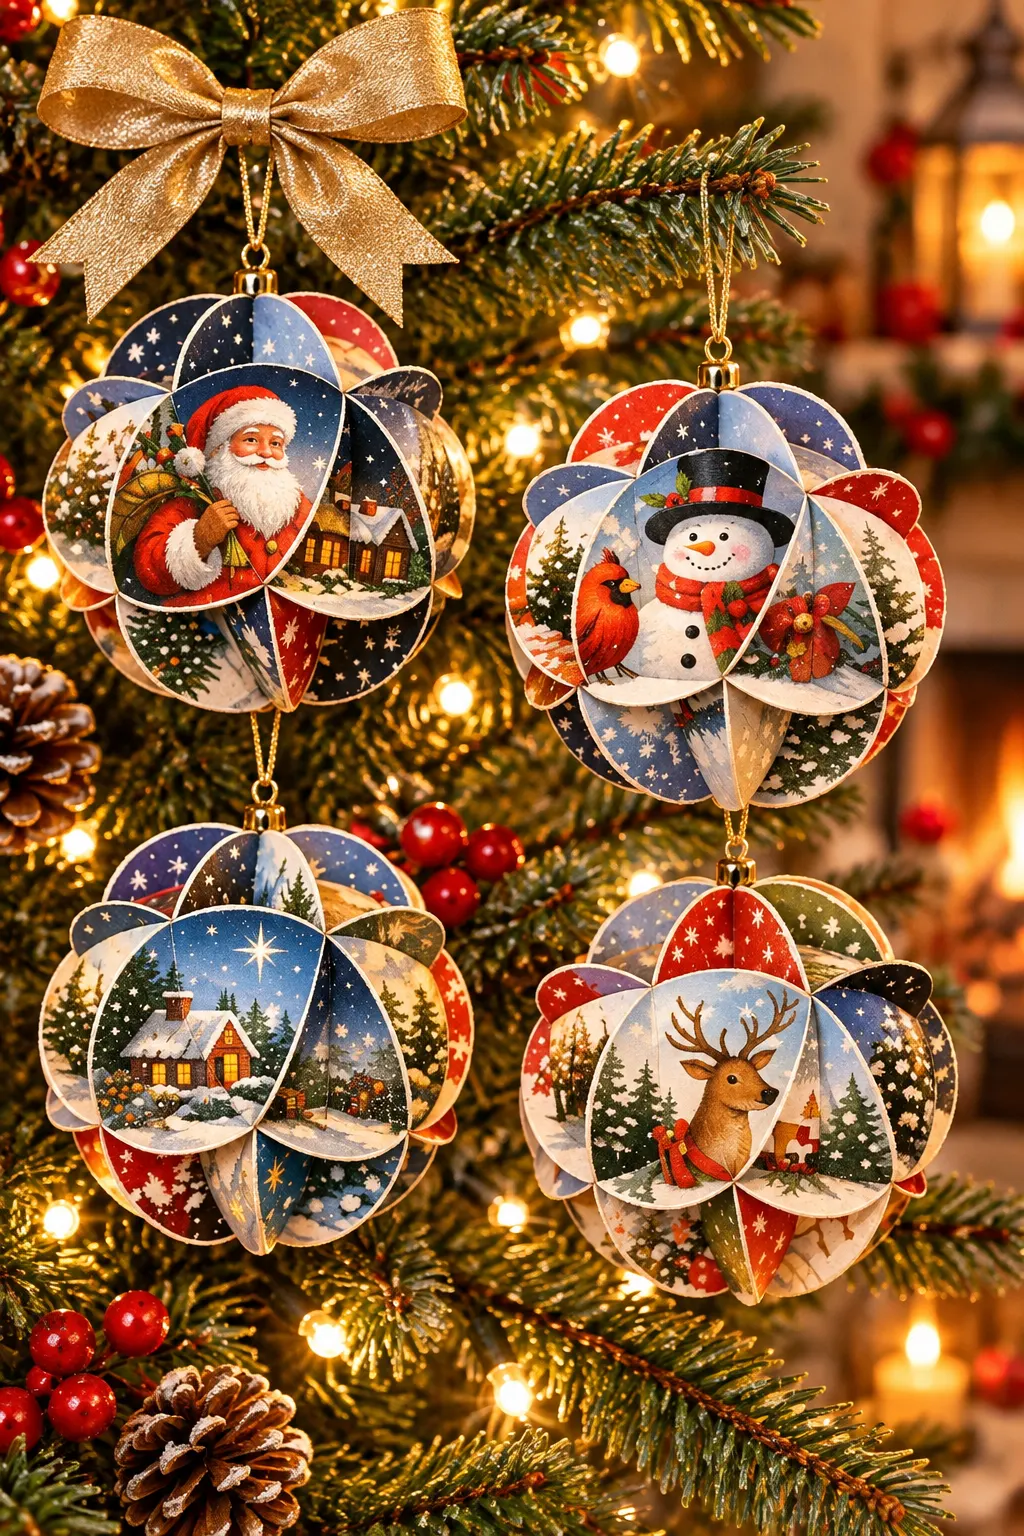
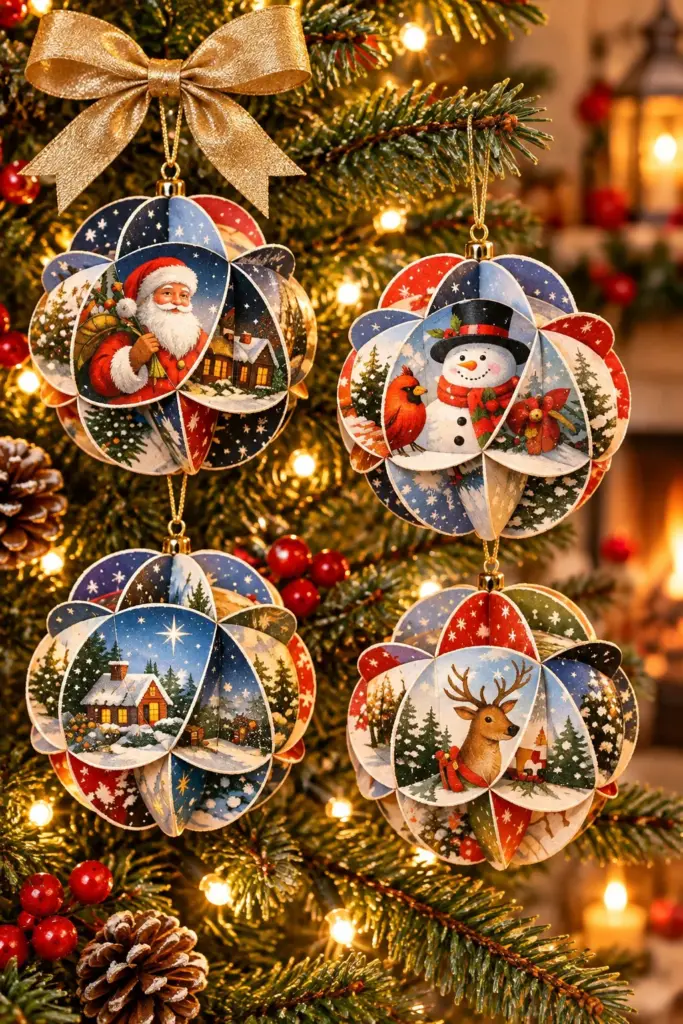
There’s something mighty satisfying about turning a stack of last year’s Christmas cards into something fresh instead of tucking them in a drawer and forgetting them. This little paper project uses just 20 circles, one simple folding trick, and a bit of patient gluing to make an ornament that looks far fussier than it really is. The first one takes about an hour if you’re being careful, and after that, your hands seem to remember the rhythm.
I’m especially fond of this sort of make-do craft because it reminds me of the way we used to save every pretty scrap in our house. If you’ve got free cards, a quiet table, and maybe a child or grandchild who likes to cut and fold while a grown-up handles the glue, this is a lovely afternoon project. The secret is using one triangle template for every fold so the whole thing comes together neatly at the end.
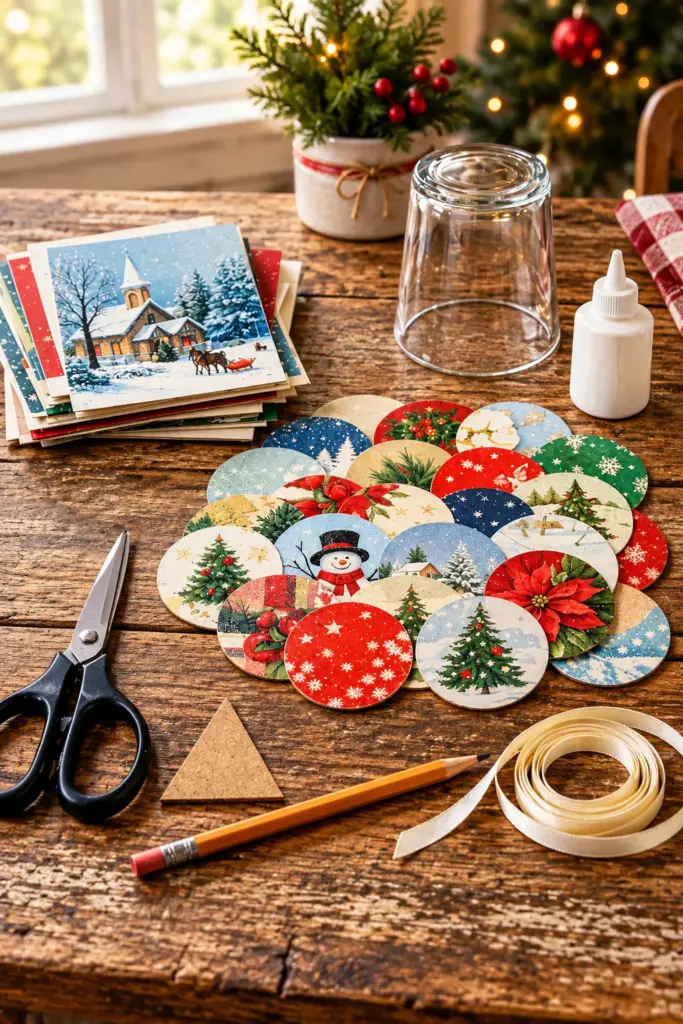
Materials
20 old Christmas card circles, each 2 1/2 inches across
1 drinking glass or round jar, 2 1/2 inches across, for tracing
1 piece of lightweight cardboard, about 3 x 3 inches, for a triangle template
1 pencil
1 pair of sharp paper scissors
1 glue stick or 1 bottle of tacky craft glue, about 2 ounces
1 narrow ribbon, 8 to 10 inches long, for hanging
2 small binder clips or 10 paper clips, optional, to hold glued sections while drying
1 scrap of paper, to protect the table while gluing
Instructions
1. Make one triangle template first, because that is the whole trick to getting a neat ornament; if the triangle is uneven, the ball will not close properly. Cut an even triangle from lightweight cardboard with sides about 1 3/8 inches long so it fits neatly inside your traced circles.
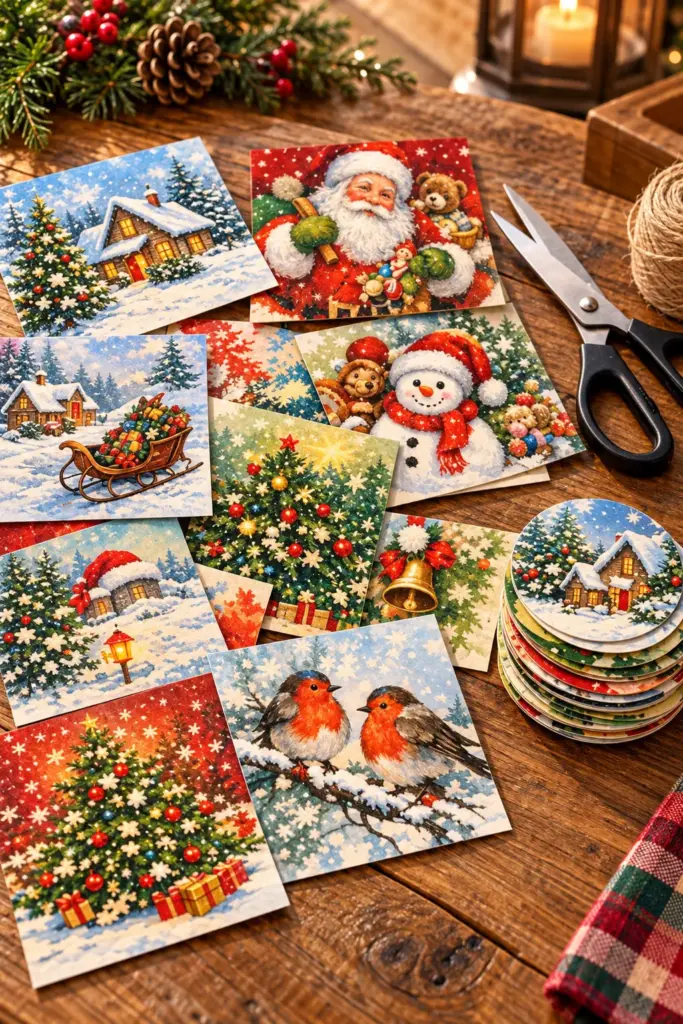
2. Trace 20 circles onto old Christmas cards using your drinking glass, choosing the prettiest artwork for the fronts. Cut all 20 circles out as neatly as you can, because clean edges make the finished shape much crisper.
3. Place the same triangle template in the center of one circle and fold the paper up along all three sides of the triangle, making three curved flaps around a triangle center. Repeat with all 20 circles, always using that one template so every folded piece matches exactly.
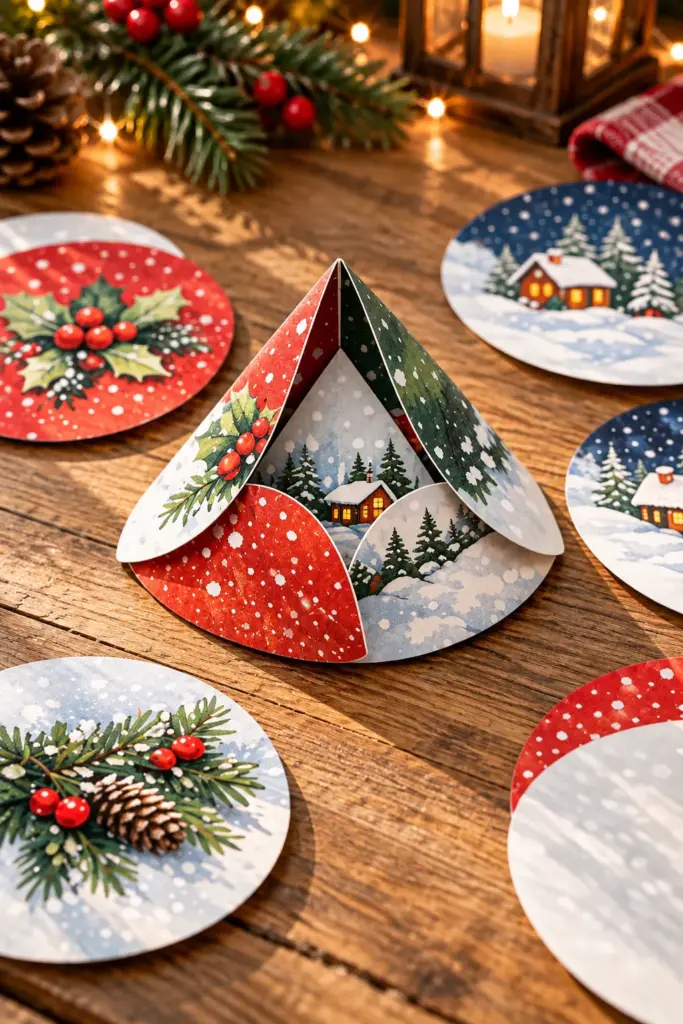
4. Crease all the folds firmly with your thumbnail or the back of the scissors handle so the pieces hold their shape. Keep the printed side facing outward on every piece, since that is the side you want to see at the end.
5. Glue five folded pieces flap to flap in a ring to make the top section, lining up the edges carefully as you go. Clip or hold the joins a moment until they set, and keep the prettiest card art facing out.
6. Glue five more folded pieces flap to flap in another ring for the bottom section. Set both rings aside for a few minutes so they do not shift when you build the middle band.
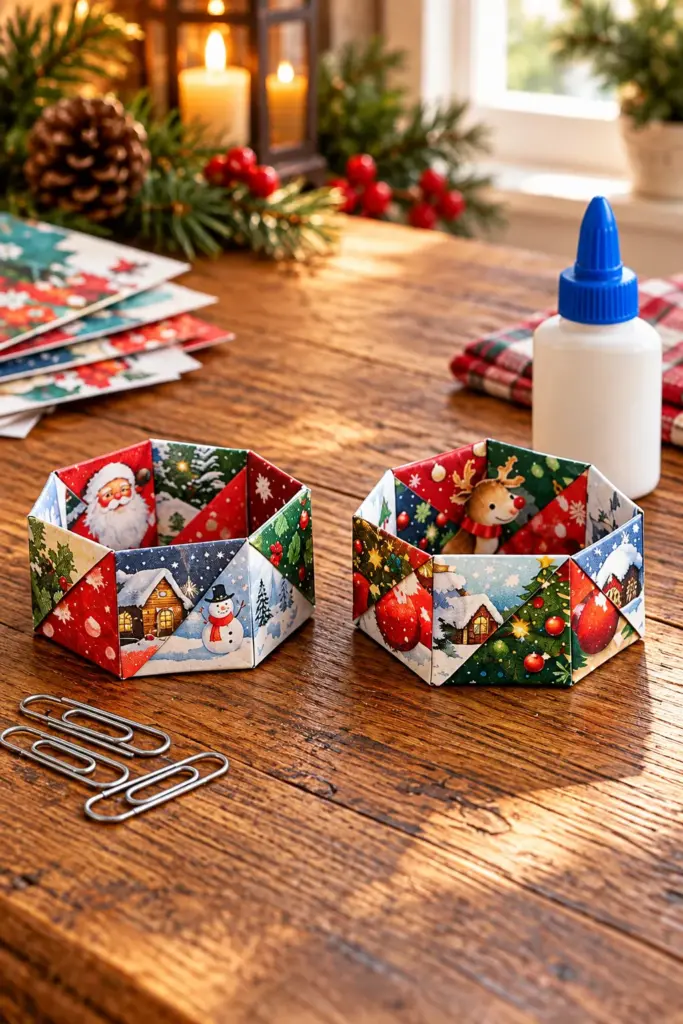
7. Glue the remaining ten folded pieces together in one long row, flap to flap, then bend that row around and glue the ends together to form the middle band. This middle section should look like a belt of ten connected triangles with curved flaps making a petal-like rim.
8. Glue the top ring to one side of the middle band, matching one flap at a time and working your way around slowly. Let that joint set before turning it over and attaching the bottom ring to the other side.
9. Before you glue the very last flap closed, fold your ribbon in half and tuck the raw ends inside near the top so the loop sticks out for hanging. Glue that final flap shut and hold it a minute so the loop stays secure.
10. Check for any loose spots and add a dot of glue wherever a flap lifts, then let the ornament dry completely before hanging it. Once dry, it will be light enough for even the thinnest little branch tips on the tree.
Variations & Tips
Card choice: Cards with small pictures, holly, songbirds, ornaments, snowflakes, and little winter scenes work especially well because each folded section shows just a snippet of the design.
Glue option: A glue stick is less messy and nice for crafting with children, but tacky glue makes a sturdier ornament if you do not mind waiting a bit longer for drying time.
Ribbon finish: Thin satin ribbon looks dressy, but baker’s twine or metallic cord gives these a plainer homespun charm that I find awfully sweet on a family tree.
Neater folds: If your card stock is heavy, score lightly along the triangle edges before folding; that keeps the flaps crisp without cracking the printed surface.
Mix-and-match look: Use all one card pattern for a tidy, old-fashioned ornament, or combine several different cards in the same color family for a patchwork effect that still looks intentional.
Make-ahead tip: I like to trace and cut a whole stack one evening, then fold and glue the next day with a cup of coffee at hand; once you’ve made one, the rest go much faster.