
There are a lot of kid-friendly kitchen crafts I’ll try once and never bother with again, but this one has earned a permanent spot in our house. With just pantry basics, you can cook up a smooth white dough that dries into ornaments with that soft, elegant porcelain look people never expect from baking soda and cornstarch.
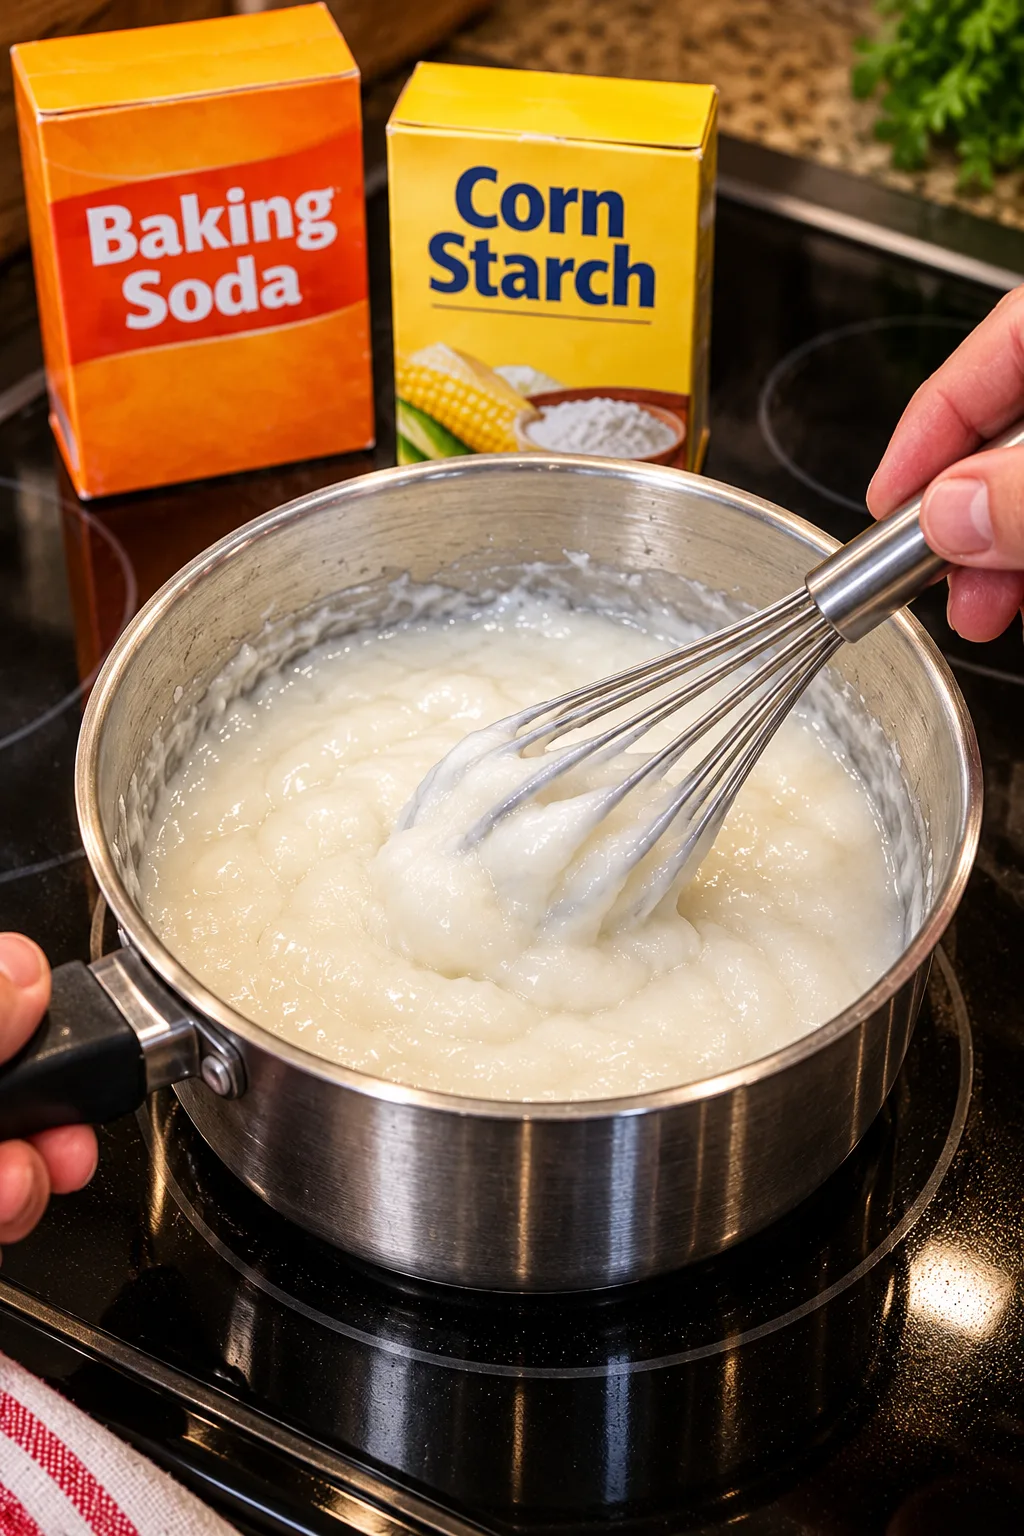
The big trick is simple, and I always say it right up front: stir the three ingredients together cold in the pan first, then cook over medium heat while stirring the whole time. It changes from looking like milk to looking like mashed potatoes in about a minute, and you want to pull it off the heat the second it mounds up. If it cooks too long, it gets crumbly. Made the right way, it turns into the loveliest satin-white clay, and for about a dollar’s worth of pantry goods, you can make around two dozen ornaments in one cozy afternoon.
Materials
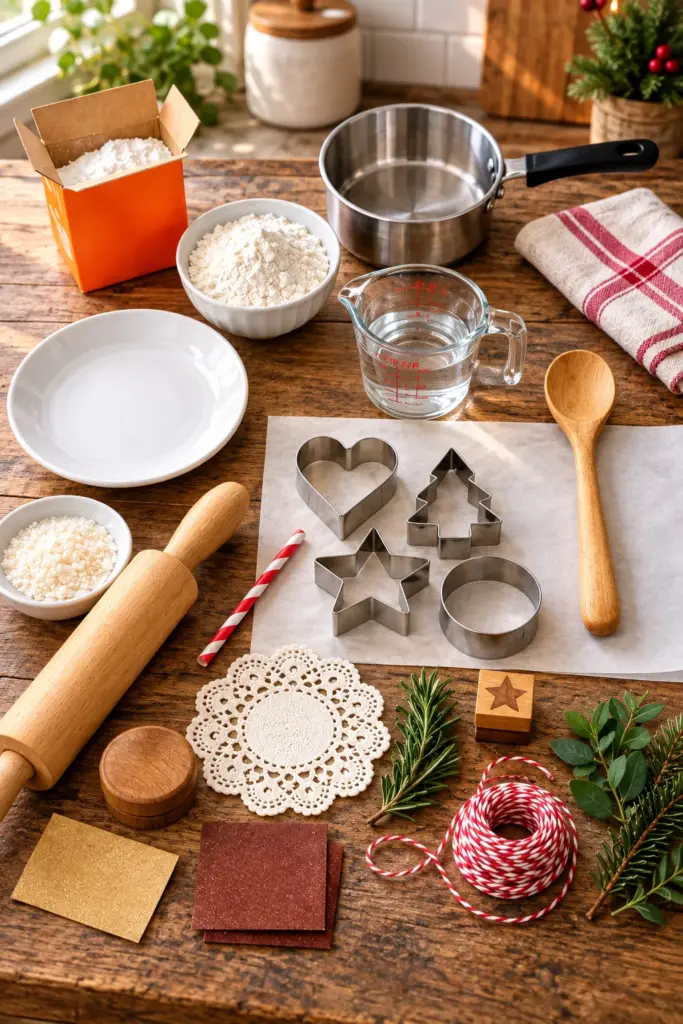
1 box baking soda, 16 ounces
1 cup cornstarch
3/4 cup water
1 medium saucepan, 2- to 3-quart size
1 wooden spoon or silicone spatula
1 dinner plate or small tray for cooling the clay
1 clean kitchen towel, lightly dampened
2 sheets parchment paper, about 12 x 16 inches each
1 rolling pin
4 to 6 cookie cutters, 2- to 3-inch sizes
1 paper or metal straw for punching hanging holes
1 lace doily, 1 small rubber stamp, or 3 to 4 rosemary sprigs for impressions
1 small bowl of cornstarch for dusting, about 2 tablespoons
1 piece fine sandpaper, 220-grit
6 to 8 yards baker’s twine or thin jute twine for hanging
6 to 12 small fresh or faux greenery sprigs for finishing, optional
Instructions
1. Add the baking soda, cornstarch, and water to the saucepan while the pan is still cold, and stir until the mixture is completely smooth with no dry pockets.
2. Set the pan over medium heat and stir constantly, scraping the bottom and sides as you go; in about a minute it will change quickly from a milky liquid to a thick mashed-potato texture.
3. The moment the mixture gathers into a soft mound and pulls away from the pan, remove it from the heat right away so it stays smooth instead of turning crumbly.
4. Turn the hot dough onto a plate, cover it with the damp towel, and let it rest until it is cool enough to handle comfortably, about 15 to 20 minutes.
5. Knead the dough for 1 to 2 minutes until it becomes smooth, soft, and satin-like; if it feels sticky, dust your hands and the surface with a tiny bit of cornstarch.
6. Place the clay between or on top of parchment and roll it to an even 1/4-inch thickness so the ornaments feel substantial and dry evenly.
7. Press a doily, stamp, or rosemary sprig firmly into the surface to add texture, then lift it straight up so the pattern stays crisp.
8. Cut the clay with cookie cutters, placing the shapes close together to get about 24 ornaments from one batch.
9. Punch a hanging hole near the top of each shape with a straw, twisting slightly so the hole stays open as the clay dries.
10. Transfer the ornaments on the parchment to a flat tray or baking sheet, and smooth any ragged edges now with a fingertip.
11. Let the ornaments air dry for 2 days, flipping them once after the first day, or bake them at 175 degrees Fahrenheit for 1 hour if you want them finished sooner.
12. Once fully dry, sand any rough edges lightly with fine sandpaper until the shapes look clean and polished.
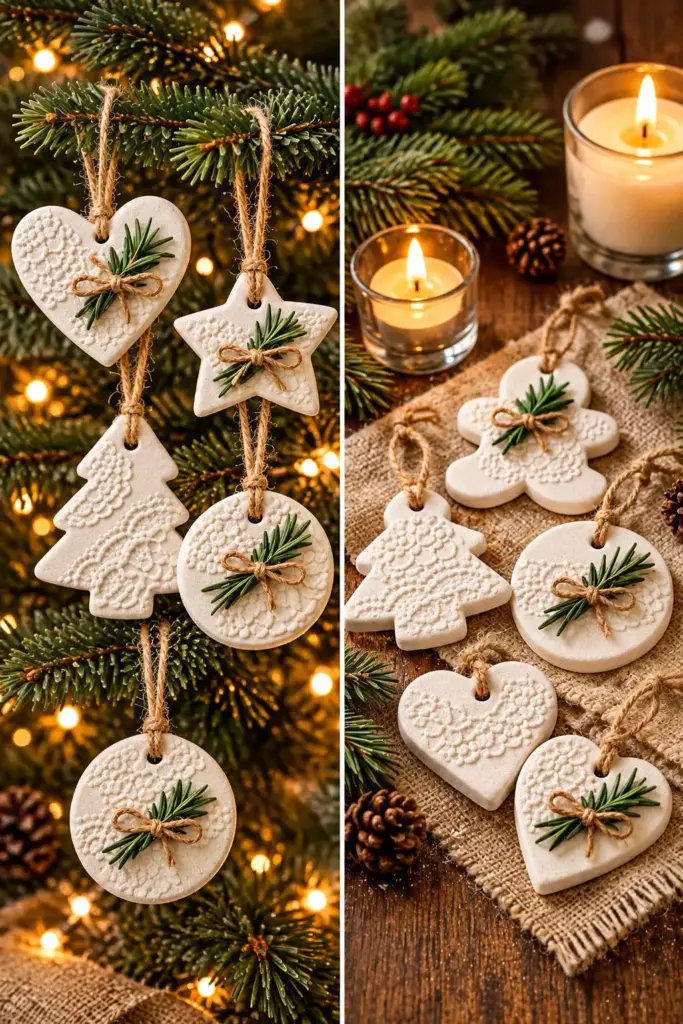
13. Leave them plain for that beautiful porcelain look, or thread twine through the holes and tie on a small sprig for a simple finished touch.
Variations & Tips
For kids: This is one of my favorite afternoon projects with children because the dough comes together fast and the pressing and cutting part feels a lot like cookies, just without the sugar rush. I like to handle the stove portion myself, then let the kids do the textures and cutters.
Best texture tip: If your clay starts to dry while you work, keep the extra portion under the damp towel and only roll out half at a time. That little habit makes the whole batch much easier to manage.
For crisp impressions: Rosemary sprigs, lace, and simple stamps all work beautifully, but press firmly and evenly before cutting the shapes. I find the detail shows up best on a true 1/4-inch thickness.
For picky decorators: If your family likes choices, make a mixed batch with stars, hearts, trees, and circles so everyone can pick a favorite. Some kids love detailed stamped ornaments, while others are happiest with plain smooth shapes and twine.
Drying choice: Air drying usually gives the nicest smooth finish, but the low oven method is handy if you want them done the same day. Either way, make sure they are completely dry before tying on greenery or stacking them.
Finish idea: I think these are prettiest left pure white, because that’s what gives them the porcelain look, but a tied sprig of rosemary, cedar, or faux pine adds just enough charm without covering the detail.
Storage tip: Store finished ornaments flat in a box with tissue between layers so the edges stay nice. They are not waterproof, so I keep them indoors and off an outdoor tree or porch display.
Make-ahead note: One batch makes about two dozen ornaments, which is plenty for a family project, teacher gifts, or package toppers. If I’m hosting friends or making extras for grandparents, I usually double the recipe and cook it in two separate batches for the smoothest clay.