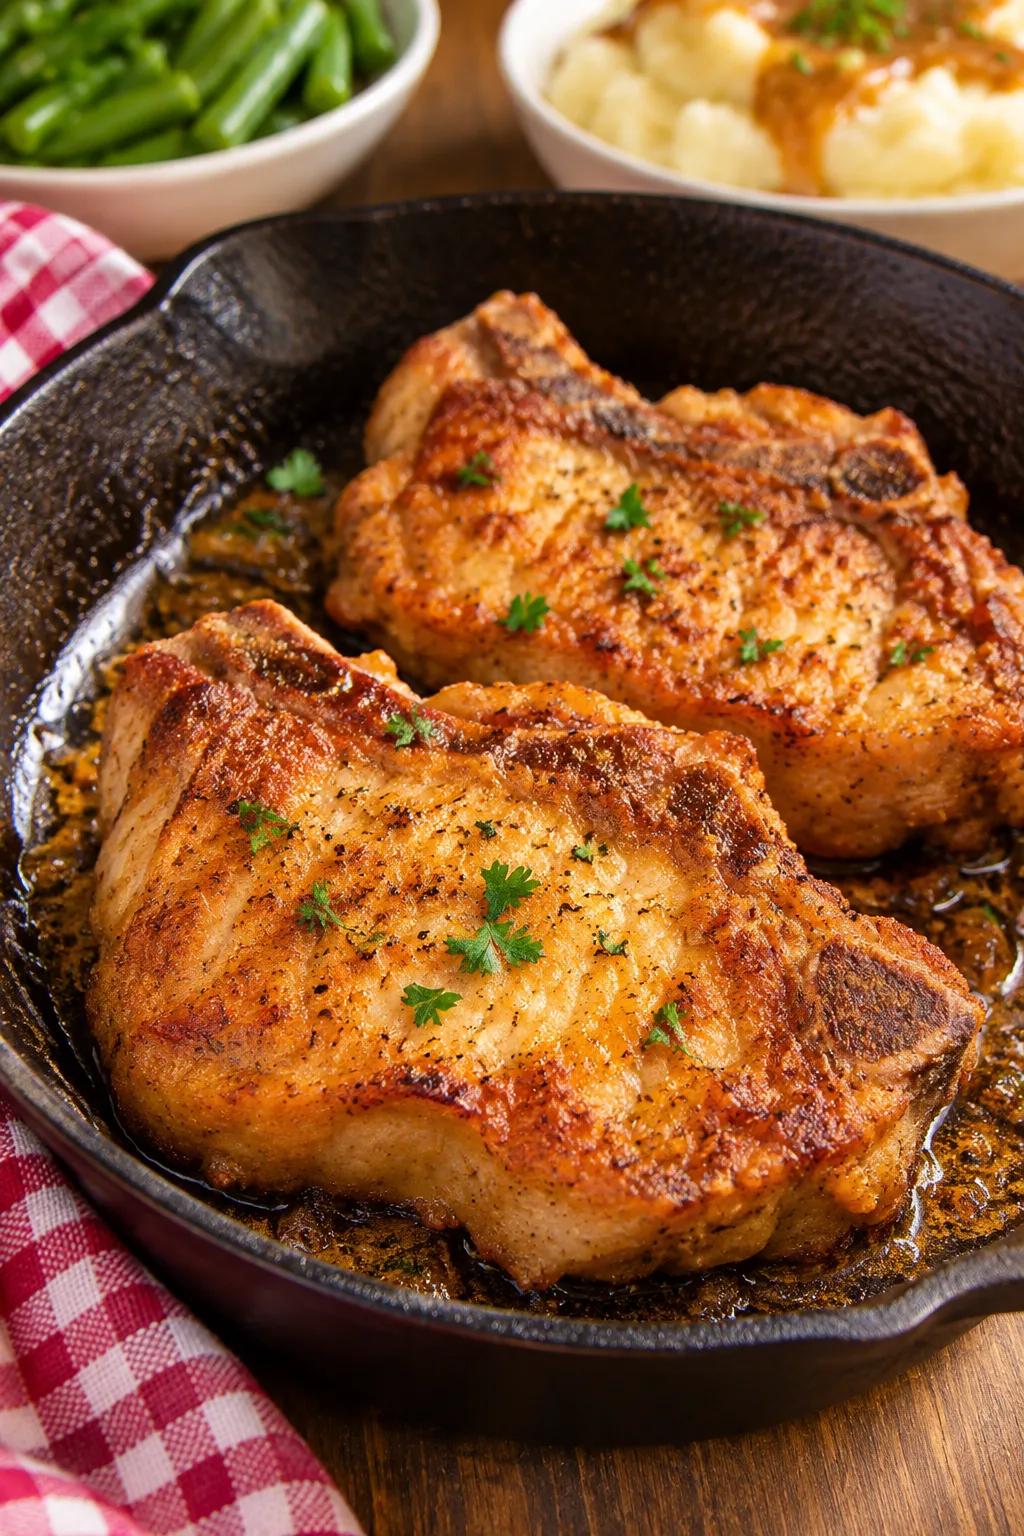
I’ll be honest: dredging pork chops in flour before frying used to feel a little old-school to me, like something my mom or grandma would do without explaining why. Then one weeknight, with two bone-in pork chops, a skillet, and about 30 minutes before I needed dinner on the table, I decided to do it exactly that way. Fifteen minutes after those chops hit the pan, I had one of those tiny kitchen victories that makes you wonder why you ever did it any other way.
What happened was simple but kind of magical: the outside turned deeply golden and lightly crisp, the pan drippings turned into the base of an easy gravy, and the pork stayed much juicier than I expected. If you’ve ever ended up with pale, dry, or tough pork chops, this is the kind of trick worth keeping. Here’s exactly what I did, why it worked, and how I’d make it again on a busy Midwest weeknight.
1. The pork chops I started with
I used 2 bone-in pork loin chops that were about 3/4 inch thick and weighed roughly 8 to 10 ounces each. In my experience, that thickness is a sweet spot for pan-frying because it cooks through in about 12 to 15 minutes without drying out too fast. If they’re much thinner than 1/2 inch, they can overcook before you get good browning. If they’re thicker than 1 inch, I usually finish them in the oven.
I took them out of the fridge about 15 minutes before cooking, patted them very dry with paper towels, and trimmed off one small loose flap of fat that would have curled in the pan. Drying them mattered more than anything else at this stage. Wet meat and hot oil are just not good friends.
2. The simple flour dredge I used
I didn’t do anything fancy. On a dinner plate, I mixed 1/2 cup all-purpose flour with 1 teaspoon kosher salt, 1/2 teaspoon black pepper, 1/2 teaspoon garlic powder, and 1/4 teaspoon smoked paprika. That amount was enough for both chops with a little left over.
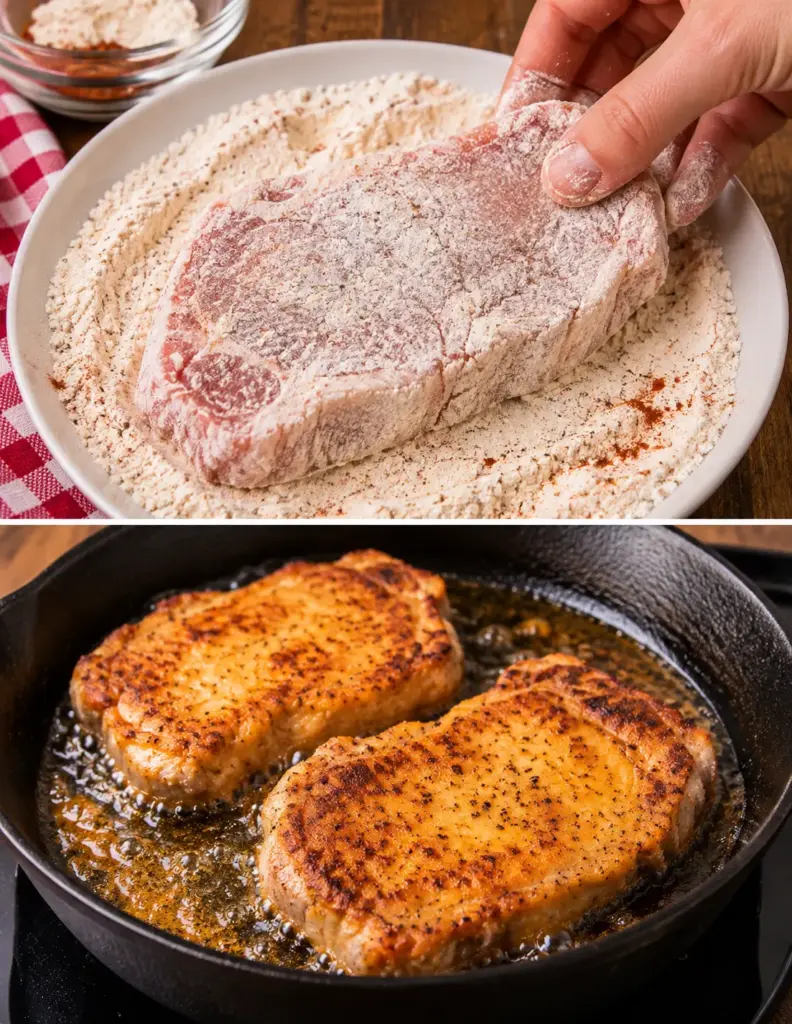
Then I pressed each pork chop lightly into the flour on both sides, including the edges, and shook off the excess. The key here is “lightly.” You want a thin, even coating, not a thick layer that turns gummy. Think dusted, not breaded.
3. Why flour makes such a difference
That quick flour coating does three useful things. First, it helps the surface brown faster because the flour toasts in the hot fat. Second, it gives the pork a delicate crust that feels crisp at the edges without being heavy. Third, the flour left in the skillet mixes with fat and juices from the chops, which means you’re halfway to gravy without even trying.
Once I started paying attention, I realized the flour also acts like a buffer. It protects the outside just enough that the pork has a better chance of staying moist while the surface develops color. For lean cuts like loin chops, that little bit of insurance helps.
4. The pan and oil that worked best
I used a 12-inch cast-iron skillet because it holds heat well and gives really even browning. A heavy stainless-steel skillet would also work. I added 2 tablespoons of neutral oil, usually canola or avocado oil, and heated it over medium to medium-high heat for about 2 minutes.
To test whether the pan was ready, I sprinkled in a pinch of flour. It sizzled right away but didn’t burn instantly, which is what I wanted. If the oil is smoking hard before the pork goes in, the heat is too high. If the chops go in and just sit there quietly with no sizzle, the pan isn’t hot enough.
5. What happened in the first 5 minutes
The moment the chops hit the skillet, I heard that steady sizzle you want from a pan-fry. I left them completely alone for about 4 to 5 minutes. This is the part I used to mess up when I was younger and impatient. If you poke, move, or flip too early, the coating can stick and tear.
By the 5-minute mark, the bottom side had turned a rich golden brown, not pale beige, not dark brown, but that perfect toasted color that tells you flavor is building. The flour had formed a thin crust that released cleanly from the pan when I nudged the edge with tongs.
6. The flip and the 15-minute result
After flipping the chops, I lowered the heat just slightly to medium and cooked them another 4 to 5 minutes on the second side. Then I used tongs to hold the fatty edge against the pan for about 30 seconds so some of that fat could render. Total stovetop time was right around 10 to 11 minutes.
After that, I transferred the chops to a plate and let them rest for 5 minutes. So yes, about 15 minutes after dredging them in flour, this is what happened: the outside was beautifully browned with a delicate crispness, the inside was juicy, and the plate already smelled like dinner at my parents’ house on a Sunday.
I checked the center with an instant-read thermometer, and it was 145°F, which is exactly where I like pork chops before resting. During the rest, the juices redistributed, and the meat stayed tender instead of spilling all over the cutting board.
7. The biggest visual difference I noticed
The color was the first thing that stood out. Undredged pork chops can brown nicely, but these had a much more even golden crust from edge to edge. There were no random gray patches, no uneven spots where one side looked done and the other looked steamed.
The second difference was texture. The flour coating didn’t create a crunchy fried-chicken crust. It made a very light shell that felt crisp when I cut into it, almost like the thinnest pan-fried coating possible. That little textural contrast made the chops taste more substantial, even though the ingredient list was incredibly basic.
8. How the flour helped keep the pork juicy
Pork loin chops are lean, so they can go from perfect to dry in what feels like 90 seconds. In this case, the flour layer helped slow down direct surface moisture loss. It’s not a miracle cure for overcooking, but it gave me a little more wiggle room.
When I sliced into the chop, the juices stayed mostly in the meat instead of running out in a puddle. The interior was faintly blush in the center, tender, and easy to cut. That matters in my house because dry pork chops are the kind of dinner that makes everyone quietly reach for extra sauce.
9. The bonus: the pan drippings turned into gravy
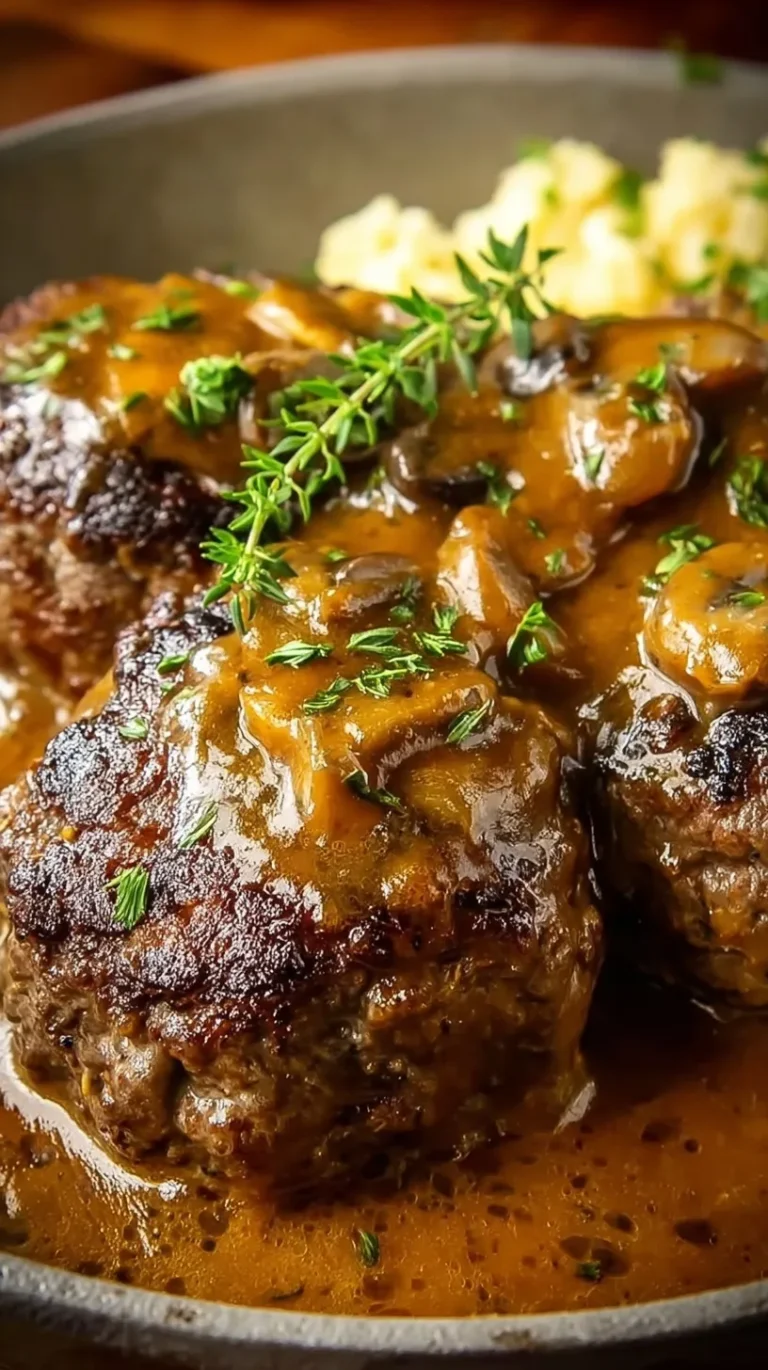
This is honestly my favorite part. After I removed the chops, I had browned bits in the skillet plus a little seasoned flour left behind in the fat. I lowered the heat and added 1 tablespoon butter, then about 3/4 cup chicken broth. I scraped the pan with a wooden spoon and let it bubble for 2 to 3 minutes.
Then I added 1/4 cup milk or a splash of half-and-half, whisked until smooth, and simmered another minute. The result was a quick pan gravy that tasted like I spent way more effort than I actually did. It was savory, lightly peppery, and thick enough to coat the back of a spoon without turning gluey.
10. Mistakes that can ruin flour-dredged pork chops
The most common problem is too much flour. If the coating looks chalky before it hits the pan, that excess can burn in spots and turn pasty underneath. A thin dusting is enough. Shake off more than you think you need to.
Another issue is overcrowding the pan. If you put 4 large chops into a skillet that really fits 2 comfortably, the temperature drops and the pork starts steaming instead of frying. If I’m cooking for more people, I work in batches and keep the first batch warm in a 200°F oven.
Also, don’t skip drying the chops first. Any moisture on the surface can make the flour clump and interfere with browning. And finally, don’t cook strictly by time alone. A 1/2-inch chop and a 1-inch chop are going to behave very differently, so use a thermometer if you can.
11. The best seasonings to add to the flour
Once I got the basic method down, I started changing the seasoning blend based on what I was serving. For a classic version, I like salt, pepper, garlic powder, and paprika. If I’m leaning cozy, especially in colder months, I’ll add 1/4 teaspoon dried thyme or rubbed sage.
For a slightly Southern-style flavor, a tiny pinch of cayenne and onion powder works really well. If I’m serving the chops with roasted apples or sweet potatoes, I sometimes add just a pinch of mustard powder to the flour. It’s subtle, but it gives the pork a little extra depth.
12. What to serve with them on a busy weeknight
These pork chops pair really well with fast, practical sides. My easiest version is mashed potatoes made with Yukon Golds, steamed green beans, and the quick pan gravy. If I’m short on time, I’ll do microwave-steamed baby potatoes tossed with butter and parsley instead of full mashed potatoes.
Other easy sides I’ve served with these include boxed stuffing dressed up with sautéed celery and onion, a simple bagged salad with ranch, or frozen corn warmed with butter and black pepper. If I have one extra apple in the fruit bowl, I’ll slice and sauté it for 4 to 5 minutes in a little butter for a sweet-savory side that goes perfectly with pork.
13. Meal-prep and make-ahead tips
If your evenings are hectic like mine, you can measure the flour and spices into a shallow container in the morning or even the night before. Then all you have to do at dinner time is dry the chops, dredge, and cook. I don’t recommend flouring the chops hours ahead, though, because the coating can absorb moisture and get sticky.
Leftover cooked pork chops keep well in the fridge for up to 3 days. I reheat them gently in a covered skillet with a splash of broth for 3 to 4 minutes over low heat. The microwave works in a pinch, but it can toughen them if you overdo it by even 30 seconds.
14. Variations if you want to change it up
If you like a slightly richer finish, you can add 1 tablespoon butter to the pan during the last 2 minutes of cooking and spoon the melted butter over the chops. If you want a more herb-forward flavor, toss in 1 sprig of rosemary or thyme while they cook.
You can also use the same flour-dredging method on boneless pork chops, though I usually reduce the cooking time by 1 to 2 minutes total depending on thickness. For a lighter version, I’ve had success using just 1 tablespoon oil and a nonstick skillet, but cast iron still gives me the best crust.
15. My honest verdict after trying it
What happened 15 minutes later was exactly the kind of result I want from a weeknight dinner: crisp-edged, golden pork chops that looked impressive, tasted comforting, and didn’t require a long ingredient list or a lot of cleanup. It’s one of those techniques that seems almost too simple to matter, until you see the difference on the plate.
I’ve made pork chops plenty of ways over the years, but dredging them in flour before frying earned a permanent spot in my routine. It gave me better color, better texture, and an easy gravy bonus, all in one skillet. For something so basic, it delivered a dinner that felt a lot more special than the effort suggested, and on a busy Tuesday in the Midwest, that’s pretty much my favorite kind of kitchen win.