
Turn inexpensive sugar cones into a miniature Christmas tree village for a mantel, shelf, or holiday centerpiece. The cone shape gives you a ready-made tree silhouette; paint and a few tiny decorations create the character. Make a full set of 24 for a lush display, or start with a smaller cluster.

Materials for 24 Cone Trees
- 24 sugar ice cream cones, plus a few spares in case of breakage
- Deep green and white acrylic craft paint; optional metallic gold paint
- One foam brush and a small detail brush
- Fine glitter, about 1/2 cup
- Mini pom-poms, small beads, or miniature stars for ornaments and toppers
- Low-temperature hot glue gun and glue sticks
- Parchment paper and a tray for drying
- Faux snow or cotton batting and a shallow tray, cake stand, or mantel space for display
Time: About 20 minutes of hands-on work plus 30 minutes of drying, depending on the paint. Yield: 24 decorative trees.
How to Make Ice Cream Cone Christmas Trees
1. Set up the work surface
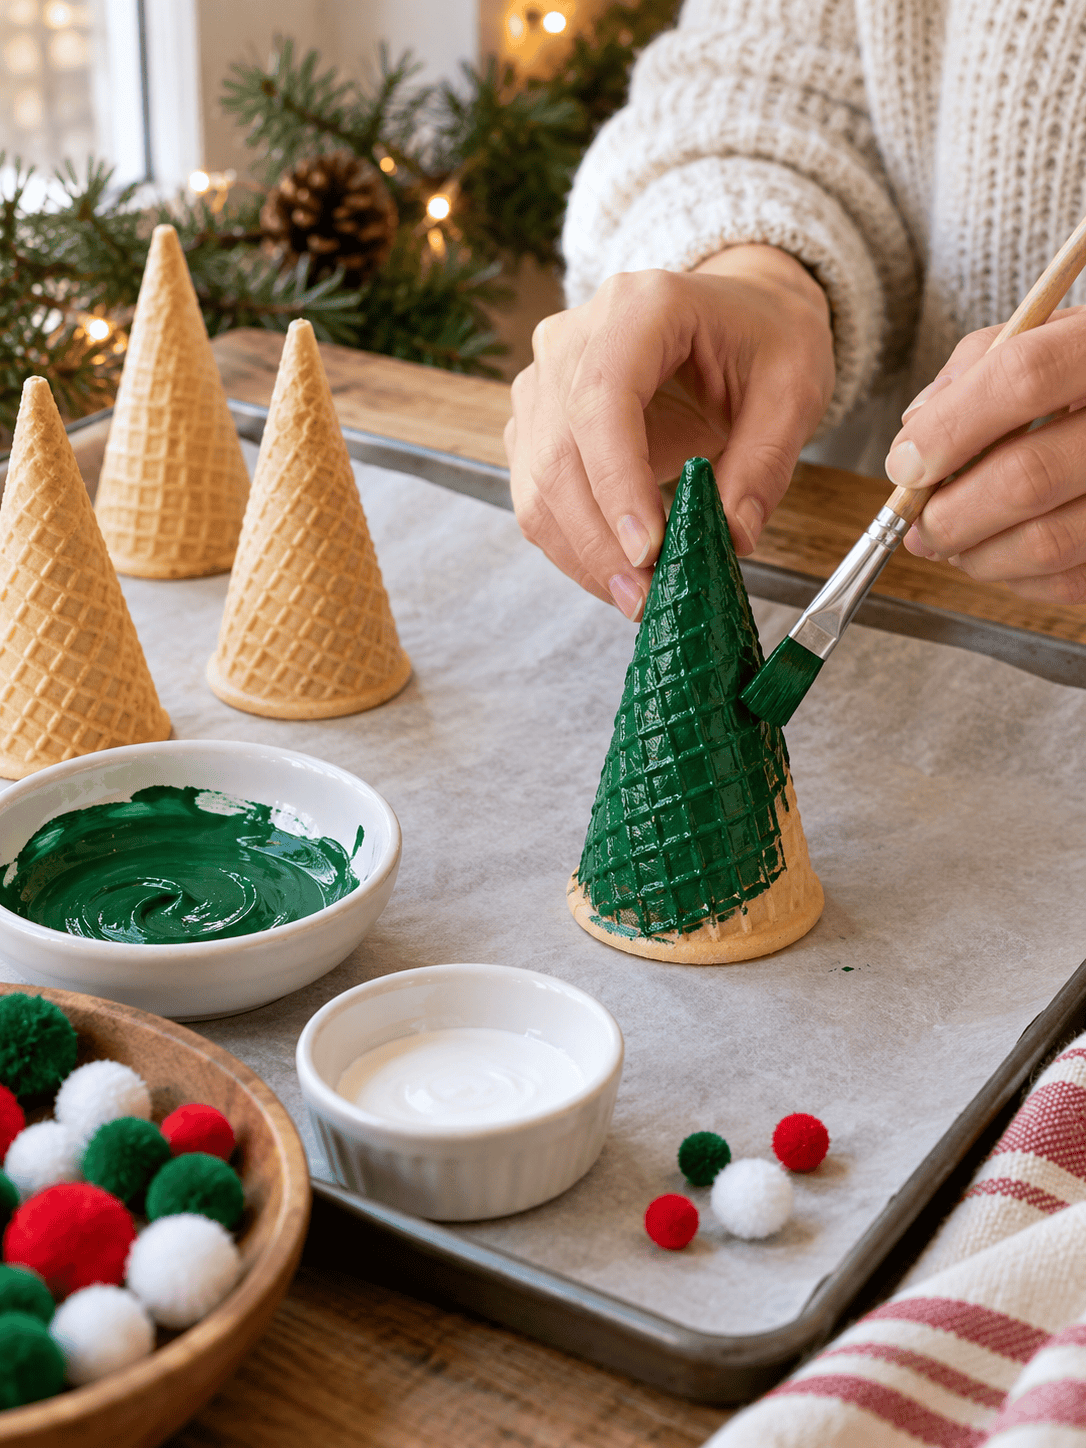
Cover a tray with parchment and turn each cone upside down, with its wide opening resting on the tray. Keep the cones in small groups so they are easier to handle without crushing them.
2. Plan a mixed forest
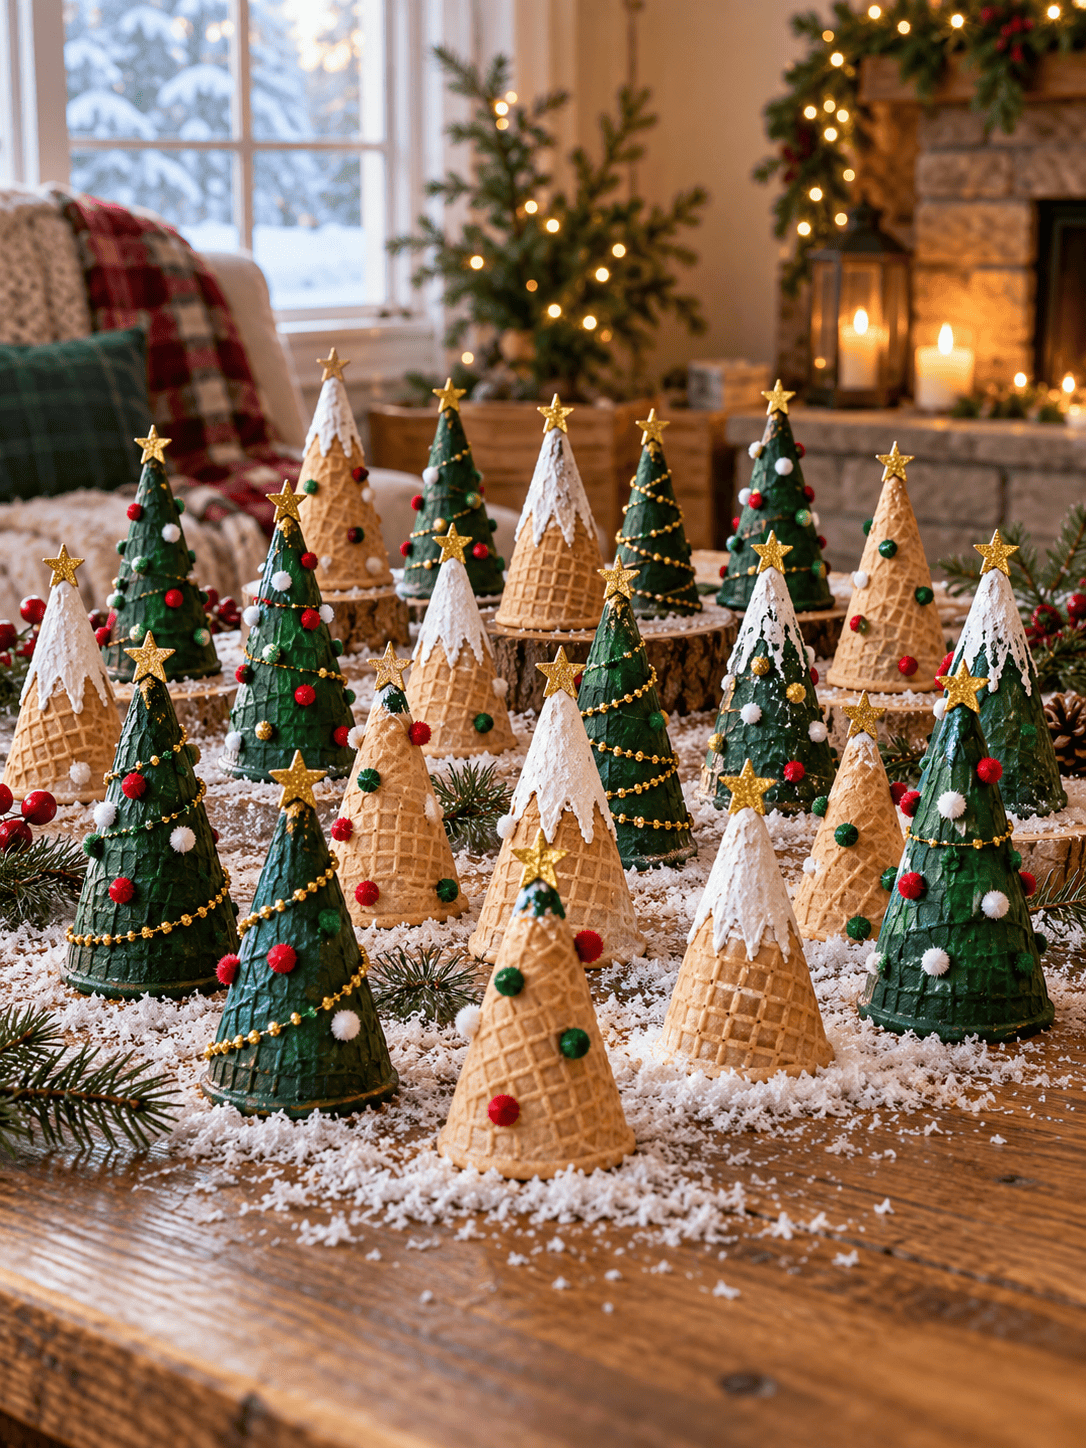
Divide the cones into three groups of eight. Paint one group green, leave one group mostly natural, and give the last group white snowy tips. This mix provides contrast when the trees stand together.
3. Paint and add sparkle
Brush a light coat of green paint down the ridges of eight cones. Dry-brush a little white onto some natural cones. On the remaining cones, paint the pointed upper third white and soften the lower edge for a snow-covered look. Sprinkle glitter over the paint while it is still tacky, then tap away the excess.
4. Let the trees dry
Leave the cones undisturbed until the paint is completely dry, usually around 20 to 30 minutes. Drying time varies with paint thickness and room conditions. Handle each cone by its base rather than its delicate tip.
5. Decorate the branches
Attach three or four mini pom-poms to each cone with tiny dots of low-temperature hot glue. Use more ornaments on some trees and fewer on others so the arrangement feels varied. Glue a small star or bead to each pointed top.
6. Arrange the village
Spread faux snow or batting across a tray or cake stand. Nestle the trees into it, placing taller ones toward the back and shorter ones toward the front. Alternate green, tan, and white-tipped cones, then adjust the spacing until the display looks full from your chosen viewing angle.
Variations & Tips
- Choose a color scheme: Red and white ornaments look classic; gold and natural cones create a quieter finish.
- Use broken cones: Trim a damaged cone into a shorter tree or stump and place it near the front.
- Control the glitter: Shake it over parchment so the excess can be poured back into its container.
- Make an edible version separately: Use frosting and candy instead of paint, glitter, and glue. Keep the craft and edible versions clearly apart.
- Store carefully: Once dry, place the trees in a shallow box with tissue between them and keep them away from moisture.
Safety note: Painted and glued cones are decorations, not food. Supervise children around the hot glue gun and keep the finished display away from open flames.