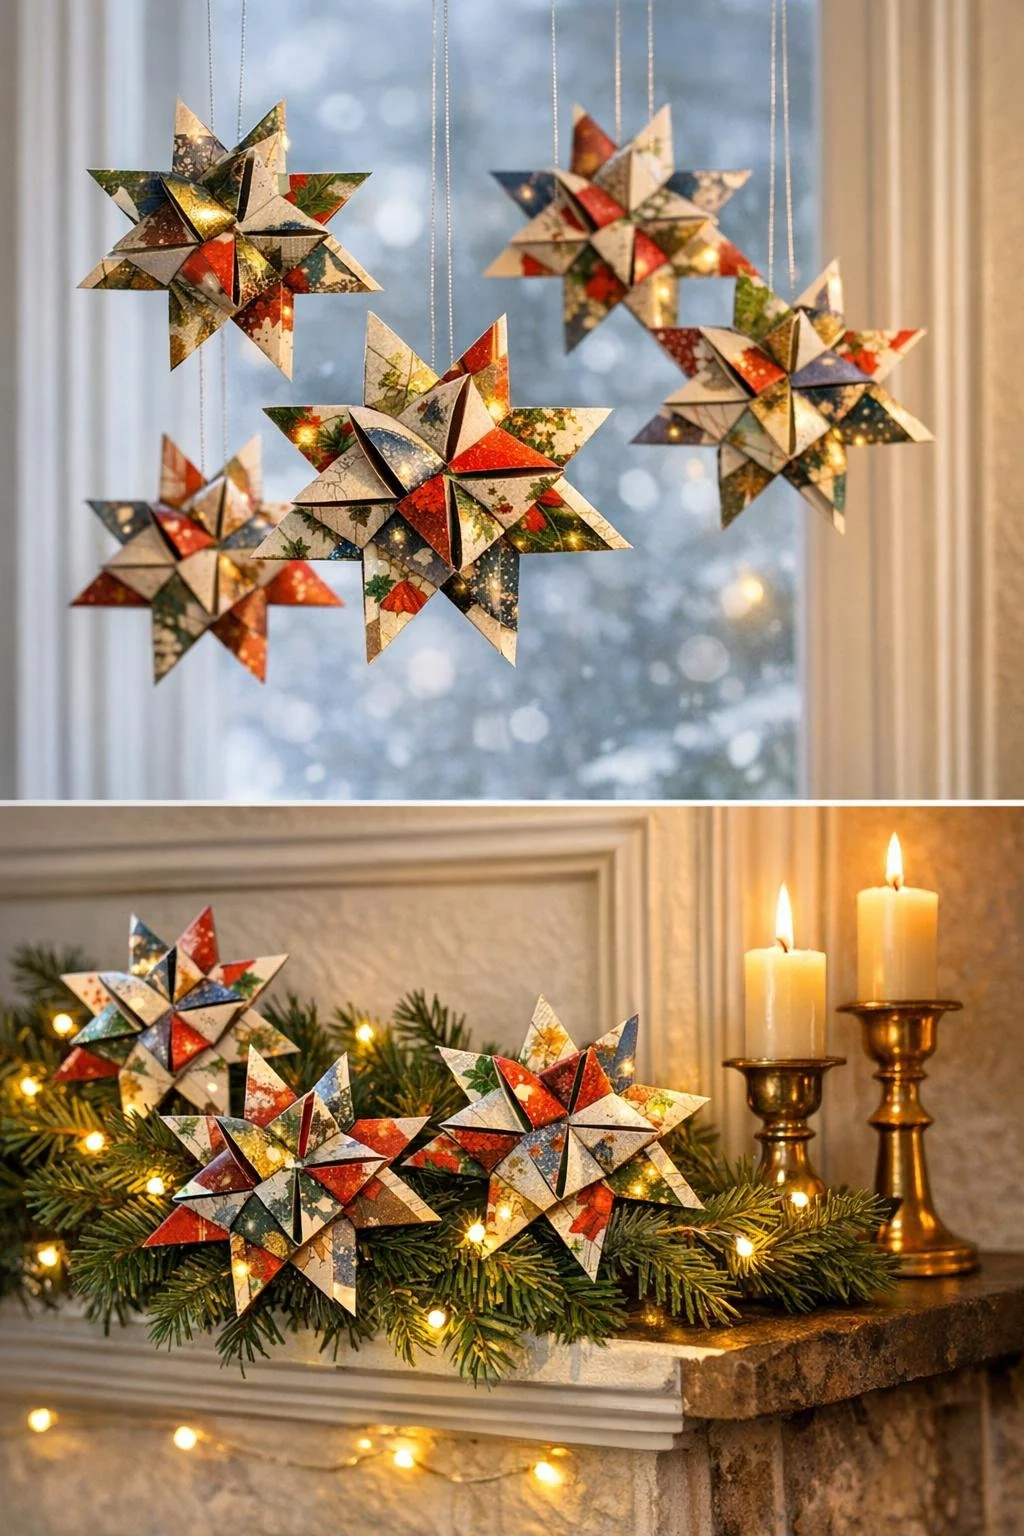
Old greeting cards can supply the color and pattern for a fresh set of Christmas decorations. Cut suitable card fronts into narrow strips, then fold and weave them into small stars for gift packages, a holiday branch, or an indoor wreath. Fragments of lettering and festive illustrations give each ornament a different appearance.
This project takes more concentration than a simple cut-and-glue decoration. Start with a practice star before cutting a card you want to preserve. Once you understand how the strips pass through one another, choosing colors becomes the enjoyable part.
Choose Cards That Will Fold
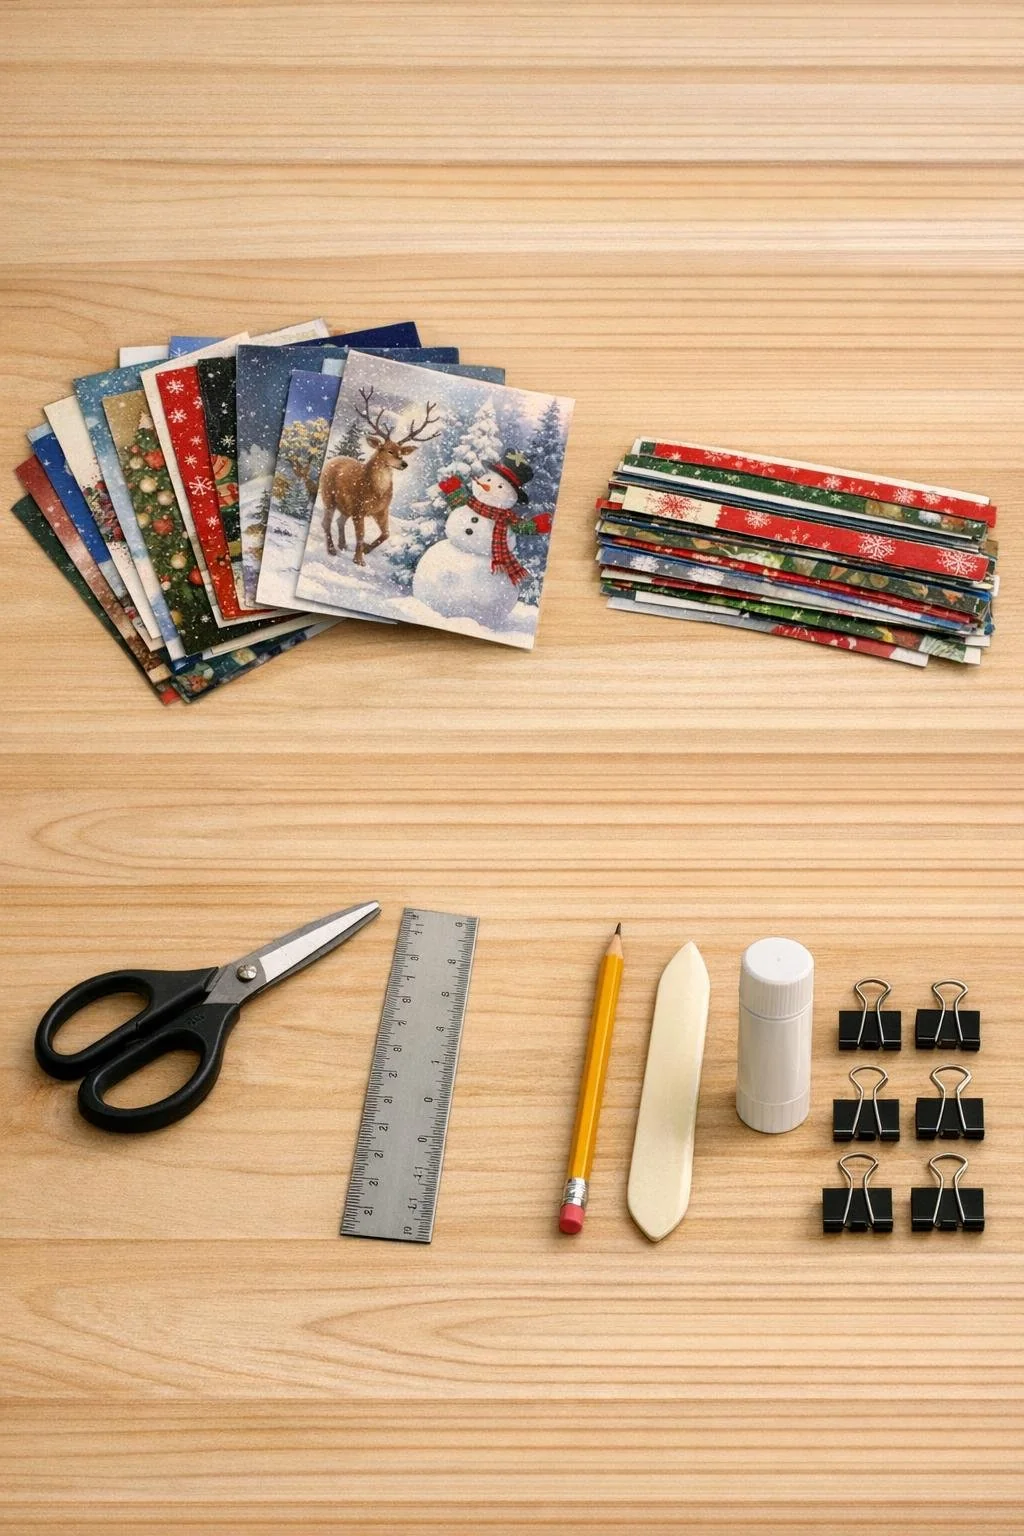
A stack of twelve cards gives you a selection of designs, but twelve cards are not required for one star. Look for thin, flexible card that bends sharply without cracking. Avoid raised embellishments, heavy glitter, foam decorations, and thick laminated photo cards.
Save handwritten messages and sentimental cards before you begin. Cut from plain printed areas and keep any names or addresses out of the finished decoration, especially if you plan to give it away.
Materials and Tools
- Old Christmas cards with flexible, unembellished fronts
- Scissors, ruler, pencil, and a protected cutting surface
- A bone folder or the smooth back of a spoon
- Scrap paper for practicing
- A little paper glue for loose ends, if needed
- Fine thread or narrow ribbon for hanging
- A small hole punch or sewing needle, optional
Strip Measurements Matter
The traditional folded star described below uses four continuous strips. Allow roughly 24–30 times the strip width in length. For small stars cut from a 7-inch card front, use strips about 1/4 inch wide. A 1/2-inch-wide strip needs at least 12 inches of length; a 7-inch strip at that width is too short for the full folding sequence.
Measure all four strips before folding. For your first attempt, ordinary paper is easier to handle than printed card. If a card is too stiff for the narrow folds, keep it for a simpler ornament rather than forcing it through the woven pockets.
Prepare the Strips
Remove the card’s folded spine and trim away damaged edges. Mark parallel cutting lines on the back. Make a practice cut and compare it with the ruler before preparing the rest. Uneven strips make the central weave harder to adjust.
Fold each strip across its midpoint and taper the free ends slightly for threading. Choose four contrasting colors for the practice version so you can follow each strip through the weave.

Weave and Shape the Star
The folding sequence is easiest to learn beside an illustrated four-strip star guide. The photographs here show decorative examples, rather than a crease-by-crease diagram.
- Lock the middle. Interlink the four folded strips cyclically, enclosing each neighboring strip between a doubled pair. Slide them together into a square. Fold the upper tails across the center in sequence and tuck the last under the first.
- Make the flat points. Work around one face, forming each point with two diagonal folds, folding the triangular shape together, and threading its tail beneath the adjacent woven band. Turn the piece over and repeat to complete eight outer points.
- Add the raised points. Following the diagram, rearrange the remaining tails. Loop each tail without twisting it and thread it beneath the crossing band to raise a small peak. Make four peaks, turn the star over, and repeat.

Finish Without Flattening the Shape
Check that every tucked end is secure before trimming surplus paper. A tiny amount of paper glue can hold a loose pocket, but it will not repair an incorrectly threaded strip. Reopen the last fold if necessary and check the route.

Do not put a heavy book over a completed three-dimensional star: it will crush the peaks. Support the ornament lightly while you attach the hanger. Thread fine cord through a secure woven opening or make a small hole in a sturdy flat point without splitting its edge.
Display Ideas and Storage
Group similar colors for a coordinated display, or mix patterns for a more varied arrangement. Tie a star onto a wrapped present, suspend a few from a bare decorative branch, or place them among indoor wreath foliage. Keep paper decorations away from candles, heat, and moisture.
Store the ornaments in a shallow box with loose tissue around them. Give the raised points enough room and avoid stacking heavy objects on top. Label the box so it is not mistaken for flat paper decorations when you unpack next year.