In August, when my kitchen already felt like a warm shoebox by 10 a.m., I made one very small change that turned into a surprisingly useful two-week experiment: I stopped setting my slow cooker directly on the counter and started placing it on a simple wire cooling rack while it cooked. I know that sounds almost laughably minor, but if you spend as much time puttering around a kitchen as I do, you learn that tiny habits often decide whether a space stays comfortable, clean, and undamaged over the long haul.
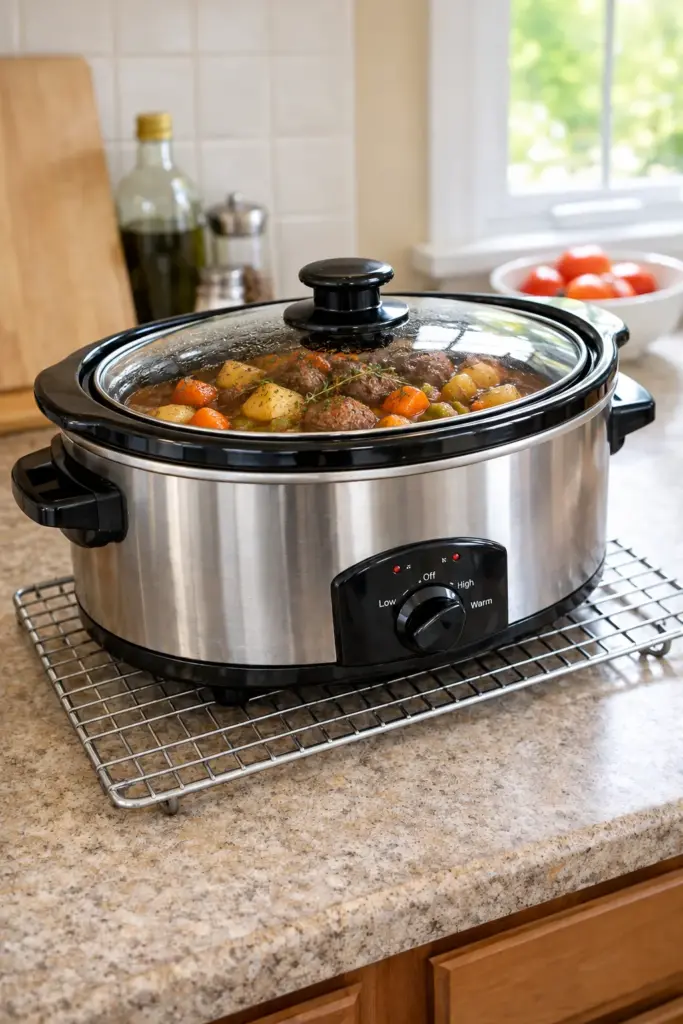
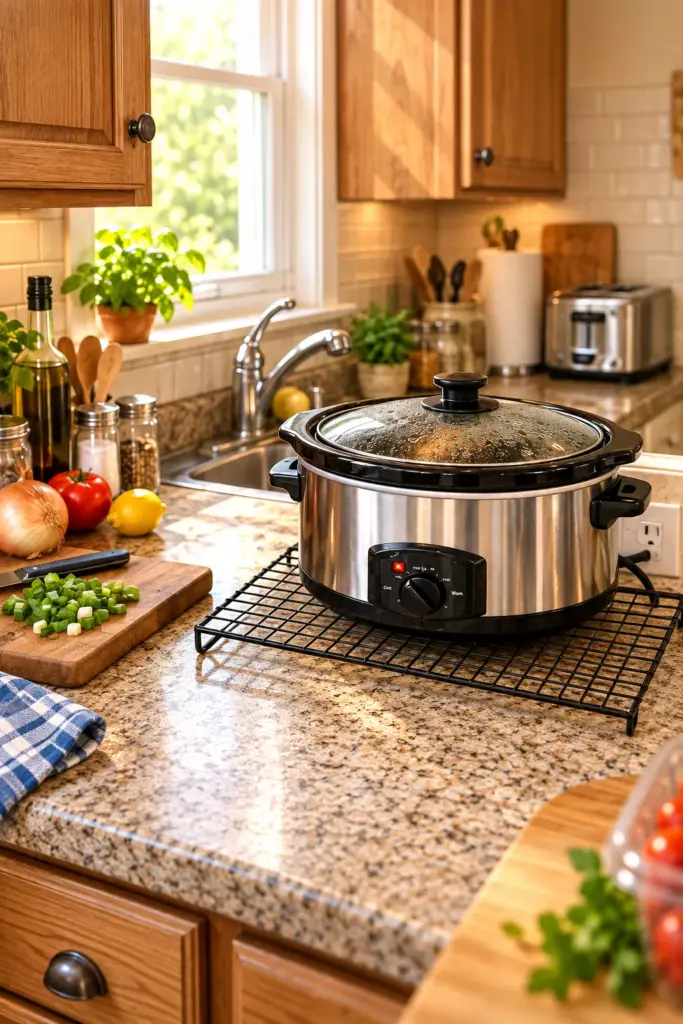
For 14 days, I used my 6-quart slow cooker the way I normally would—soups, shredded chicken, beans, stew, even oatmeal—but with one difference underneath it: a sturdy metal baking rack. I paid attention to heat, condensation, cleanup, counter comfort, noise, stability, and whether this setup felt actually helpful or just like one more fussy kitchen trick. Here’s exactly what happened, what improved, what didn’t, and what I’d tell a friend before trying it.
1. Why I tried it in the first place
My main reason was heat. I have solid-surface counters in one kitchen and laminate worktops in another family kitchen I use often, and in August I was noticing how much warmth a slow cooker seemed to trap underneath itself during 6- to 8-hour cooks. Manufacturers generally say slow cookers are counter-safe on heat-resistant surfaces, but “safe” and “pleasant to live with” are not the same thing.
2. The setup I used
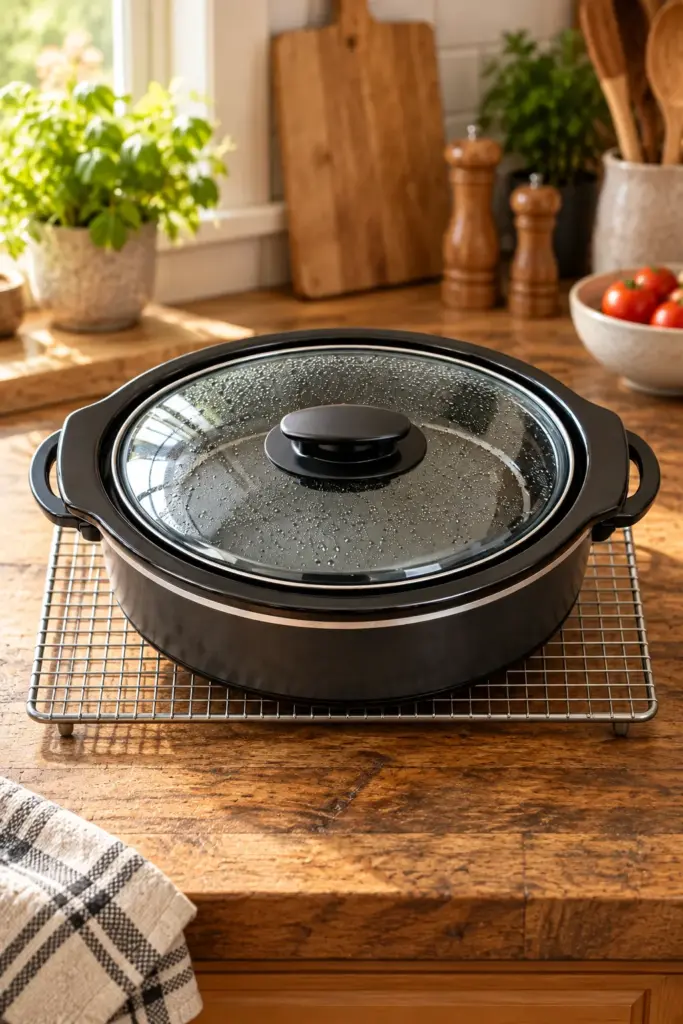
My slow cooker is a 6-quart oval model that weighs about 12 pounds empty and closer to 18 to 20 pounds when full of food. The rack was larger than the slow cooker’s base, which mattered a lot for stability.
I placed the rack on a flat section of counter with at least 6 inches of clearance from the backsplash and about 8 inches from the edge. I made sure the slow cooker’s feet sat fully within the rack’s perimeter rather than teetering on the wires. I would not do this with a flimsy cookie-cooling rack that bends when you press on it with one hand. Mine was rigid enough that it barely flexed.
3. The first thing I noticed: the counter stayed cooler
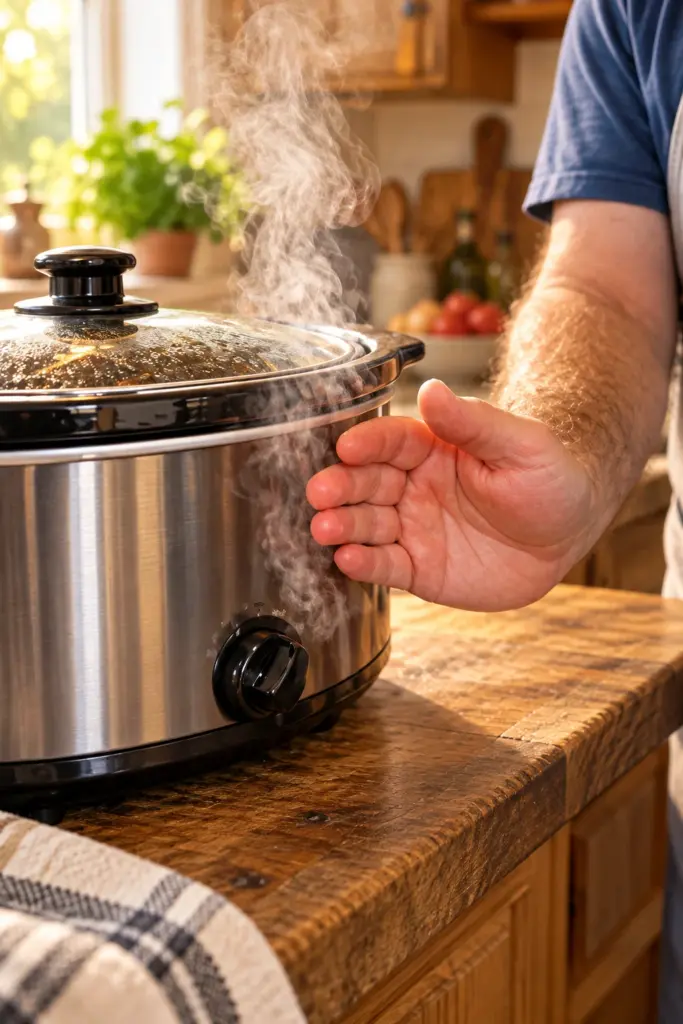
By the end of Day 1, the difference was obvious. Usually, if I put my palm on the countertop right beside the slow cooker after 4 or 5 hours on HIGH, the area felt distinctly warm. With the rack underneath, the counter still warmed some, but the hot spot directly under the appliance was less intense.
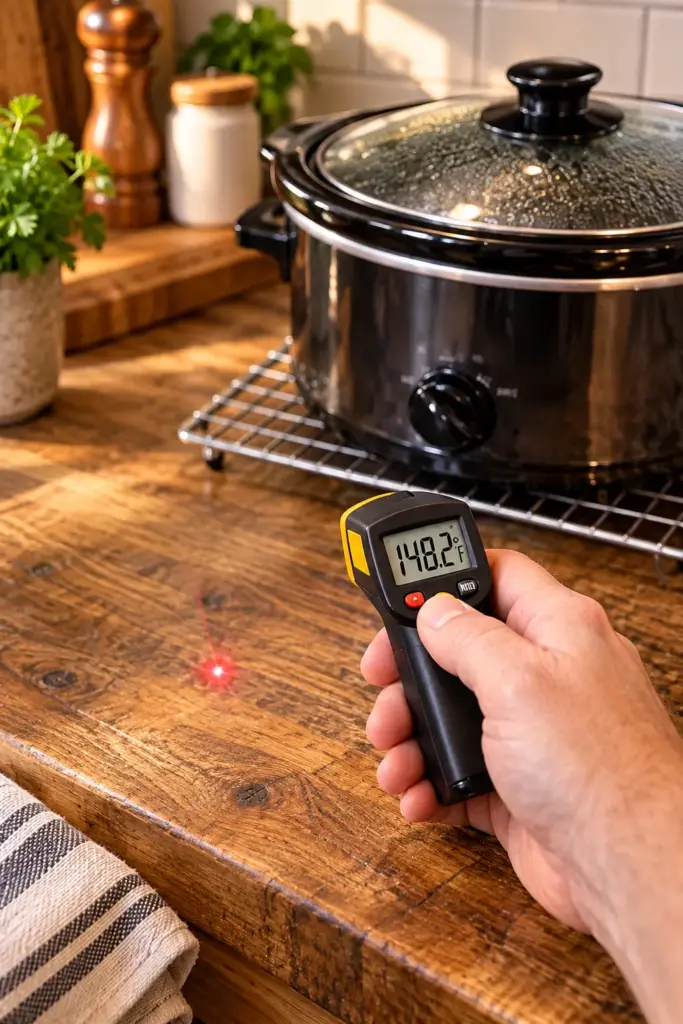
I didn’t use a thermal camera, but I did use an inexpensive infrared thermometer. On one previous direct-counter cook, I had measured the counter surface near the center under where the cooker sat at about 96°F after several hours. During the rack test, under similar conditions, I was seeing readings closer to 85°F to 88°F. That is not a laboratory-grade study, but it was enough for me to feel the difference with my hand.
4. Airflow underneath really did seem to help
The whole point of the wire rack was to create a small air gap. That 0.5 inch of lift allowed warm air to disperse rather than being trapped between the cooker base and the countertop. The effect was modest, not magical, but real.
Think of it this way: I wasn’t cooling the slow cooker itself in any meaningful way. The food still cooked on the same schedule. My beef stew still reached a steady simmer at the usual point, and my black beans still needed around 7 hours on LOW plus an extra 45 minutes. What changed was the heat transfer downward into the counter. The rack interrupted that direct contact, and the kitchen felt a bit less “heat-soaked” around that work area.
5. Condensation underneath was basically gone
This surprised me more than the heat difference. On long cooks, I occasionally find a faint film of moisture under or around countertop appliances, especially in humid weather. During these two weeks, when I lifted the rack after the cooker had cooled, I did not find that slightly clammy feeling I sometimes notice under slow-cooked meals that run all afternoon.
That does not mean the setup eliminated moisture from the air, of course. Steam still escaped when I lifted the lid, and the lid rim still beaded up during soups and braises. But below the cooker, the area stayed noticeably drier.
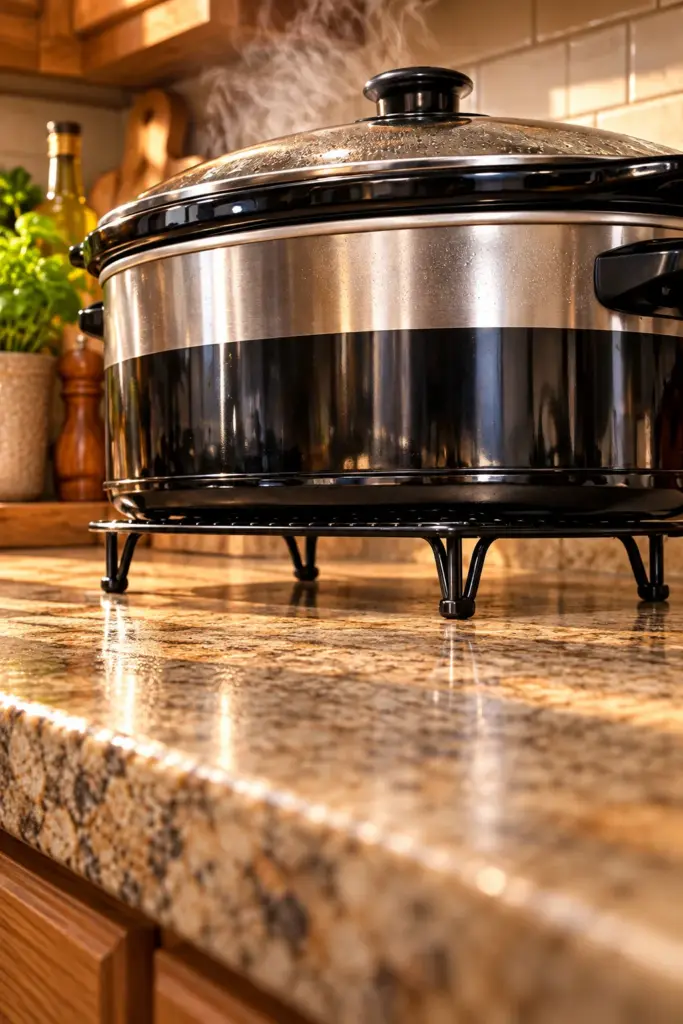
Warm, yes. Dry, also yes. I suspect the airflow allowed any light condensation to evaporate instead of being trapped.
6. Cleanup got easier, particularly around the base
A slow cooker seems like a tidy appliance until you notice the little drips. A thread of sauce runs down when you serve. Condensation rolls off the lid rim. You set down the spoon and somehow there’s a dot of chili where there was not a dot of chili 30 seconds ago. Raising the cooker on a rack made those messes more visible and easier to reach.
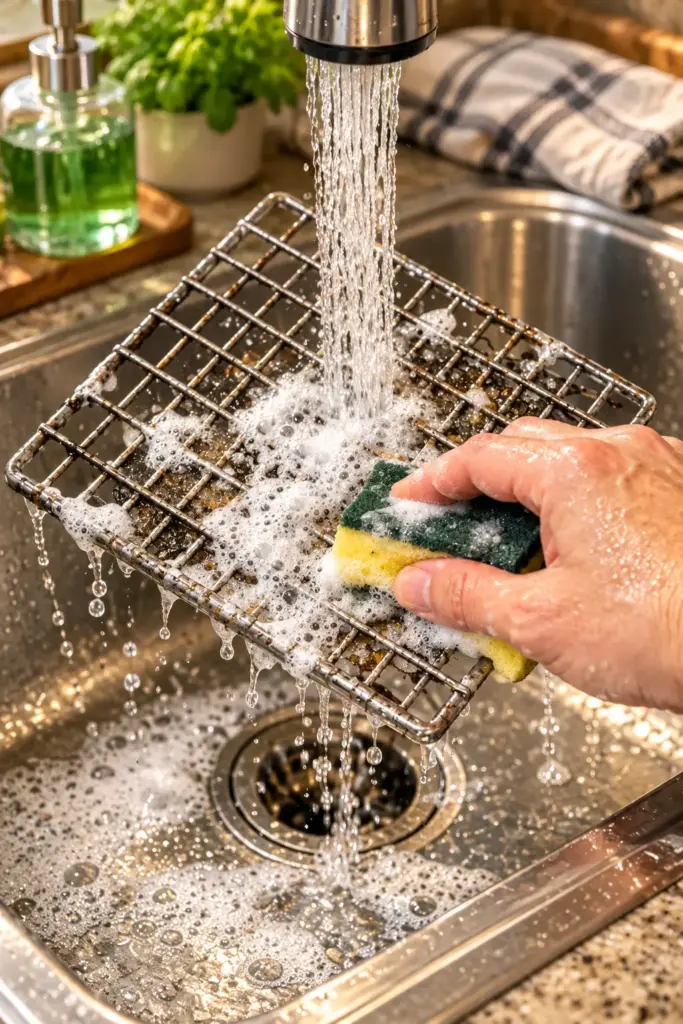
Instead of a sticky ring pressed flat against the counter, any minor spill tended to land on the rack wires or remain accessible around the perimeter. I could lift the cooker once it had cooled, carry the rack to the sink, and scrub it in under 2 minutes with hot water and dish soap. For me, that beat scrubbing a warmed-on sauce smear directly off the counter.
7. I did not notice faster cooking times
If you are hoping this trick somehow makes a slow cooker more efficient, that was not my experience. My recipes stayed on their usual timetable. Steel-cut oats still took about 2.5 hours on HIGH. Pulled pork still needed close to 8 hours on LOW to shred properly. A lentil stew was done in its ordinary 4.5-hour window on HIGH.
That makes sense. The slow cooker’s heating profile is designed around the crock and its internal heat retention, not around whether the base is sitting directly on quartz or hovering half an inch above it. This was a counter-protection and comfort experiment, not a cooking-performance upgrade.
8. Stability mattered more than I expected
This is the biggest caution I’d give anyone. The setup was safe and uneventful for me because I used a heavy-duty rack and a counter section where nobody was bumping into it. But on Day 2, when I absentmindedly nudged the crock while stirring, I realized right away that a raised appliance feels different from one planted flat on the counter.
The movement was small, but enough to remind me that not every rack is suitable. A narrow rack, a warped rack, or one with curved feet would be a poor choice. If you have children, large dogs with enthusiastic tails, or a tiny kitchen where you’re constantly reaching over the appliance, I would be much more cautious. A slow cooker full of hot broth is not the place to improvise with wobbly equipment.
9. The rack itself got hot, but not alarmingly so
By the end of longer cooks, the wire rack was definitely warm to hot to the touch, especially near the center. I would not grab it barehanded during cooking. Still, that heat was spread through the metal rather than concentrated in a sealed patch against the counter.
I checked the rack feet after a few sessions because I wanted to make sure they were not leaving marks or softening any surface finish. Mine did not. If your rack has rubber grips, plastic feet, or a nonstick coating of questionable quality, I would skip it. Plain, sturdy, oven-safe metal is the only version I’d trust here.
10. My kitchen felt a little less muggy during long cooks
I want to be careful not to oversell this. The wire rack did not transform my kitchen into an air-conditioned sanctuary. August was still August. But during 7- and 8-hour sessions, the area around the slow cooker felt less like a concentrated warm zone.
Part of that was probably reduced heat transfer into the counter itself. When a countertop heats up, it seems to hold and re-radiate warmth, however subtly. By keeping the work surface slightly cooler, the whole station felt more comfortable when I leaned over to stir or serve. In a small kitchen, these little gains add up.
11. It worked best with heavier, flatter racks
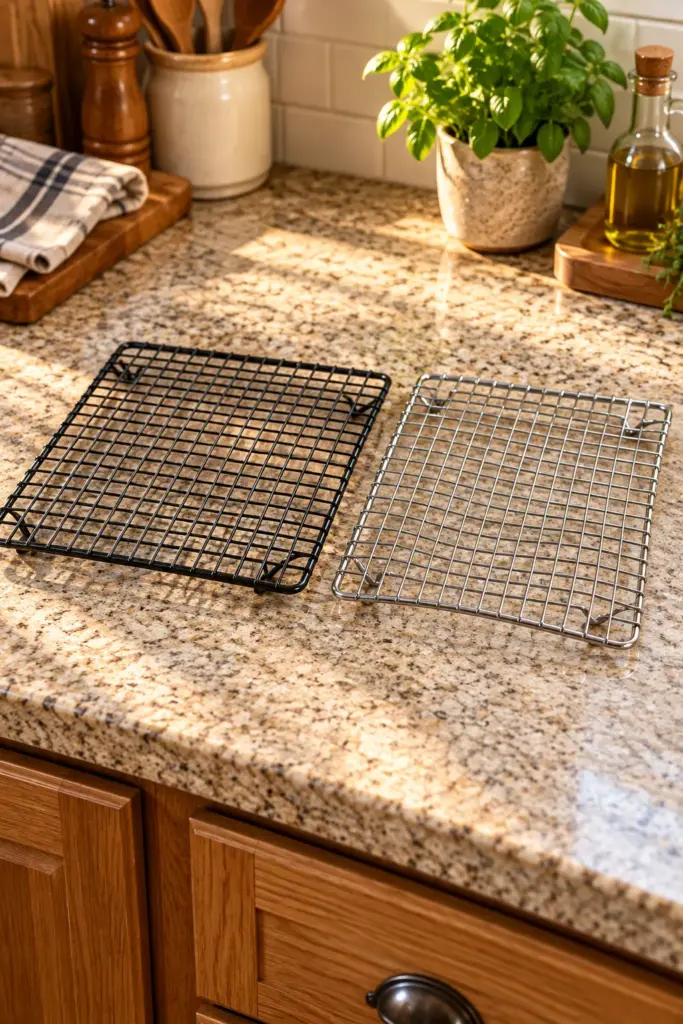
Halfway through the experiment, I tested a second rack I own—a lighter-weight cooling rack meant mainly for cookies. It was a poor candidate. Under the slow cooker’s weight, it flexed just enough to make me stop immediately. That side-by-side comparison taught me the trick only works if the support is robust.
The better rack had tightly spaced wires, firm welds, and feet that stayed flat. If I were buying one specifically for this purpose, I’d look for stainless steel, at least 10 by 15 inches for a medium slow cooker, no loose joints, and a weight capacity that feels substantially above the appliance’s filled weight.
In practice, that often means spending $12 to $25 rather than using the flimsier $6 rack already bent in the drawer.
12. I became more aware of where my power cord was running
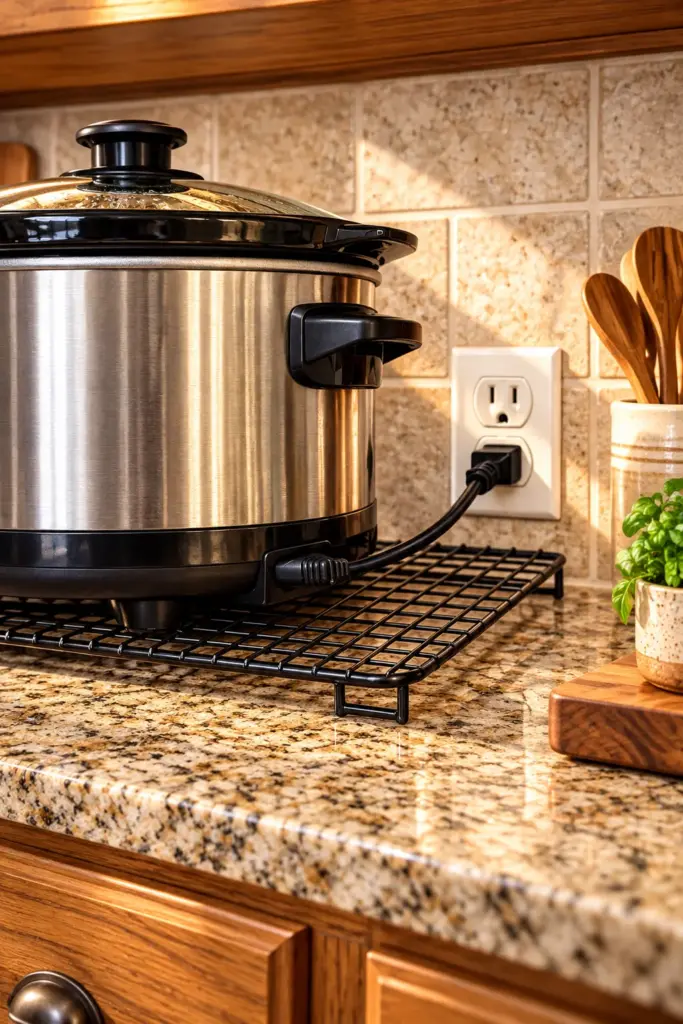
Raising the appliance changed the cord angle slightly, which turned out to be a good reminder to check cable placement. I made sure the cord ran straight back and did not drape near the front of the counter where it could be snagged. Because the cooker sat about half an inch higher, a sloppy cord route was more noticeable.
This is one of those boring safety details that matters more than any countertop hack. No extension cords, no dangling plug, no setup near the sink, and no crowding the slow cooker with dish towels, paper mail, or a wooden utensil crock pressed right against the hot sides.
13. It was especially useful on longer recipes
For a 2-hour queso dip at a party, I probably would not bother. For a full workday of marinara, white bean soup, or pot roast, I absolutely would. The longer the cooker ran, the more worthwhile the rack felt.
My most convincing day was an 8-hour batch of marinara, white bean soup, or pot roast, I absolutely would. The longer the cooker ran, the more worthwhile the rack felt.
My most convincing day was an 8-hour batch of marinara with onions, garlic, and crushed tomatoes. By dinner, the counter still felt better than it usually does after a long simmering session, and the area under the setup was dry when I checked it later.
14. The downsides were small but real
The main drawback was having to be a bit more deliberate. I could not slide the slow cooker an inch the way I sometimes do when making room on the counter. Once it was set on the rack and hot, it needed to stay put until cool enough to move safely.
It also did not protect against every kind of mess; if soup splashed during serving, I still had to wipe the counter.
It also added one extra item to wash. That’s not a big burden, but it is one more object in the sink. If you dislike any extra cleanup step on principle, that may outweigh the benefits for you.
15. Who should try this and who probably shouldn’t
I’d recommend this to anyone with laminate, butcher block, tile, or solid-surface counters who runs a slow cooker for 4 hours or more and wants less direct heat buildup underneath. It also makes sense if you’ve noticed occasional condensation under appliances or if your kitchen gets stuffy in summer.
I would not recommend it if your only rack is flimsy, your slow cooker is unusually large or top-heavy, your counters are uneven, or your household traffic is chaotic. In those cases, a heat-safe trivet board, a thick stone slab, or simply using a different spot on the counter may be the better answer.
16. My final verdict after 14 days
After two full weeks, I kept doing it. That tells you everything. The difference was not dramatic enough to become dinner-party conversation, but it was practical enough to earn a permanent place in my kitchen routine. My counter stayed cooler, the area under the slow cooker stayed drier, and cleanup was easier more often than not.
If you try it, use a strong oven-safe wire rack, test for stability before turning the cooker on, and treat this as a comfort-and-counter-care upgrade rather than a miracle method. In my August kitchen, that small half-inch of airflow turned out to be genuinely worth having.