If you are craving something creamy and comforting, this is for you. It is 6pm and you need a meal that feels special but stays simple. This Crispy Chicken Cordon Bleu delivers a restaurant-quality finish right in your own kitchen. You do not need fancy skills to master this classic dish. It is the perfect way to turn basic chicken into a family favorite. Get ready for a golden crunch and melty cheese in every single bite.
Why You’ll Make This Crispy Chicken Cordon Bleu Again
This recipe is a total game-changer for your winter comfort food rotation. It combines simple textures with rich flavors that satisfy everyone at the table. You will love how the Panko creates a shatteringly crisp crust every time. It is reliable enough for a busy Tuesday but impressive enough for casual hosting. The prep is straightforward and the results are consistently delicious. Once you see that melted cheese pull, you will be hooked forever.
Another reason this works so well is the balance of ingredients. The salty ham and nutty Swiss cheese elevate the lean chicken breast perfectly. It is a hearty meal that feels light thanks to the pan-seared finish. You can easily scale this up for a larger crowd without extra stress. It is truly a crowd-pleasing classic that never goes out of style.
How This Comes Together
We start by pounding the chicken thin to ensure even cooking and easy rolling. This step is actually quite therapeutic after a long day at work. Then we layer the savory ham and Swiss cheese before rolling them tight. A quick three-step breading station ensures the coating stays on the chicken. We finish by pan-searing in a mix of butter and oil for maximum flavor and crunch. It is a simple process that guarantees a juicy interior and a golden exterior.
What You’ll Need
You likely have most of these staples in your pantry or fridge right now.
- 4 boneless skinless chicken breasts
- 4 slices Swiss cheese
- 4 slices deli ham
- 0.5 cup all-purpose flour
- 2 large eggs, beaten
- 1 cup Panko breadcrumbs
- 0.5 teaspoon salt
- 0.25 teaspoon black pepper
- 0.5 teaspoon garlic powder
- 4 tablespoons unsalted butter
- 2 tablespoons vegetable oil
Step-By-Step Directions
- Place chicken breasts between two sheets of plastic wrap and pound with a meat mallet to an even 0.25-inch thickness.
- Season both sides of the chicken with salt and black pepper.
- Place one slice of ham and one slice of Swiss cheese on each chicken breast, leaving a 0.5-inch border at the edges.
- Tuck in the sides and roll the chicken tightly; secure with wooden toothpicks if necessary.
- Prepare three shallow bowls: one with flour mixed with garlic powder, one with beaten eggs, and one with Panko breadcrumbs.
- Dredge each roll in the flour, dip into the egg wash, and coat thoroughly with Panko breadcrumbs, pressing firmly to adhere.
- Heat the butter and vegetable oil in a large skillet over medium-high heat until the butter is foamy.
- Add the chicken rolls to the skillet and cook for 4 to 5 minutes per side, turning carefully, until the exterior is golden brown and the internal temperature reaches 165 degrees Fahrenheit.
- Remove from heat and allow the chicken to rest for 5 minutes before removing toothpicks and serving.
How To Serve It
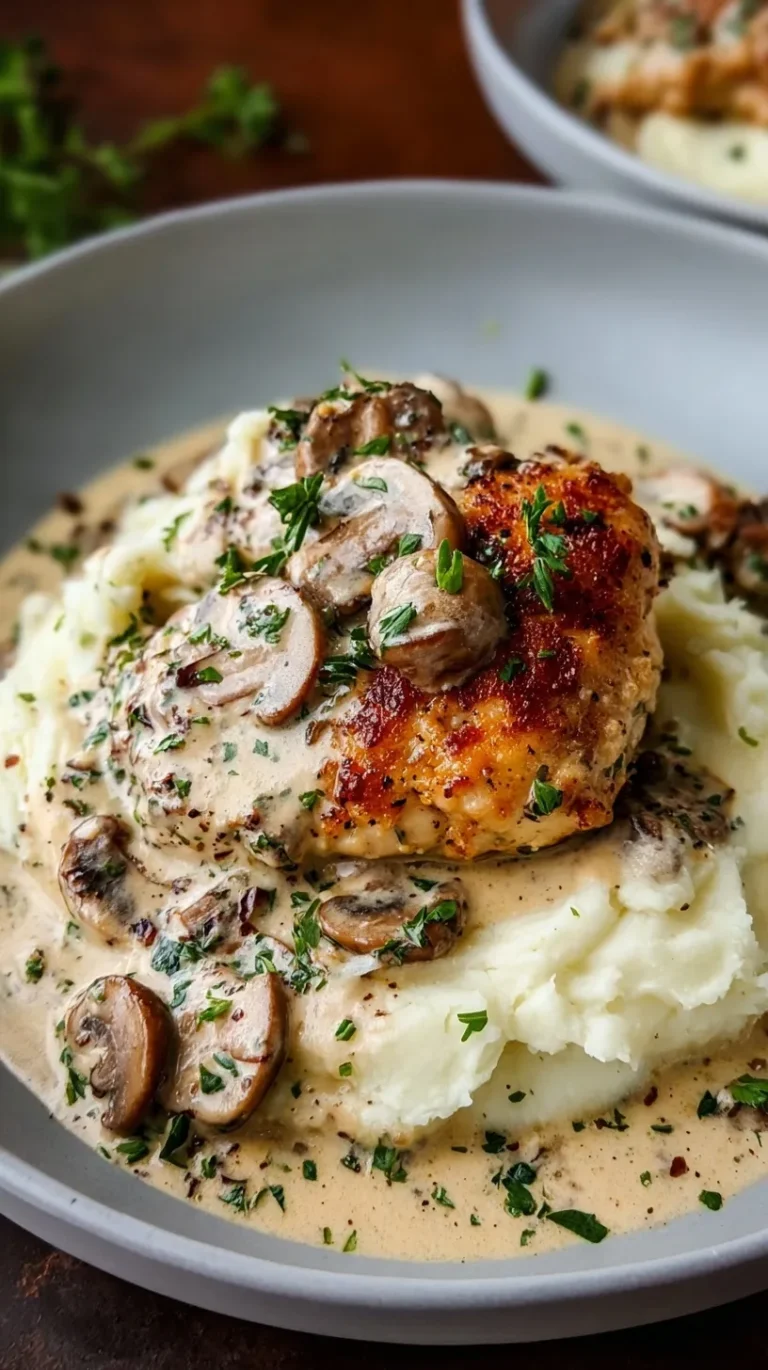
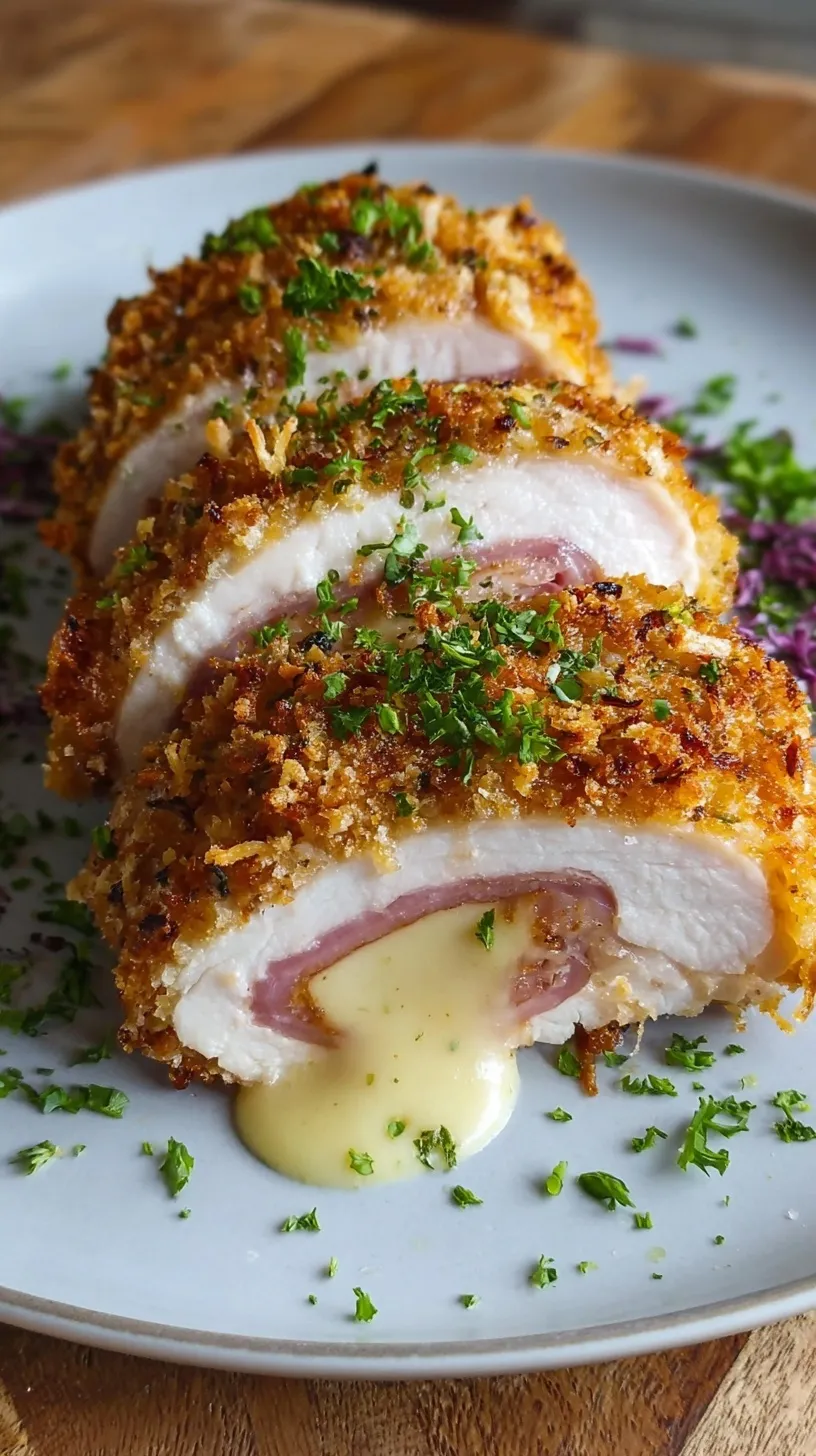
This dish looks beautiful when sliced into thick medallions to show the swirl. Serve it alongside creamy mashed potatoes to soak up any extra juices. A crisp green salad with a lemon vinaigrette cuts through the richness perfectly. For a true winter feast, add some roasted carrots or steamed asparagus. This meal is fantastic for impressing dinner guests without spending hours in the kitchen. Your friends will think you spent all afternoon prepping this elegant plate.
Leftovers & Storage
If you have leftovers, they store quite well in the refrigerator for three days. Keep them in an airtight container to maintain the moisture of the chicken. When you are ready to eat, use an oven or air fryer. Avoid the microwave if you want to keep that signature panko crunch. Reheat at 350 degrees Fahrenheit until the cheese is bubbly again. This recipe is not ideal for freezing once cooked, so enjoy it fresh.
Make It Even Better (Pro Tips)
- Don’t skip the rest time because it allows the juices to redistribute properly.
- Use cold cheese slices to prevent them from melting out too quickly during cooking.
- Keep your toothpicks counted so you remember to remove every single one before serving.
- Add a pinch of smoked paprika to the flour for a subtle, earthy depth.
- Press the Panko firmly into the chicken to ensure a thick and even crust.
- Use a meat thermometer to pull the chicken at exactly 165 degrees for juiciness.
- Try using a heavy cast iron skillet for the most even heat distribution.
- For a special occasion, serve with a simple Dijon cream sauce on the side.
Easy Ways To Change It Up
- Swap Swiss for Provolone or Gruyere for a different flavor profile.
- Use gluten-free Panko and flour to make this dish allergy-friendly for guests.
- Try a thin slice of prosciutto instead of deli ham for a salty upgrade.
- Add fresh sage or thyme leaves inside the roll for a bright herb aroma.
- Make a mini version using chicken tenders for a fun, kid-approved snack.
Quick Questions
Can I bake this instead of pan-frying?
Yes, you can bake them at 400 degrees Fahrenheit for about 20-25 minutes. Spritz the breadcrumbs with a little oil spray first to help them brown. The crust will be slightly less crunchy than the pan-fried version.
How do I keep the cheese from leaking out?
The key is to leave a small border when placing the cheese on the chicken. Fold the sides of the chicken inward before rolling to create a seal. Using toothpicks to close any gaps also helps significantly.
What is the best way to pound the chicken?
Always use plastic wrap to prevent the chicken from tearing or splattering. Use the flat side of the mallet and work from the center outward. Aim for a consistent thickness so the whole roll cooks at the same rate.
I hope you love this crispy, cheesy chicken as much as my family does. It is proof that simple ingredients can make a truly spectacular dinner. Enjoy every bite!
— Ethan
Crispy Chicken Cordon Bleu
Ingredients
Method
- Place chicken breasts between two sheets of plastic wrap and pound with a meat mallet to an even 0.25-inch thickness.
- Season both sides of the chicken with salt and black pepper.
- Place one slice of ham and one slice of Swiss cheese on each chicken breast, leaving a 0.5-inch border at the edges.
- Tuck in the sides and roll the chicken tightly; secure with wooden toothpicks if necessary.
- Prepare three shallow bowls: one with flour mixed with garlic powder, one with beaten eggs, and one with Panko breadcrumbs.
- Dredge each roll in the flour, dip into the egg wash, and coat thoroughly with Panko breadcrumbs, pressing firmly to adhere.
- Heat the butter and vegetable oil in a large skillet over medium-high heat until the butter is foamy.
- Add the chicken rolls to the skillet and cook for 4 to 5 minutes per side, turning carefully, until the exterior is golden brown and the internal temperature reaches 165 degrees Fahrenheit.
- Remove from heat and allow the chicken to rest for 5 minutes before removing toothpicks and serving.